Here we are going to strip down the chassis and reveal that hidden rot...! i would be surprised if this was completly clean and rot free. On initial inspection with most of the bits still attached it looked thankfully good. Some work had been done but untill stripped it all down and had a little bash with hammer nobody knows..... fingers crossed.... well everything crossed i don't have pile of rust.
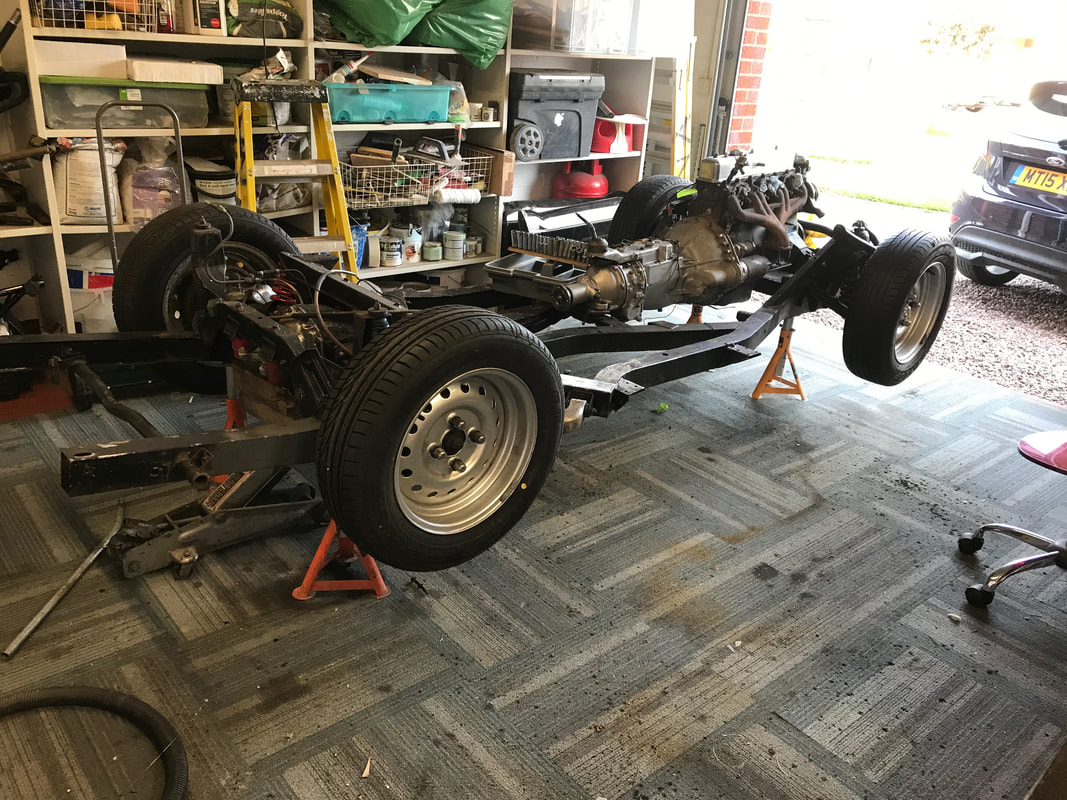
so off with the bodytub.... with the help from the wife in her safety flipflops....!
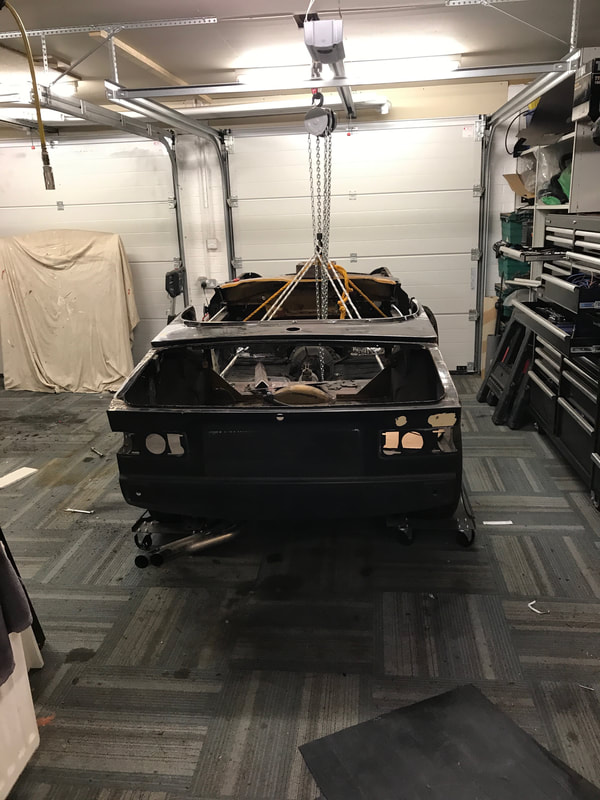
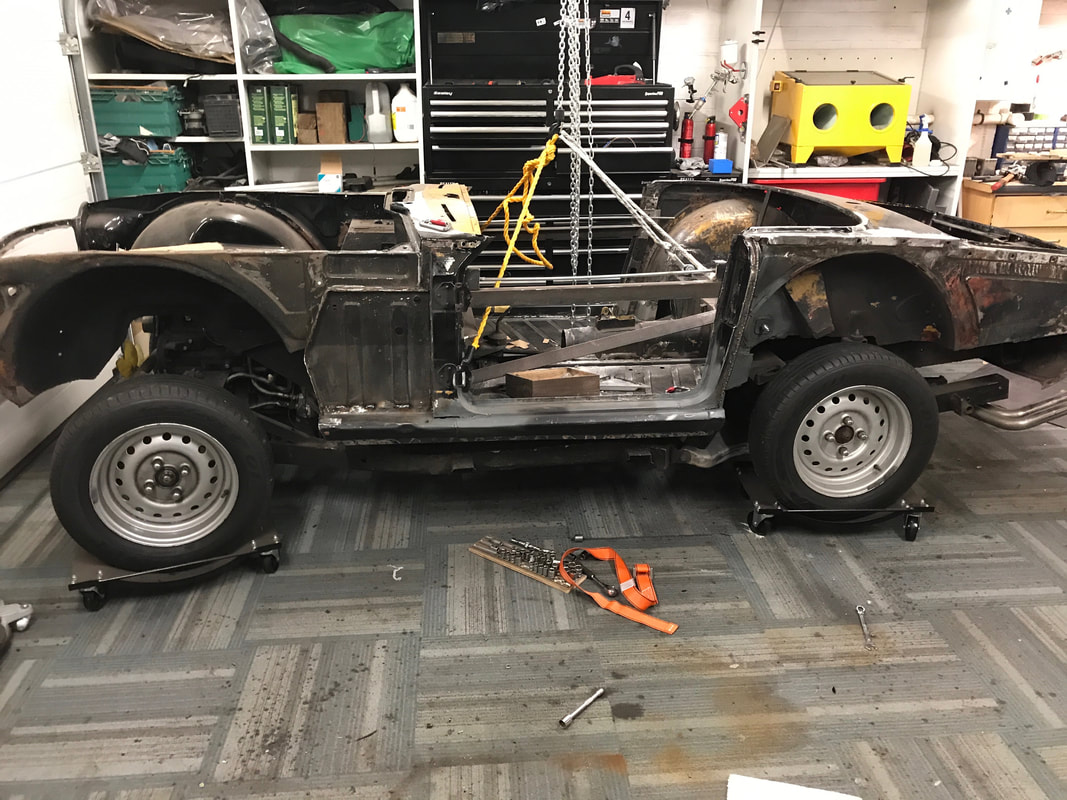
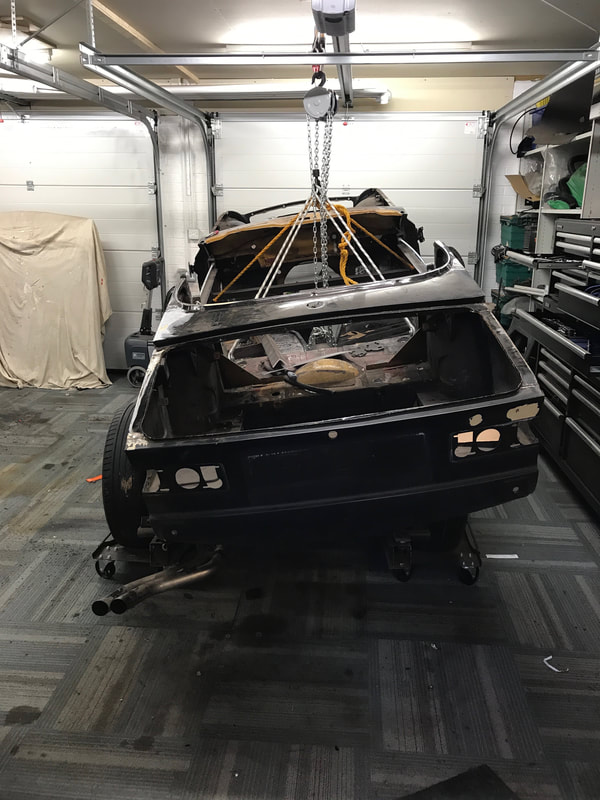
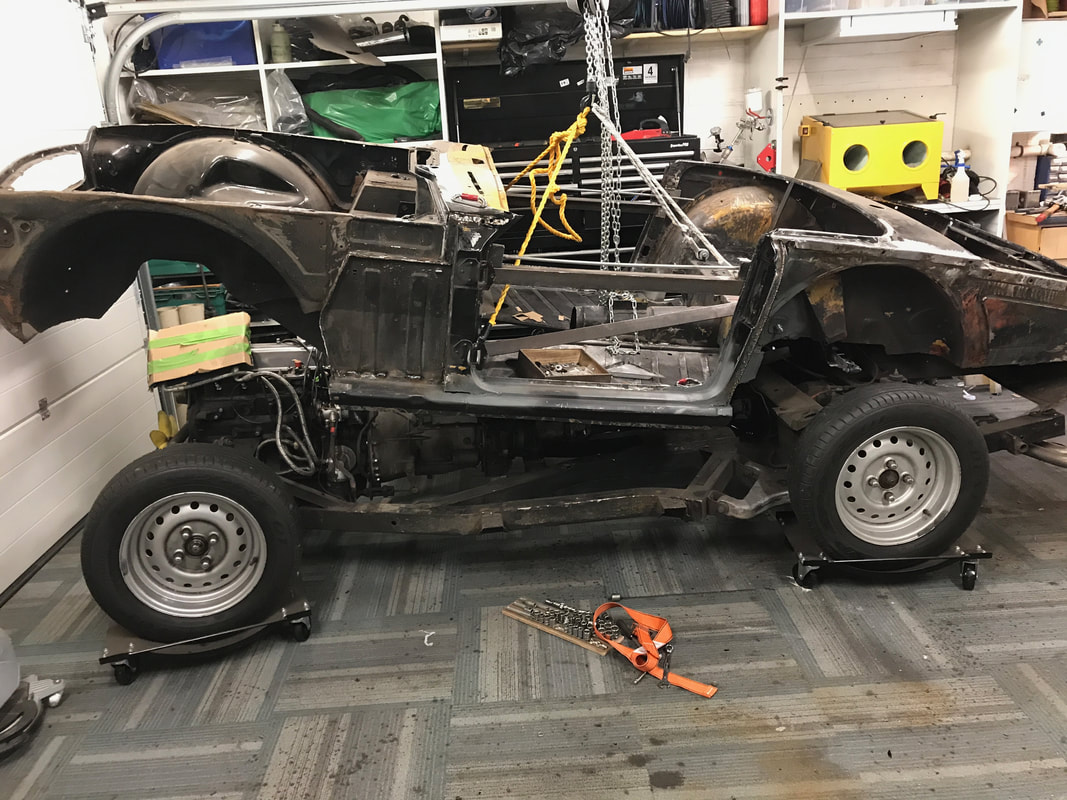
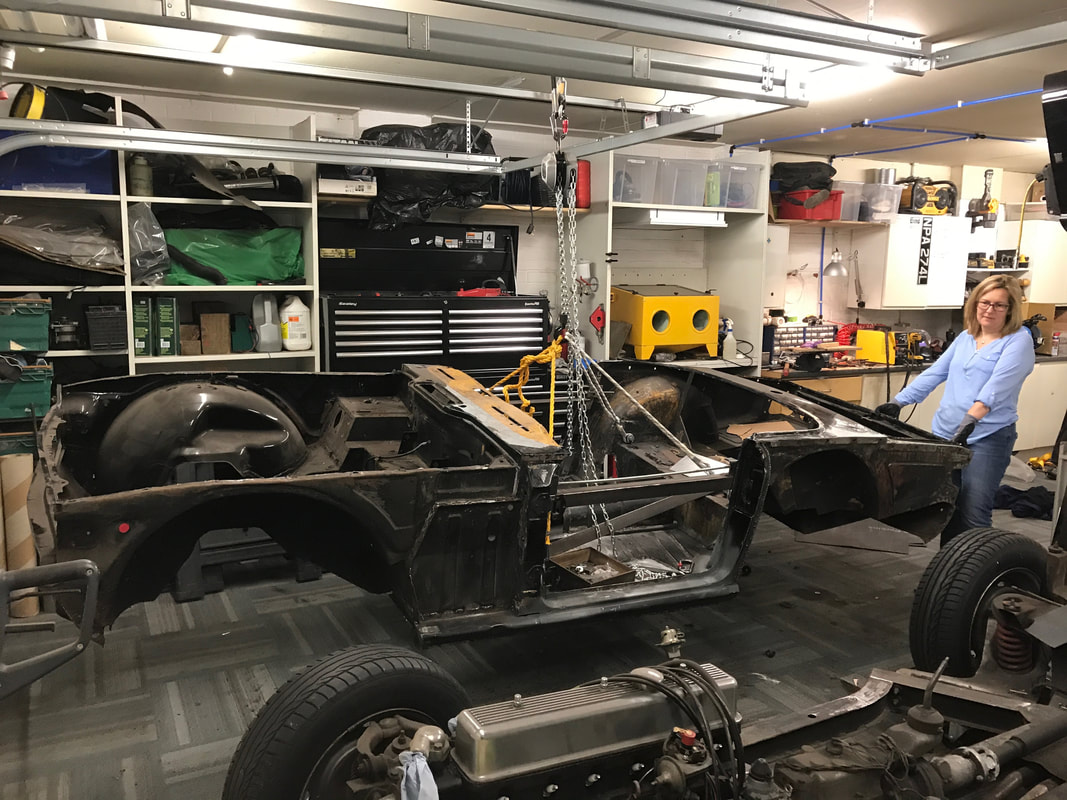
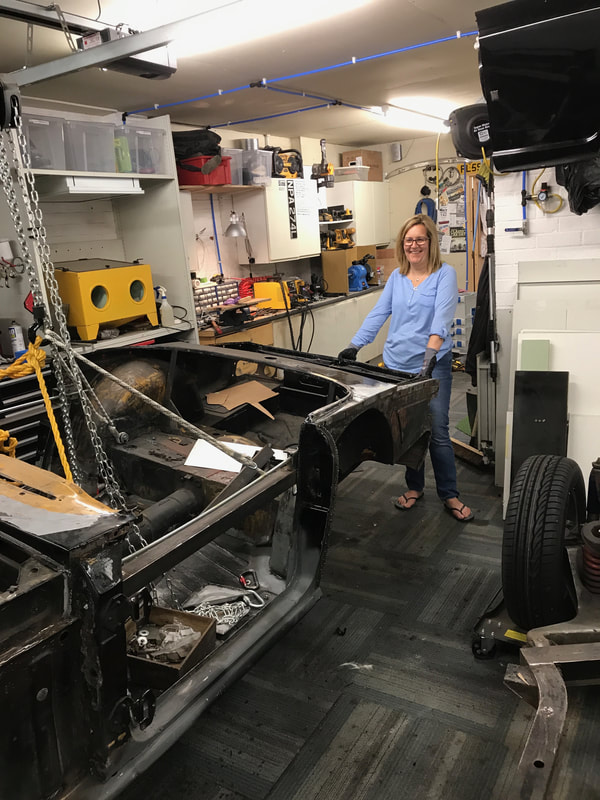
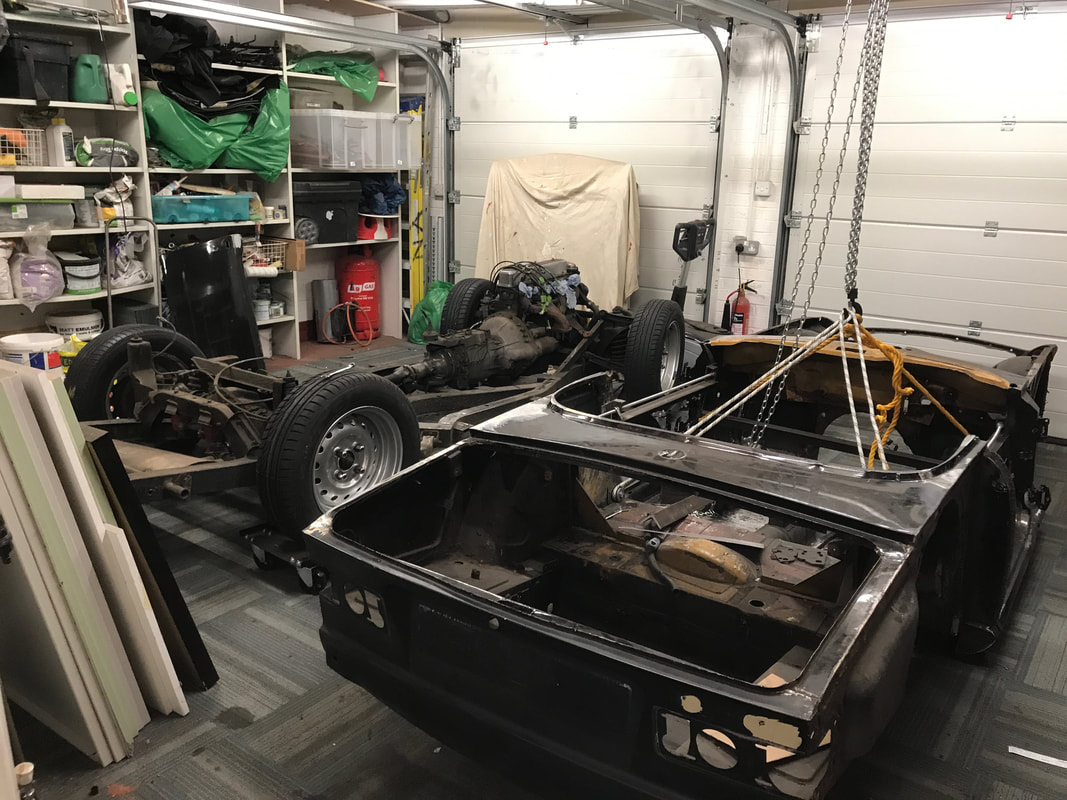
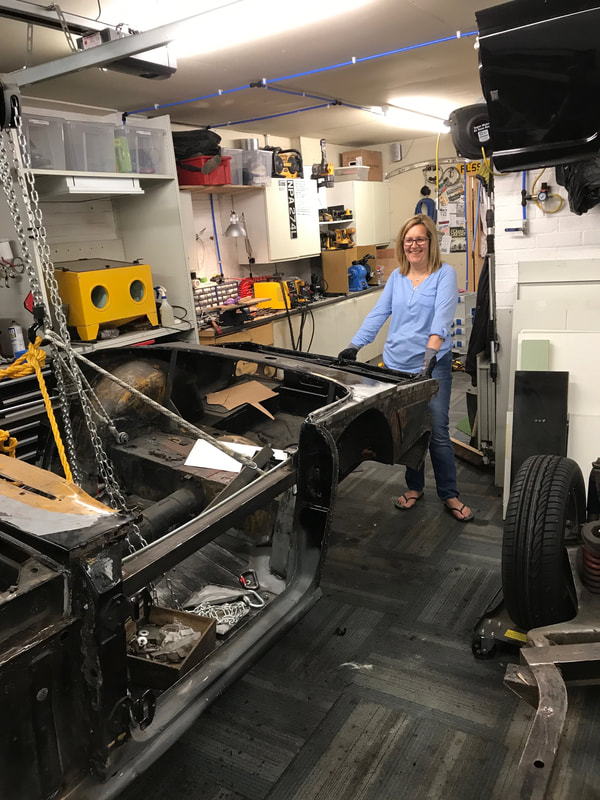
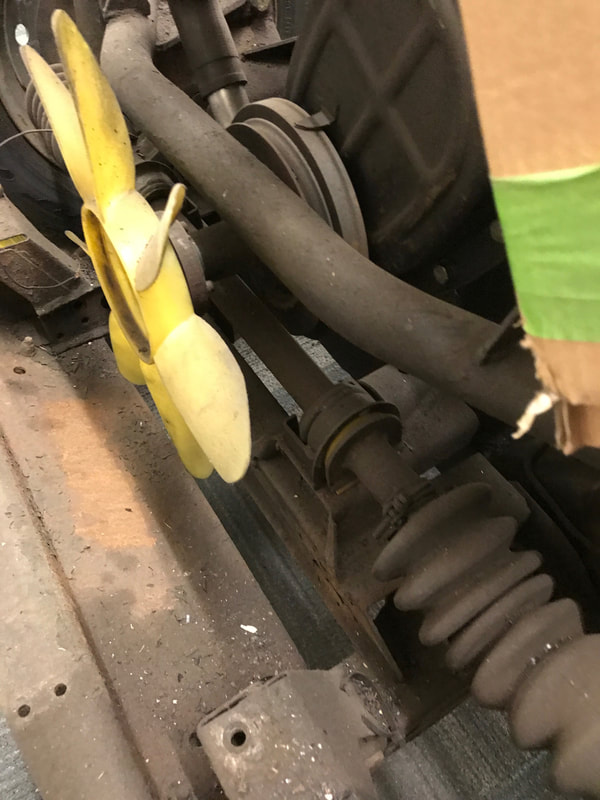
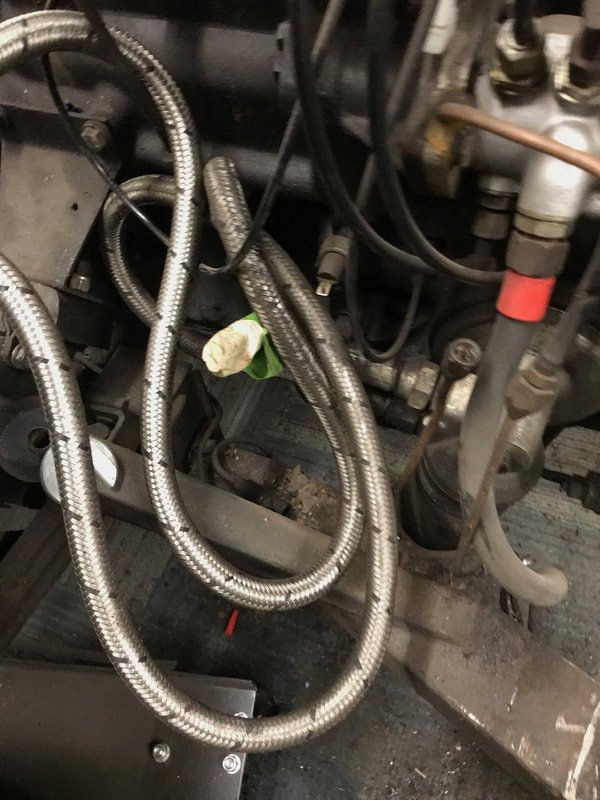
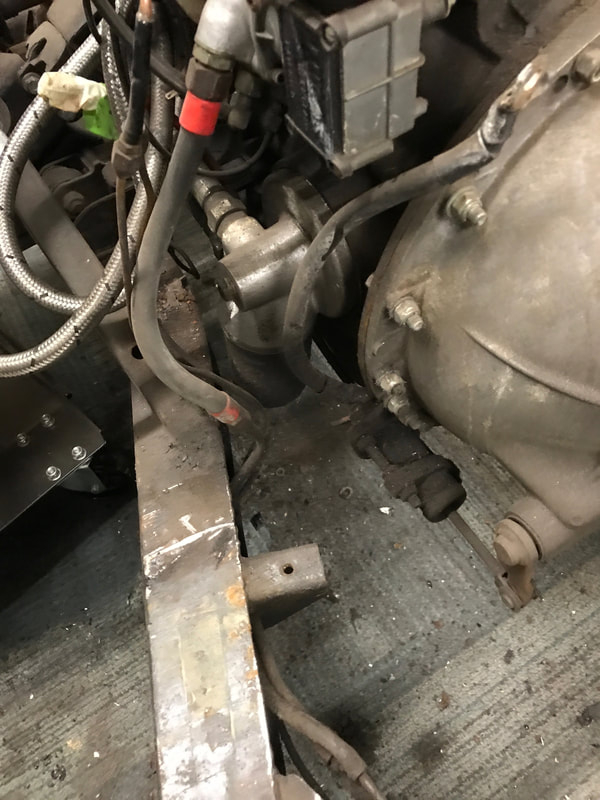
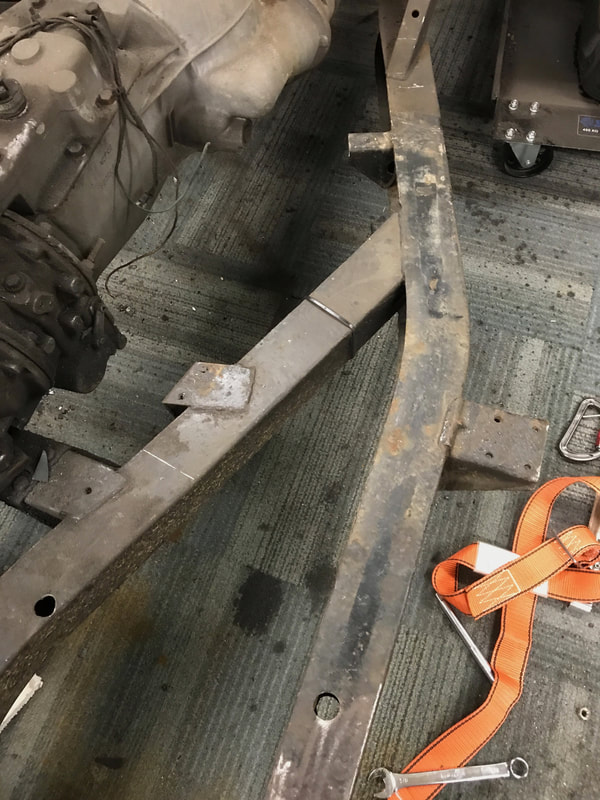
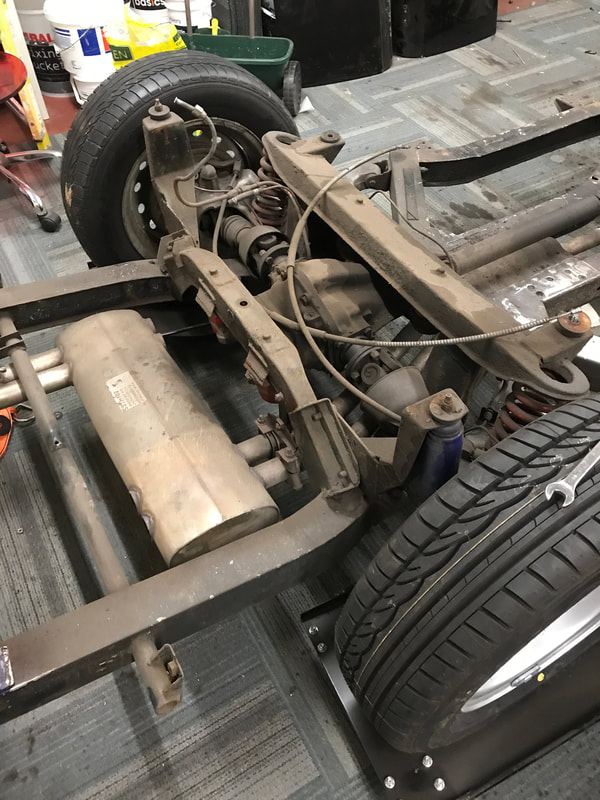
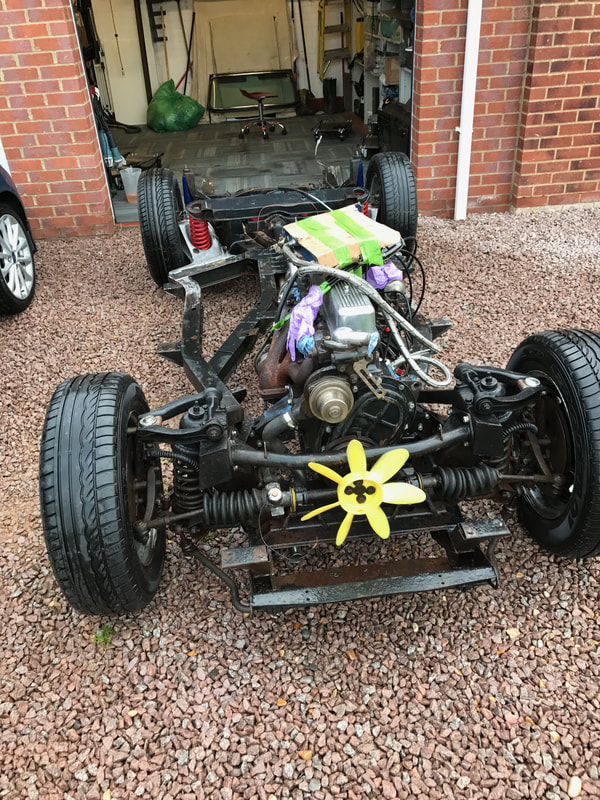
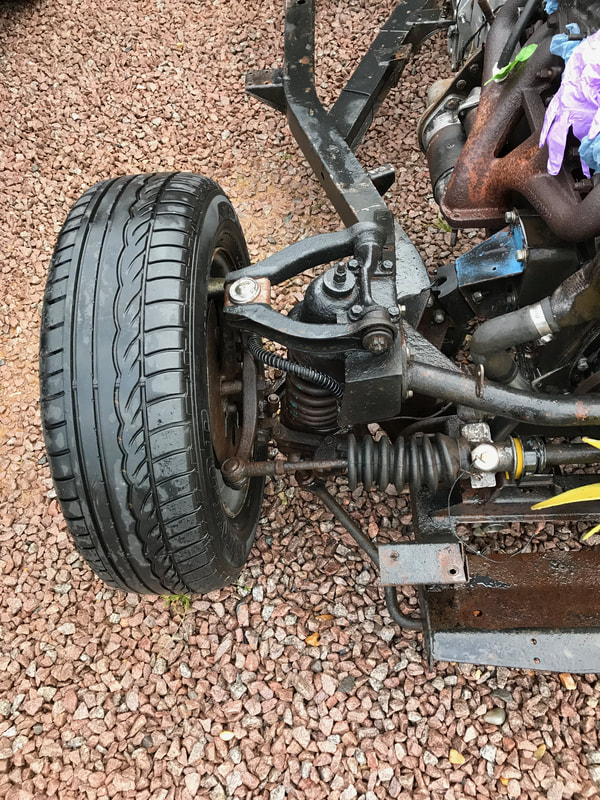
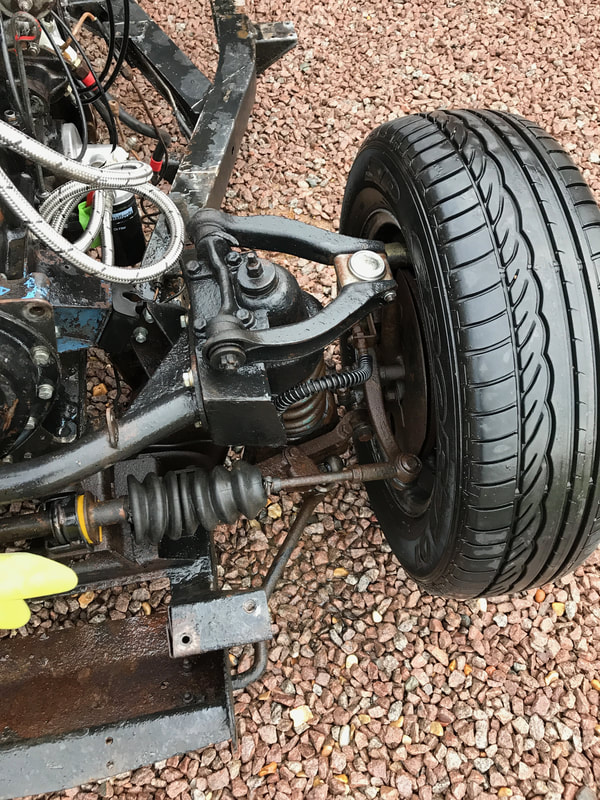
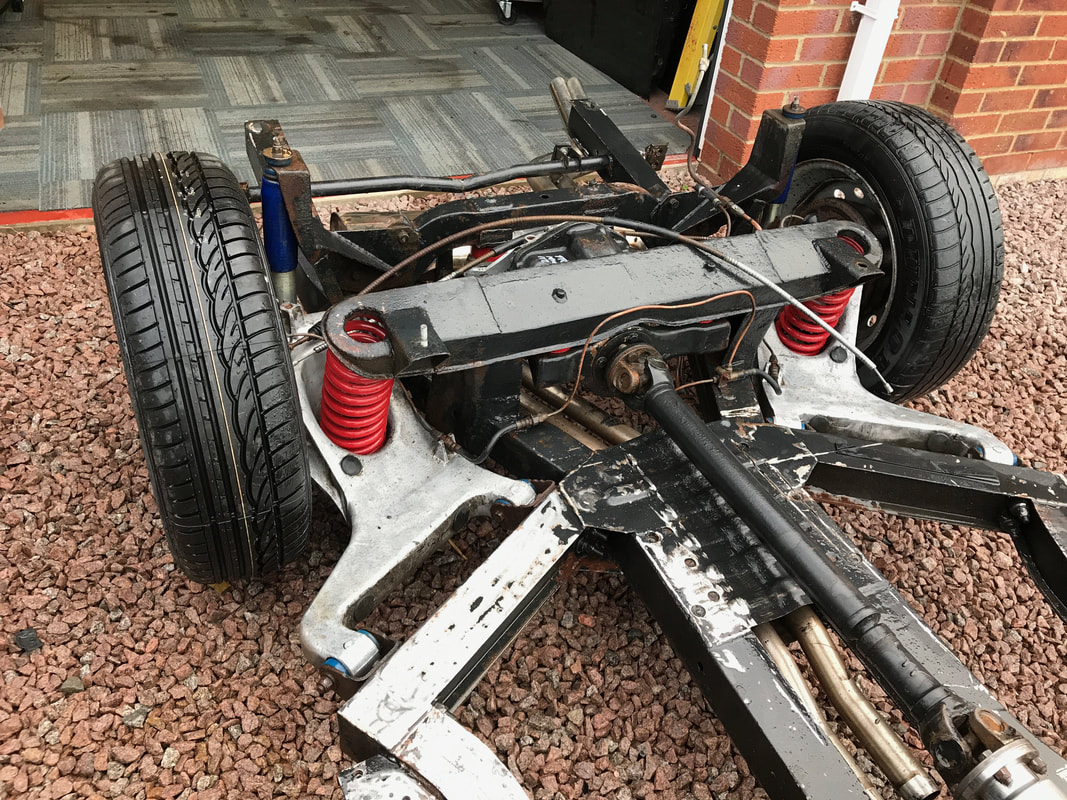
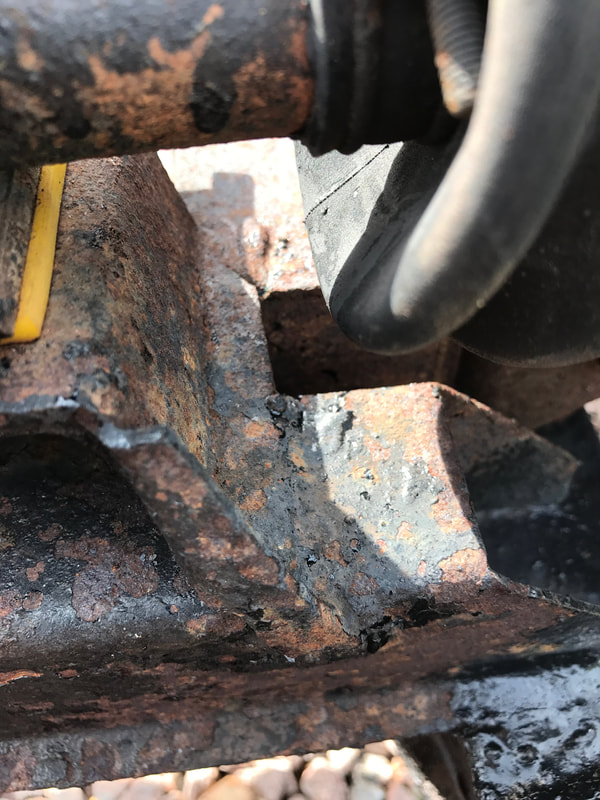
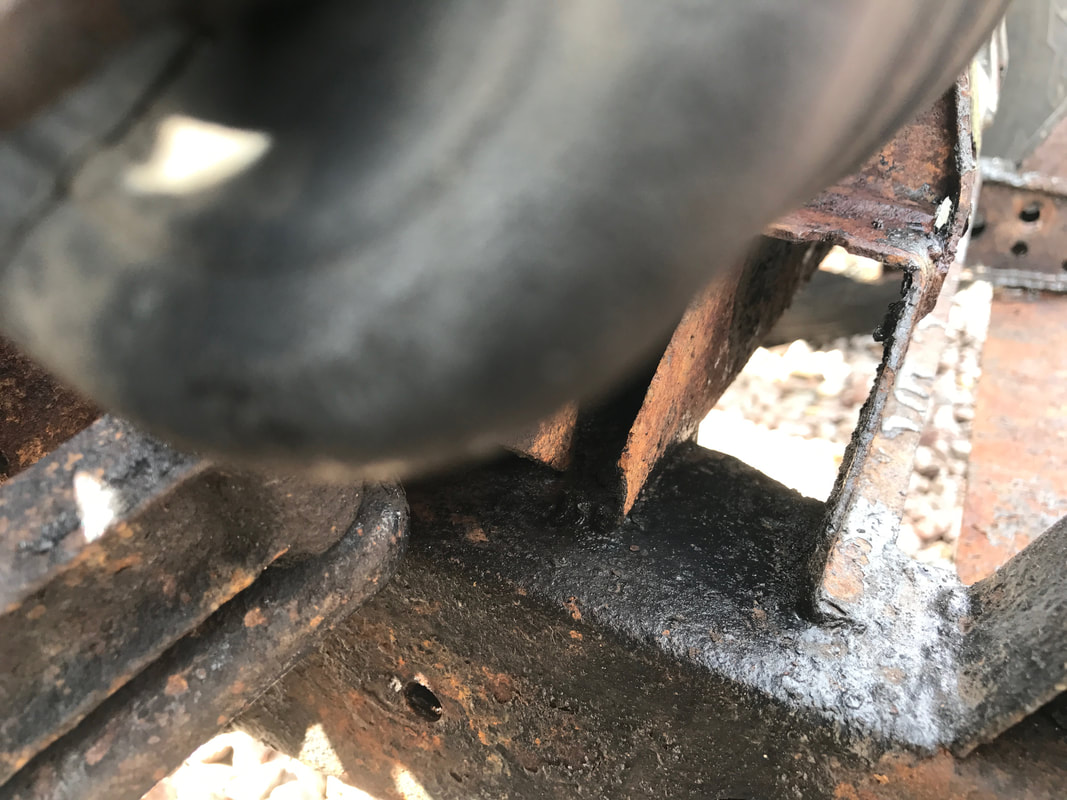
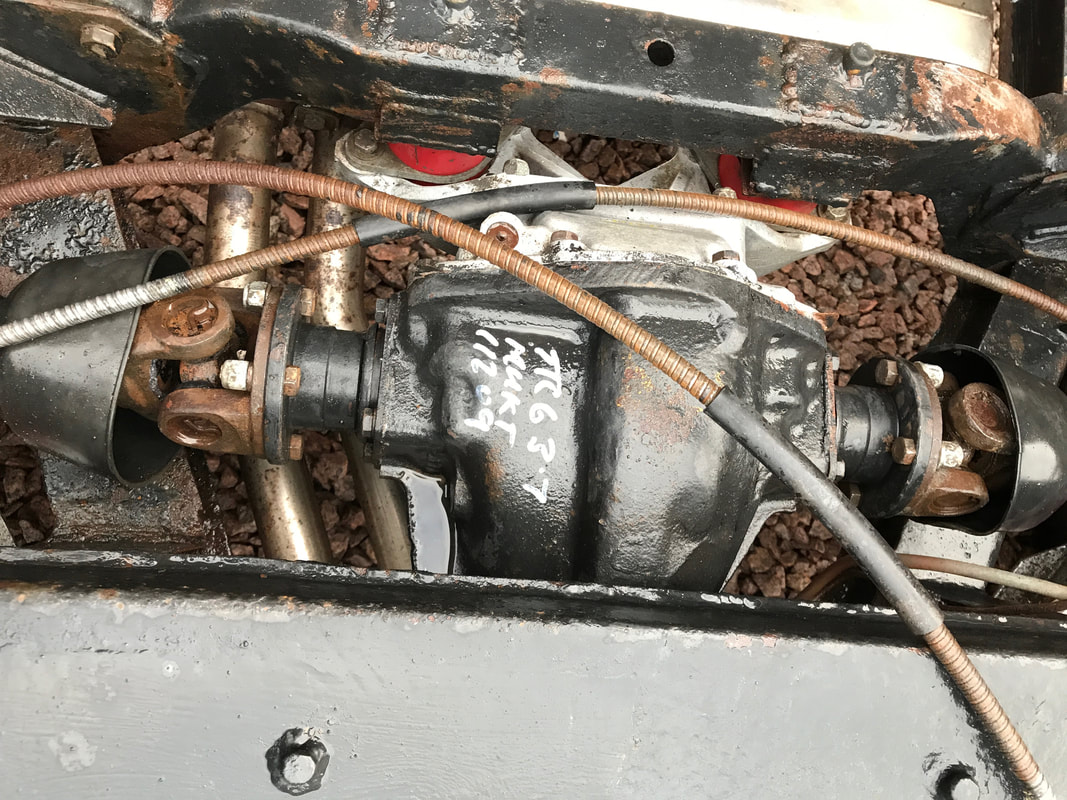
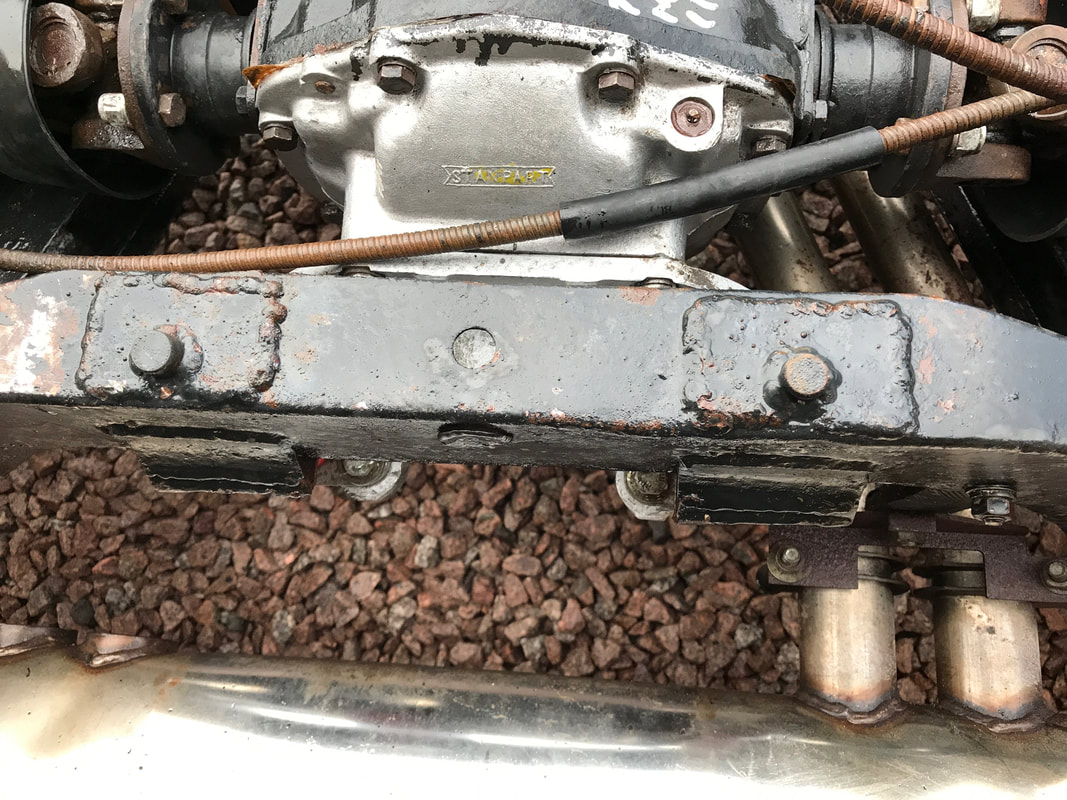
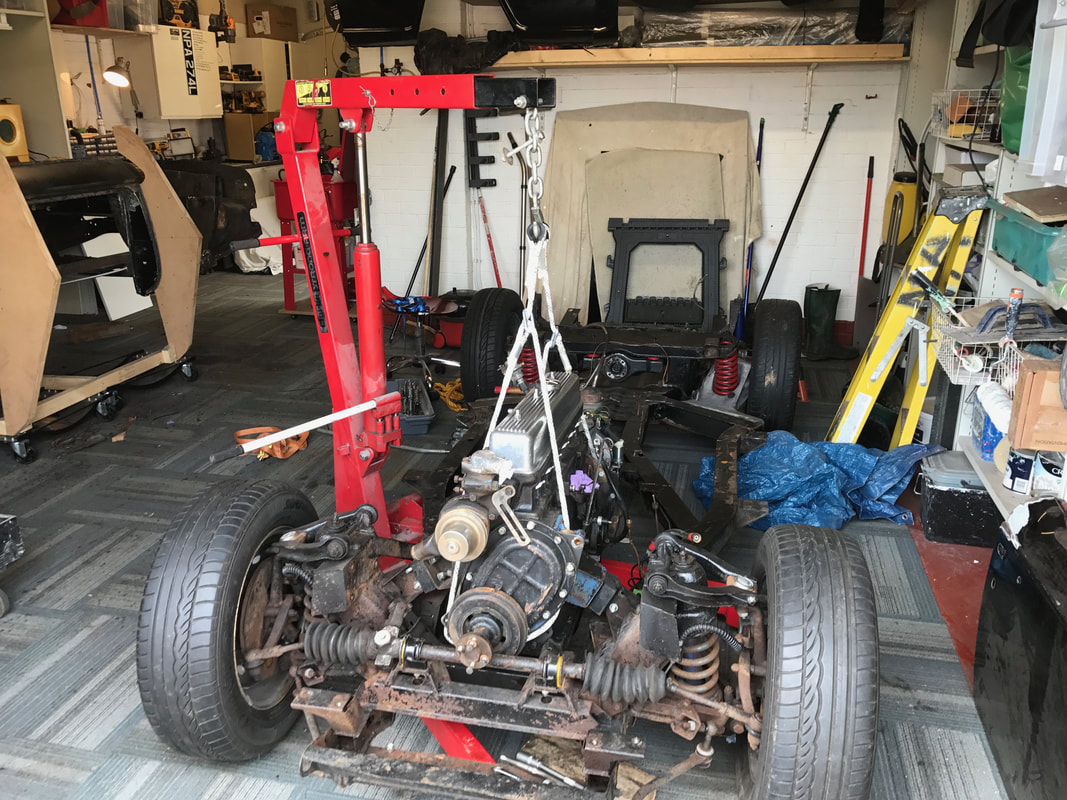
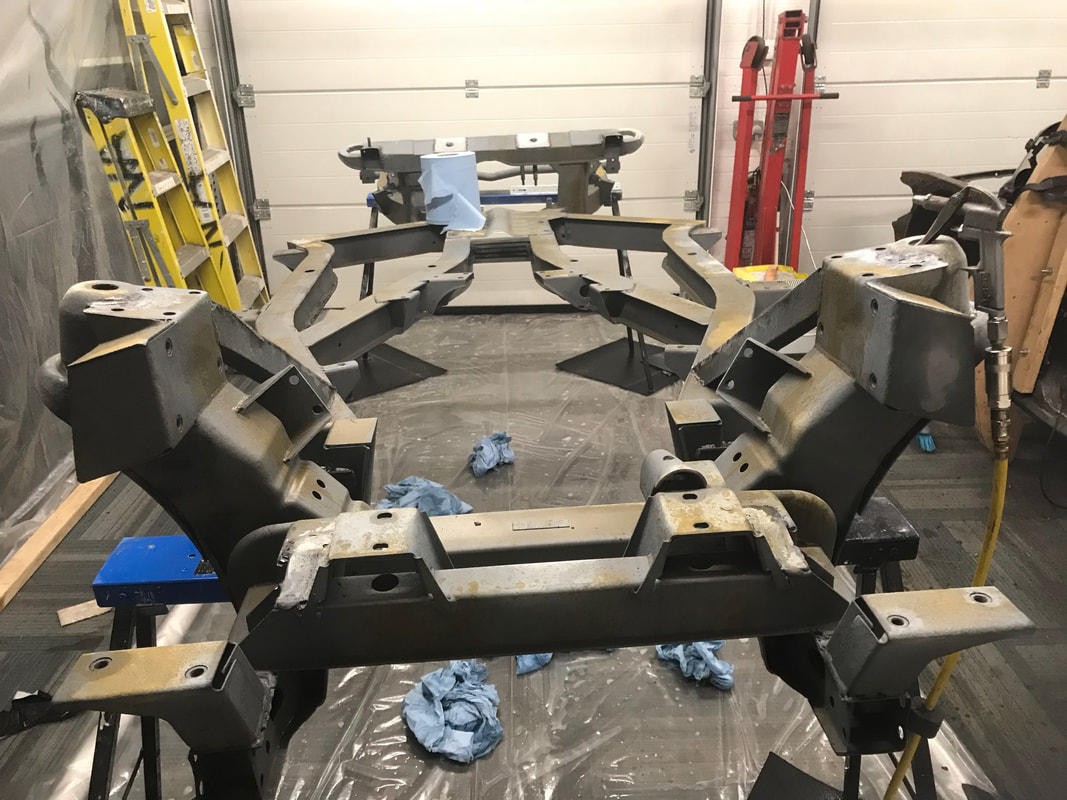
Some pictures of the chassis just as the body came off, looks OK now but needs a breakdown and good clean to see any nasty bits.

THE WASHDOWN
I got a 25L container of Virosol. Great stuff... just filled a spray bottle and soaked the whole thing, jet washed off and did it again three times. probably only used about 5lts of the cleaner. Gives a good clean so not too messy when it came to dismantling everything off the chassis.
I got a 25L container of Virosol. Great stuff... just filled a spray bottle and soaked the whole thing, jet washed off and did it again three times. probably only used about 5lts of the cleaner. Gives a good clean so not too messy when it came to dismantling everything off the chassis.

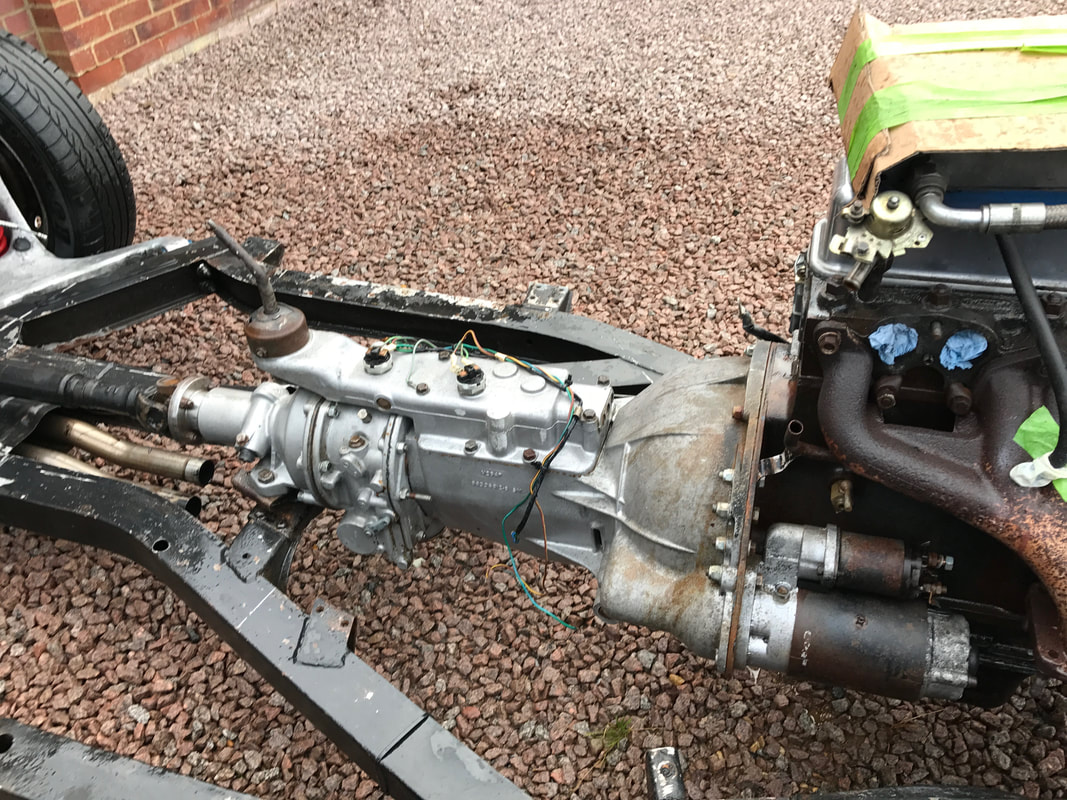
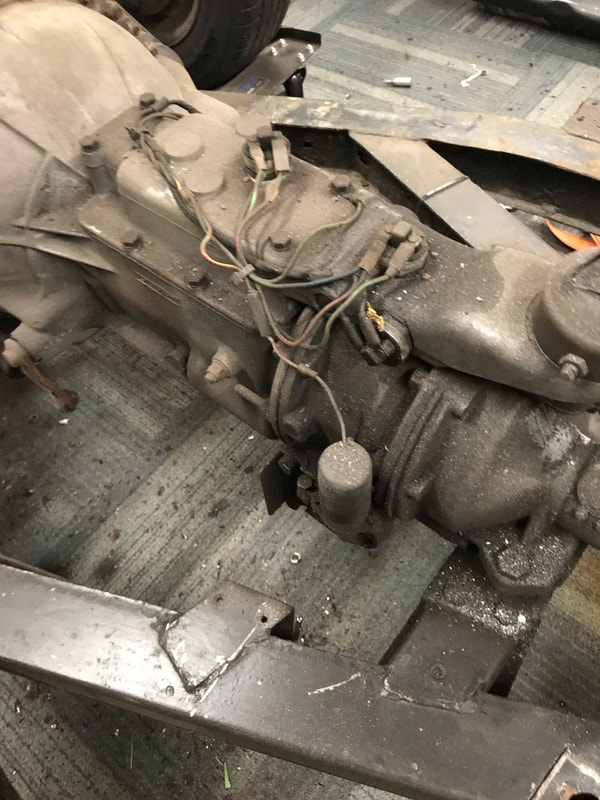
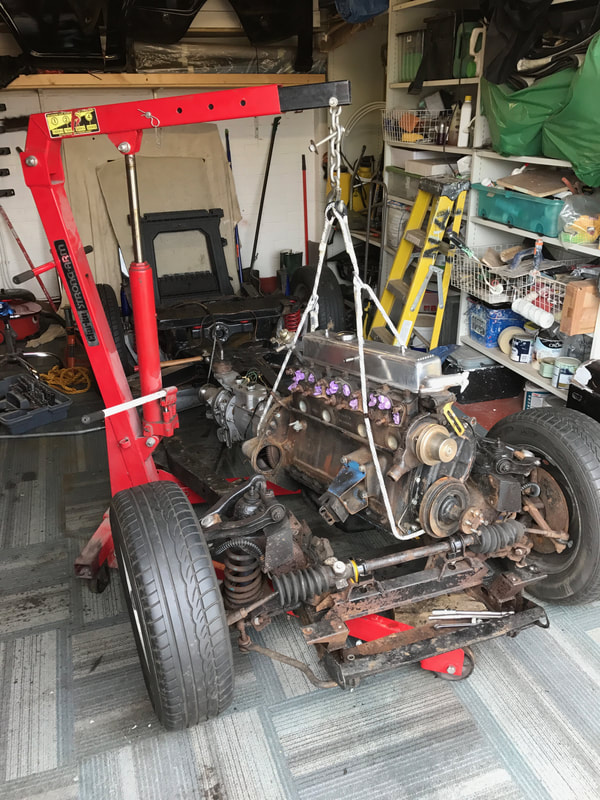
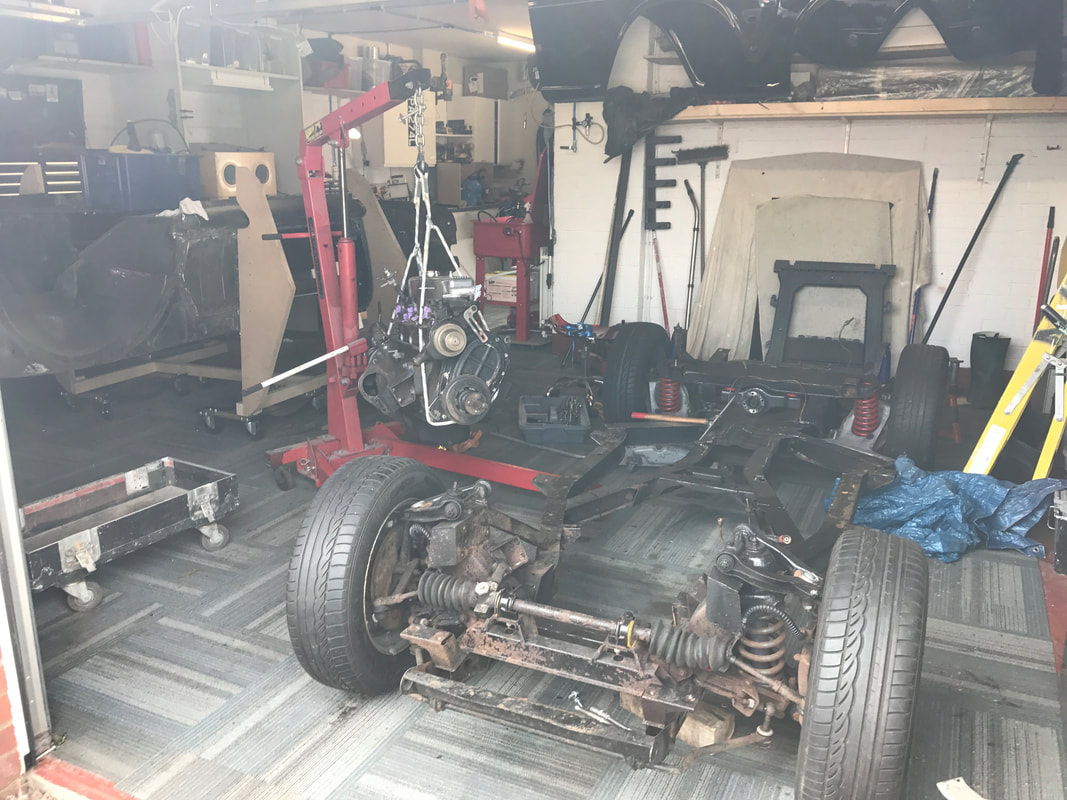
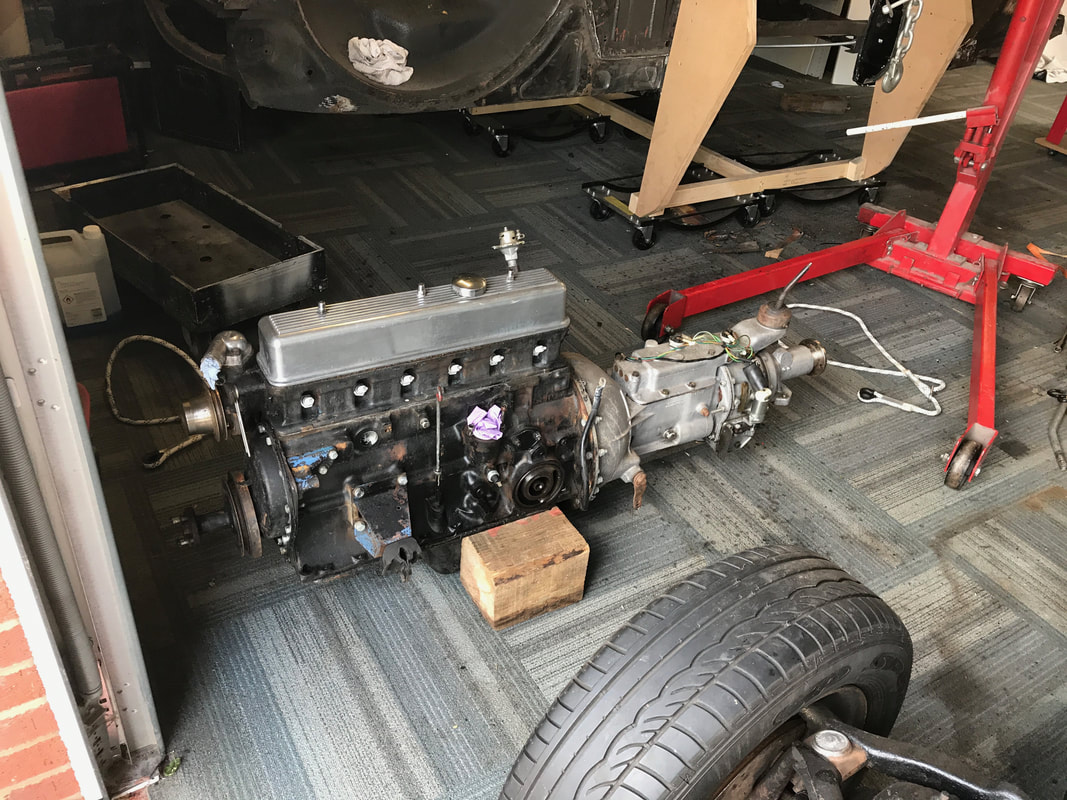
Engine out
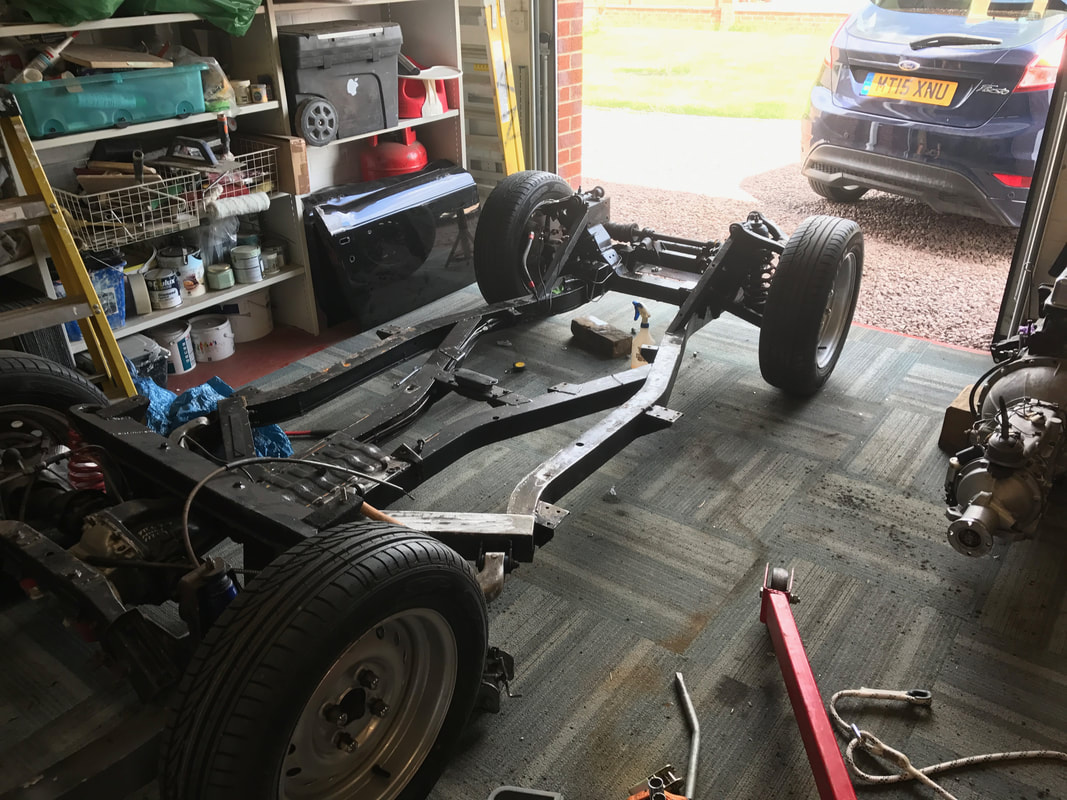
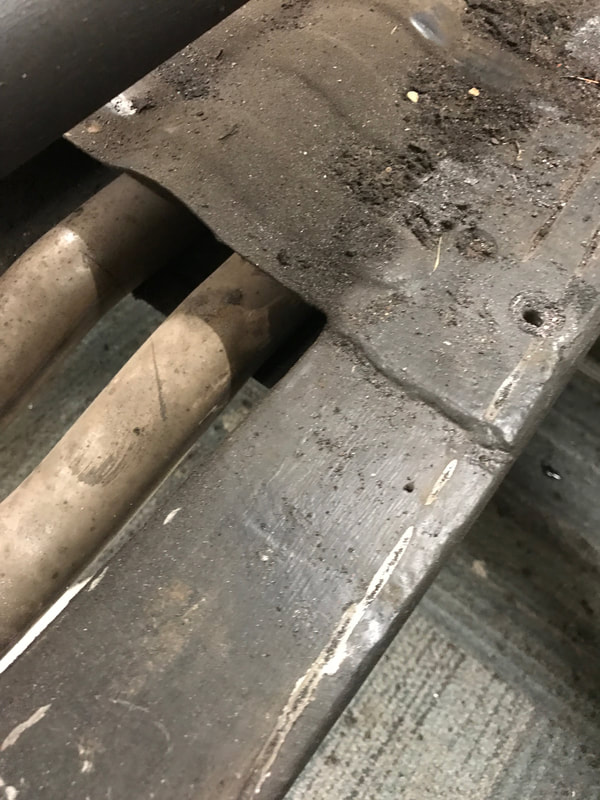
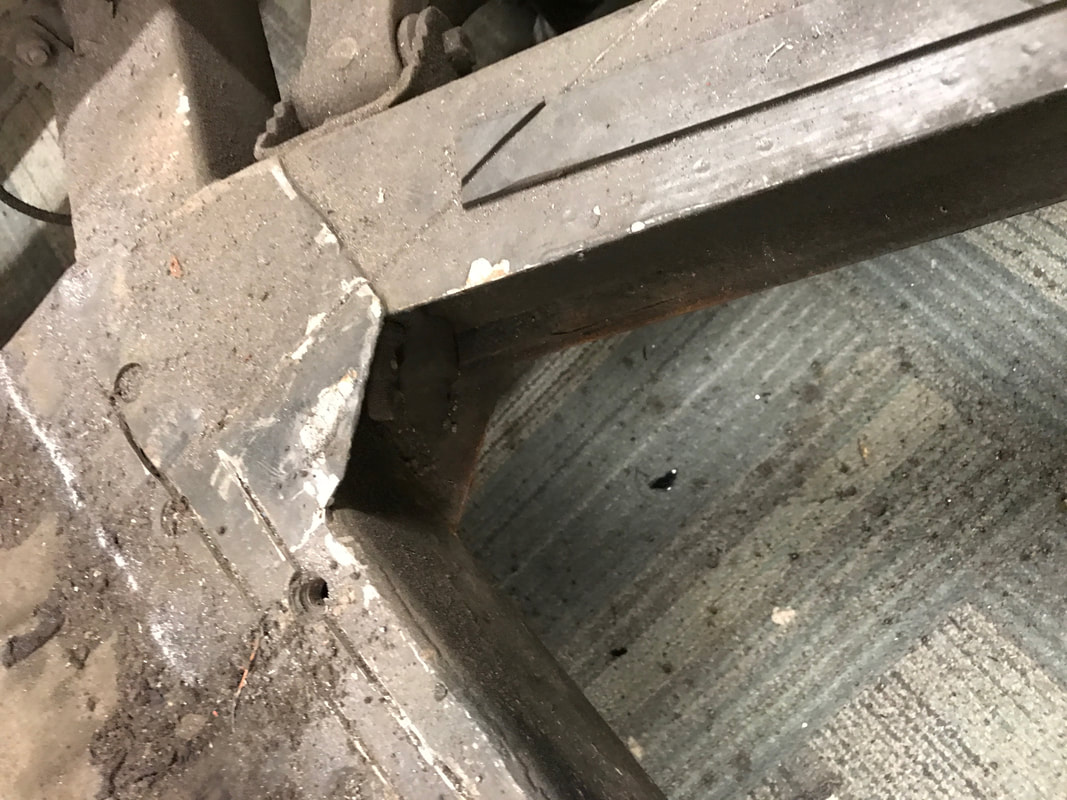
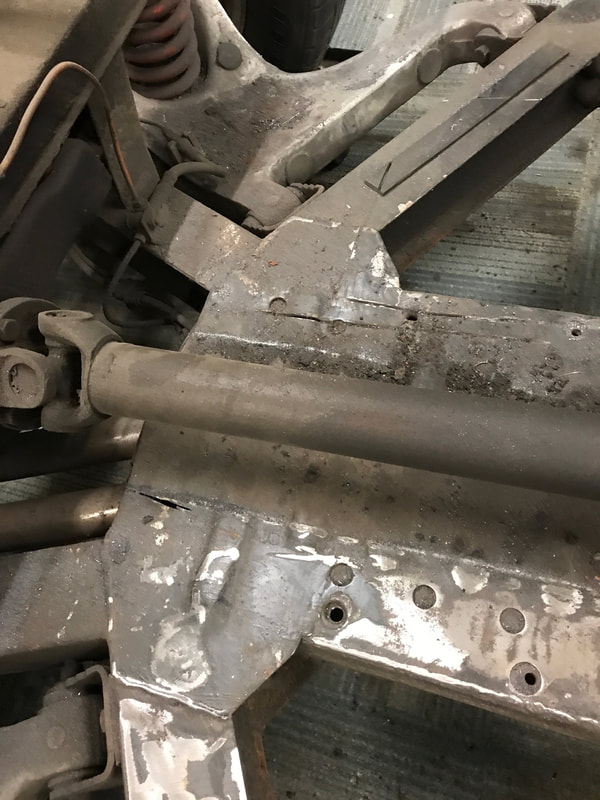
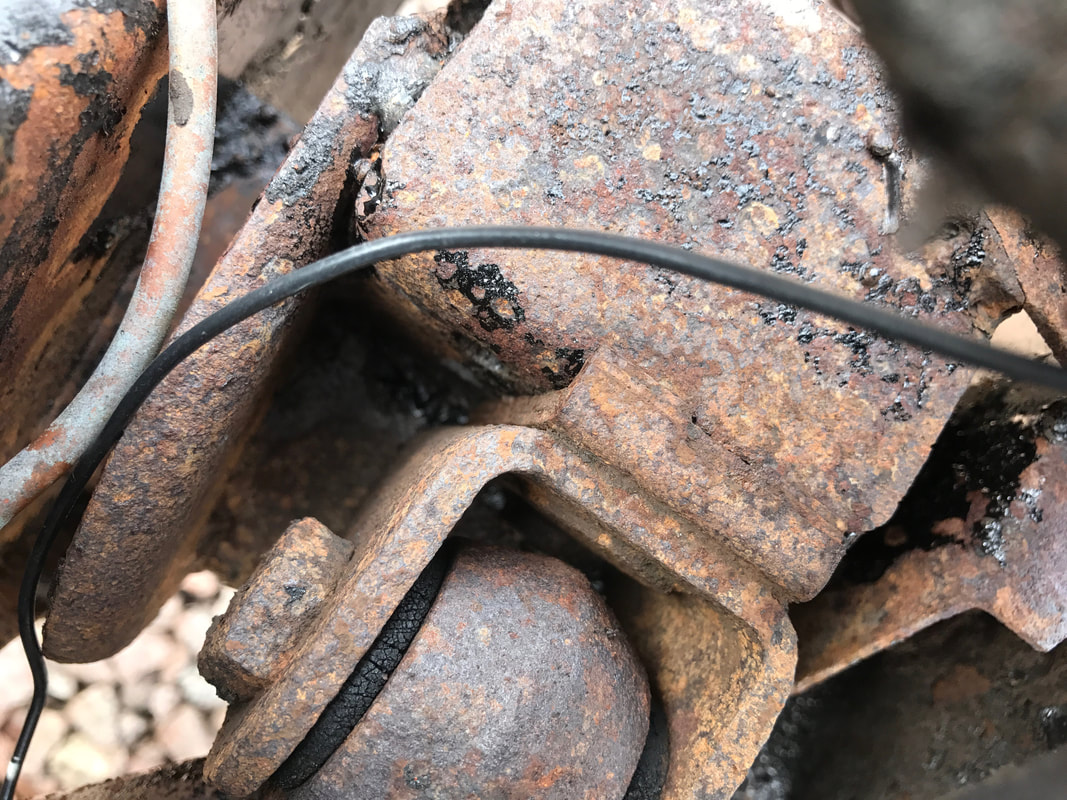
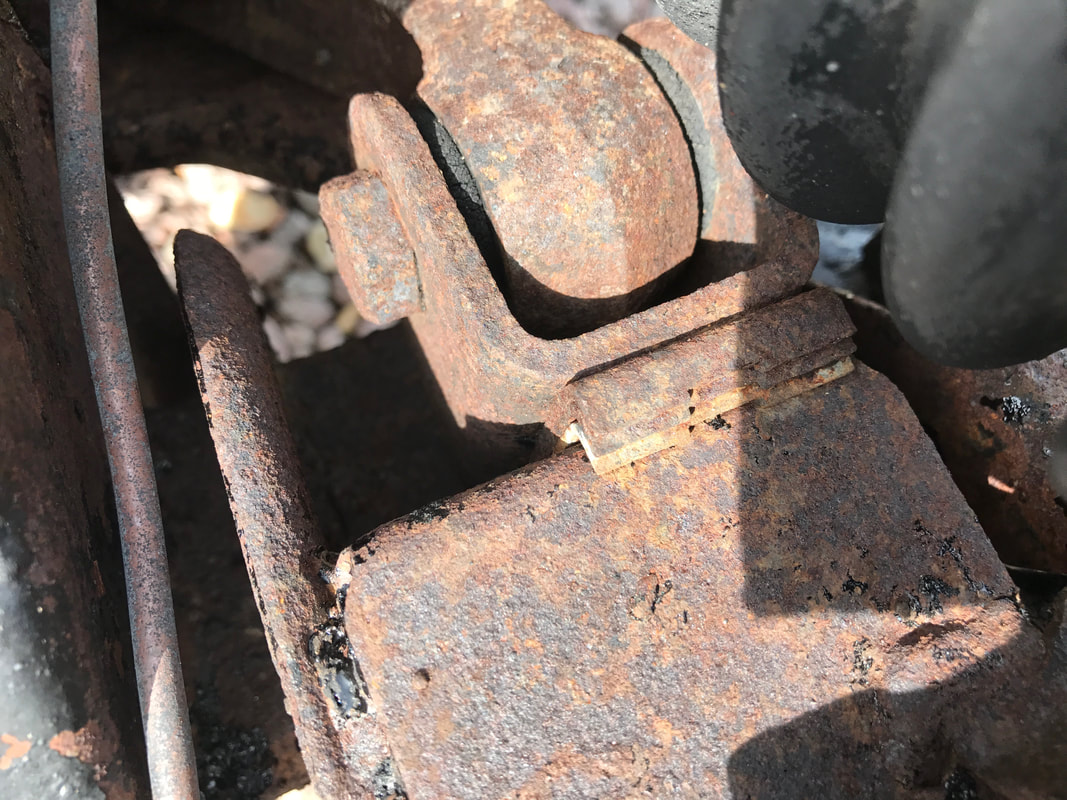
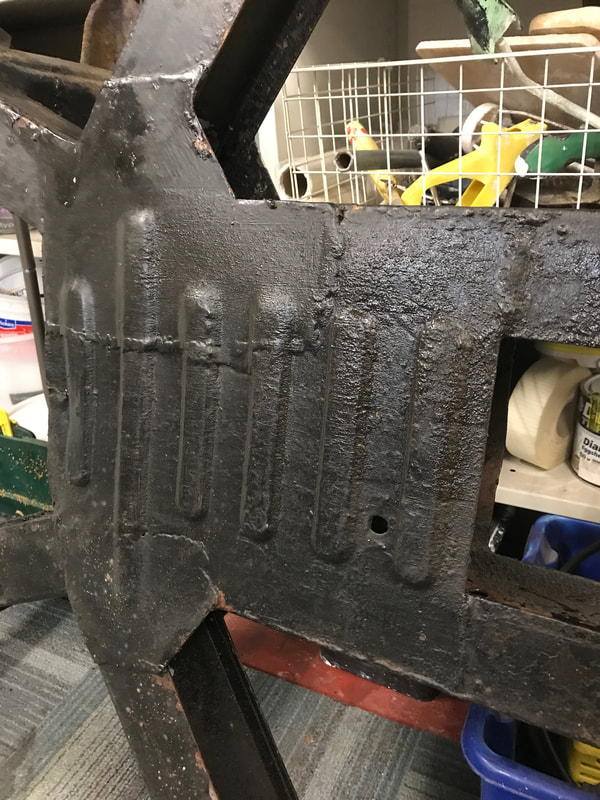
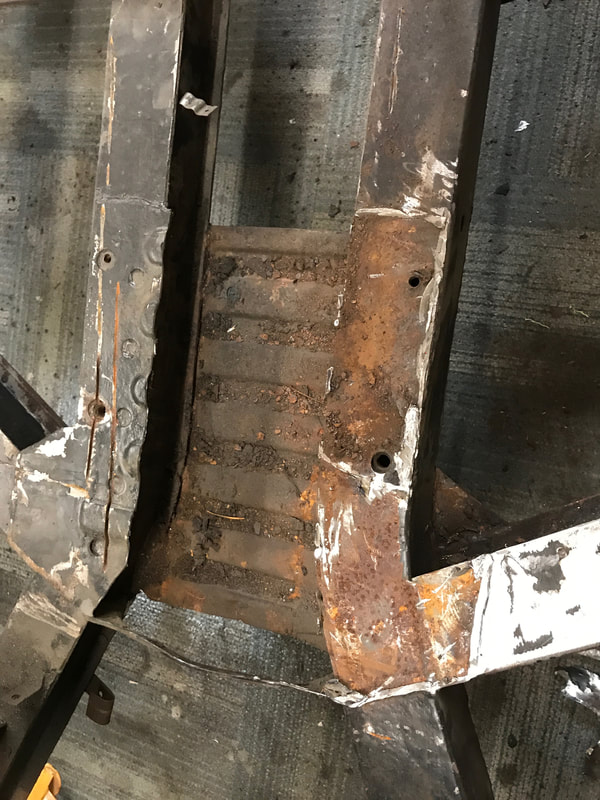
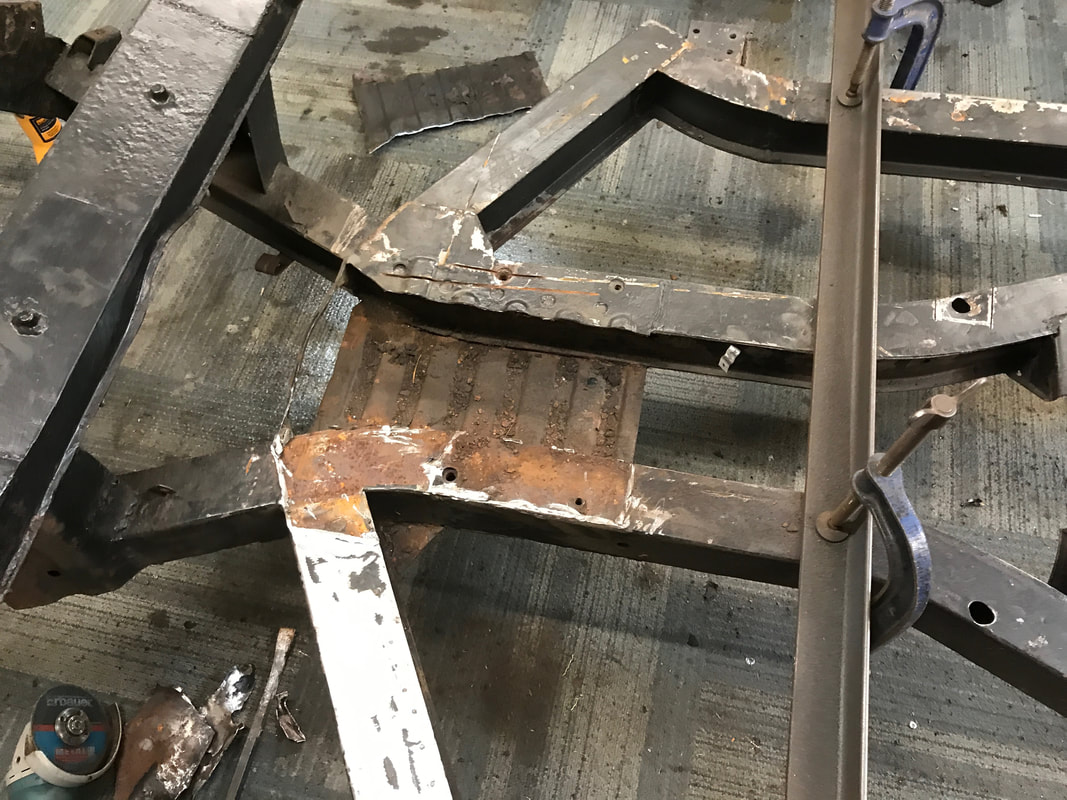
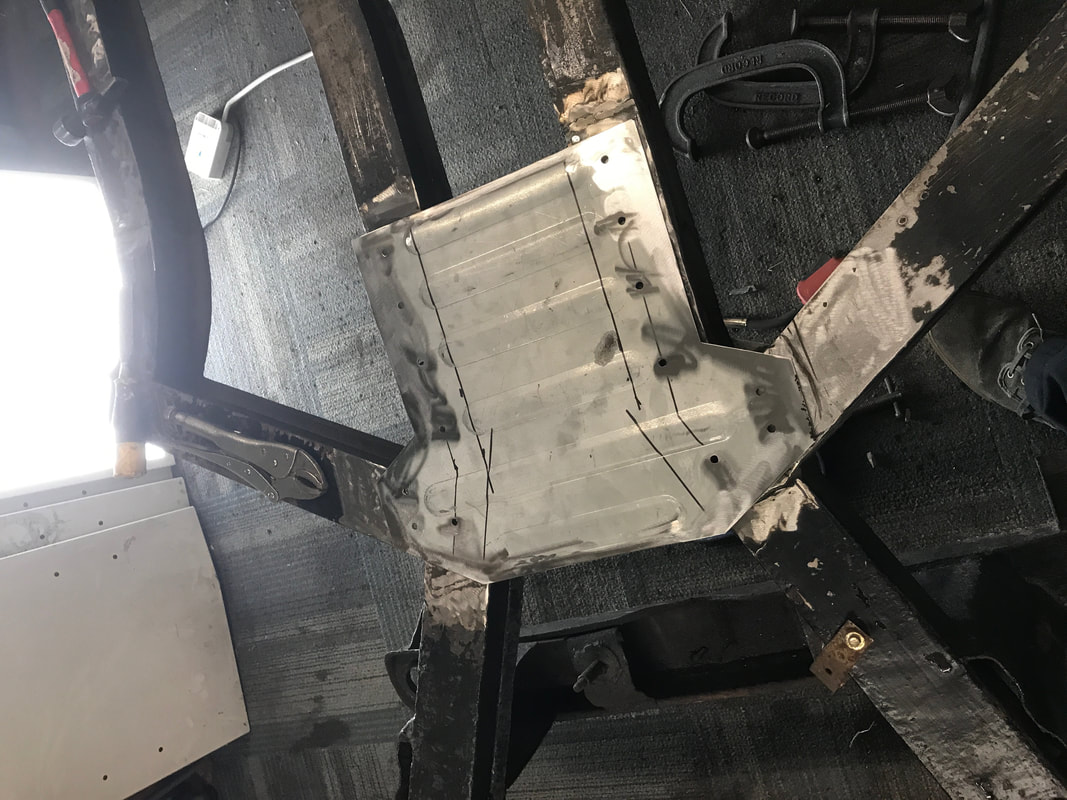
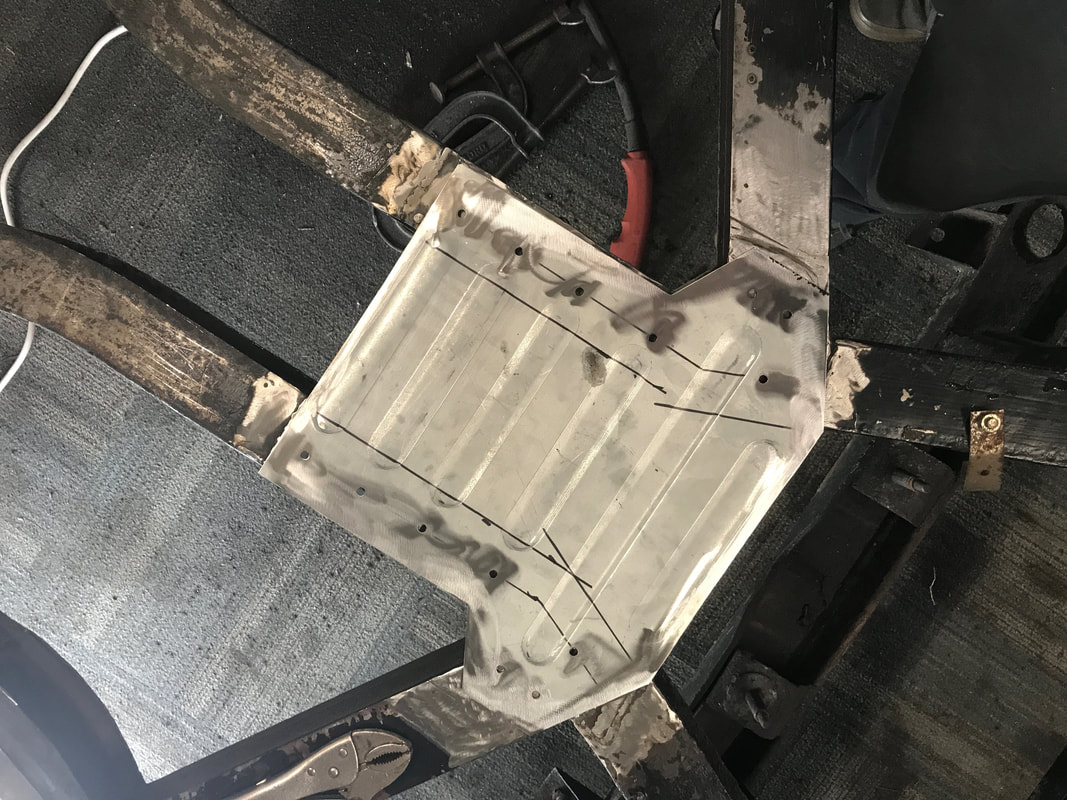
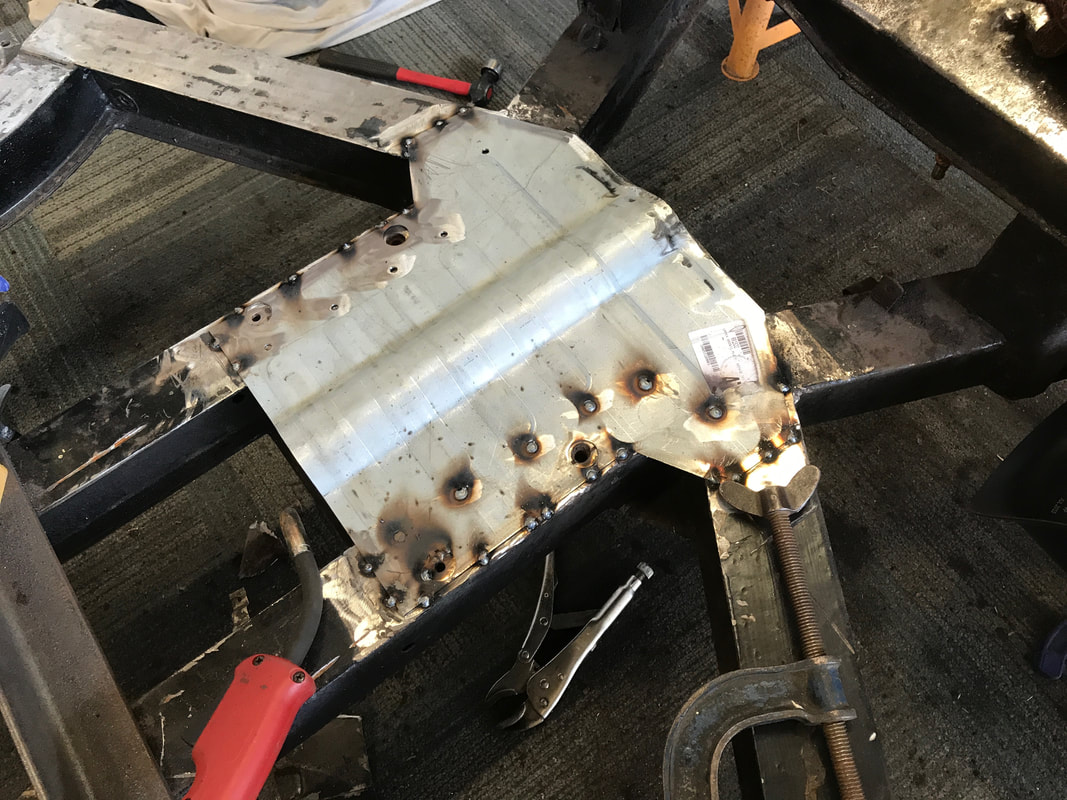
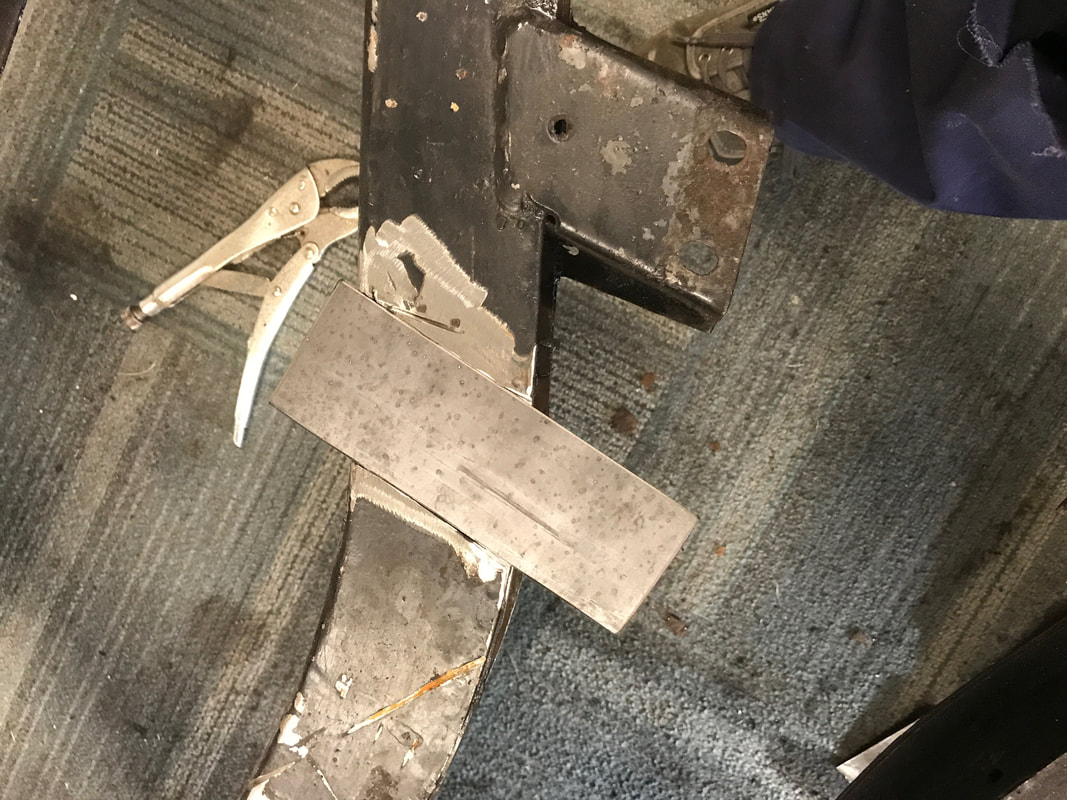
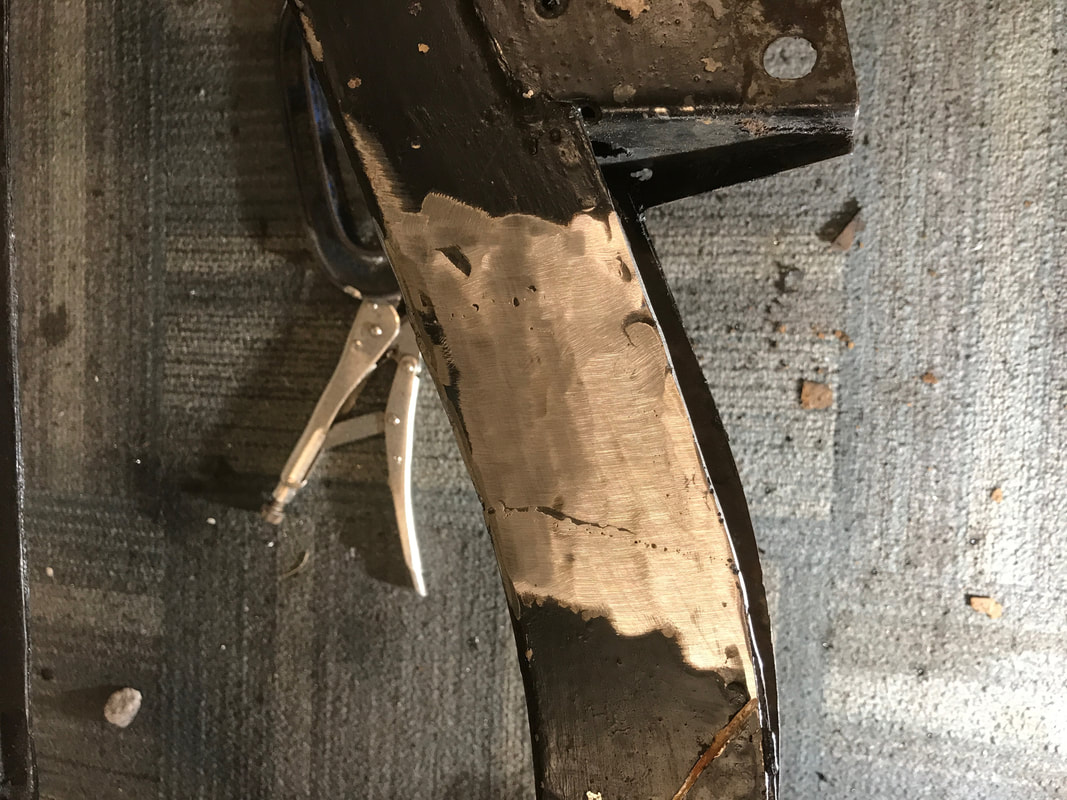
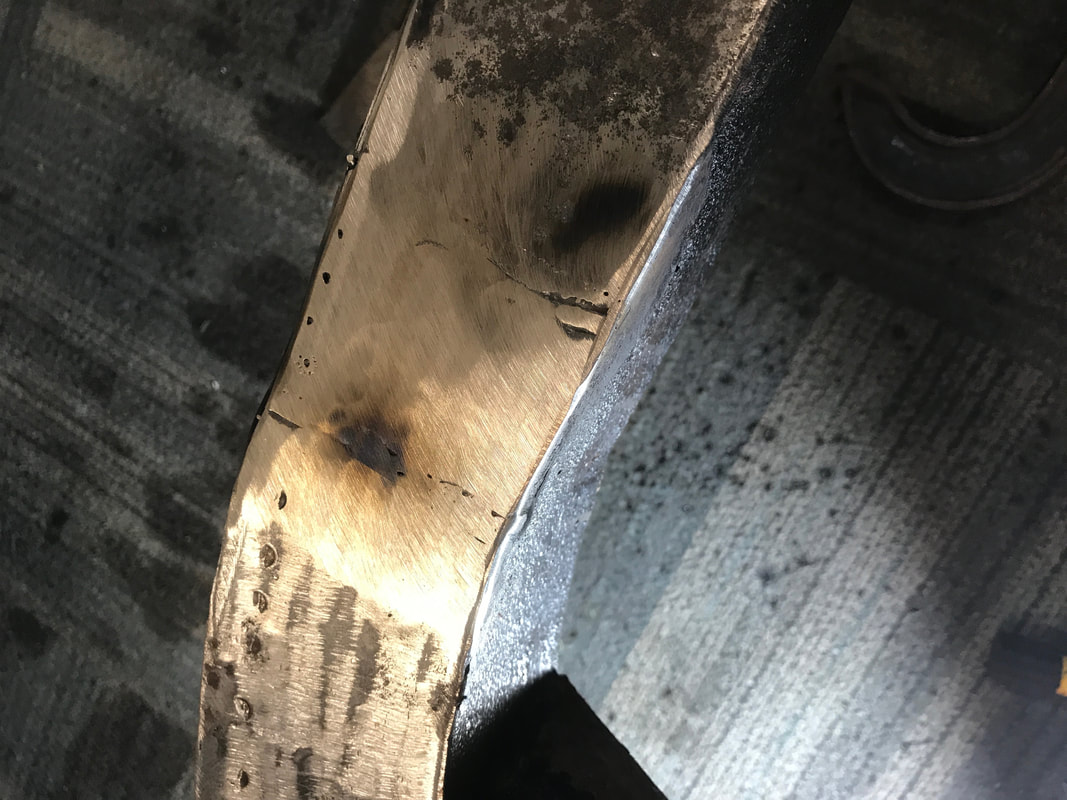
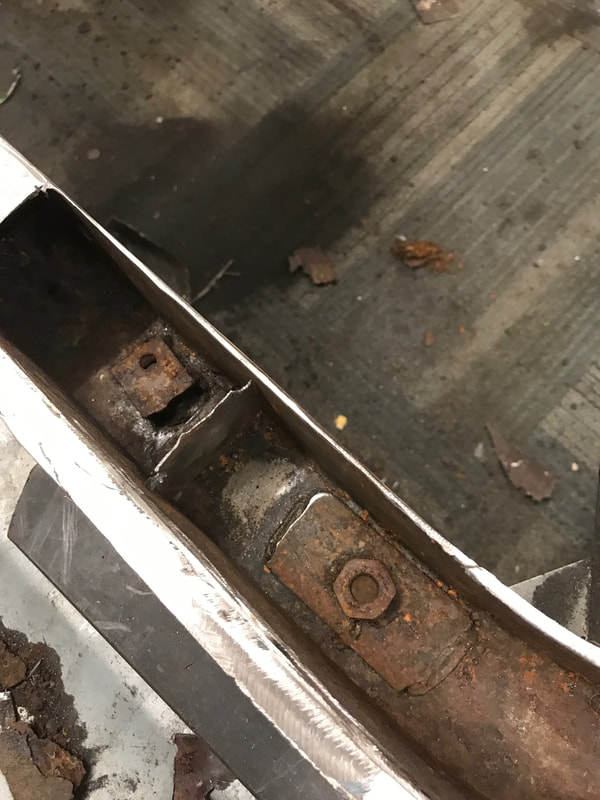
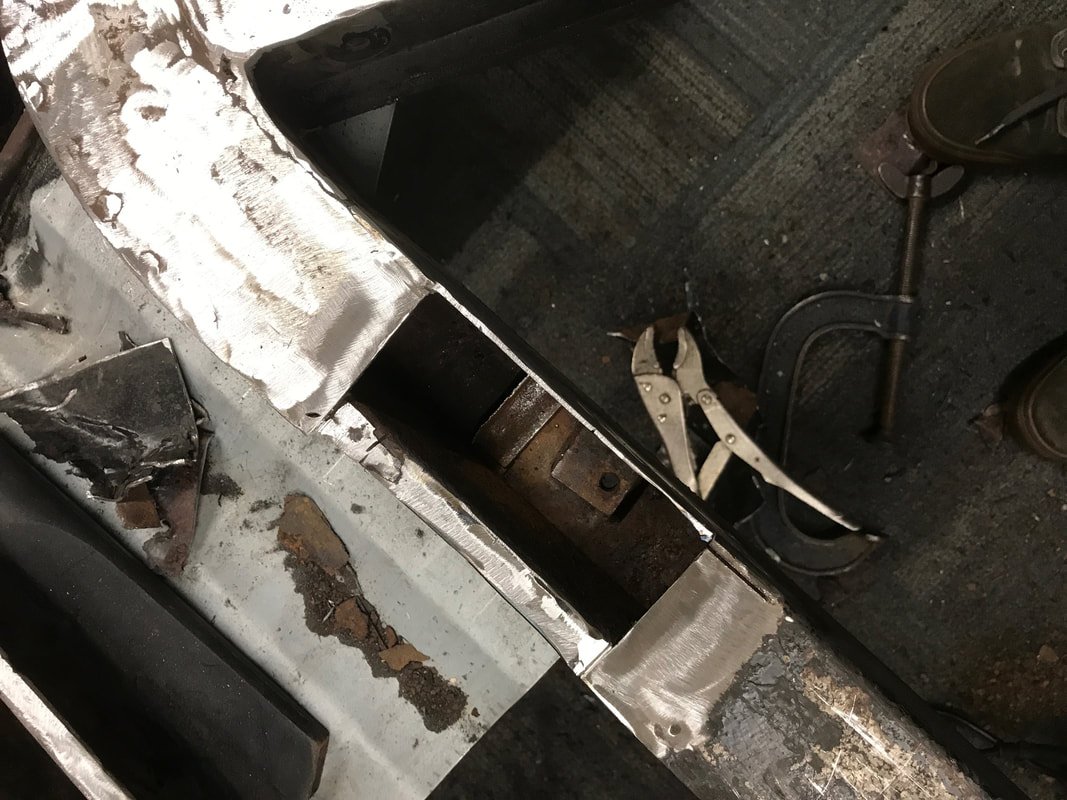
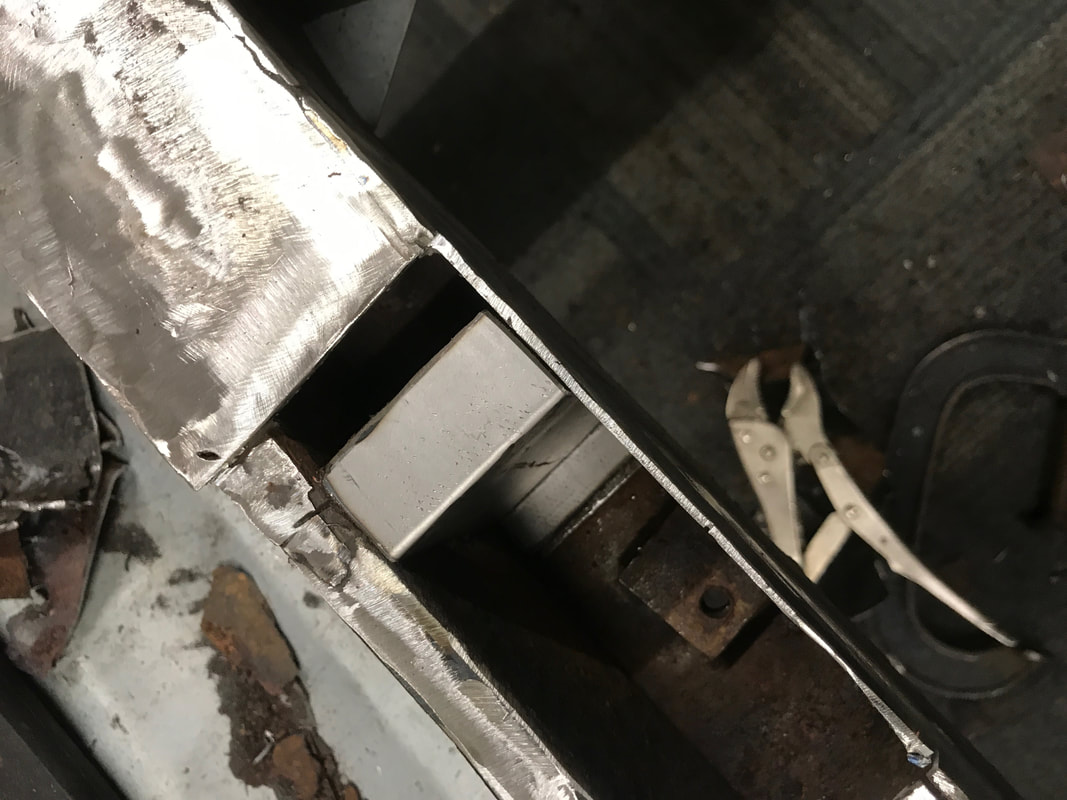
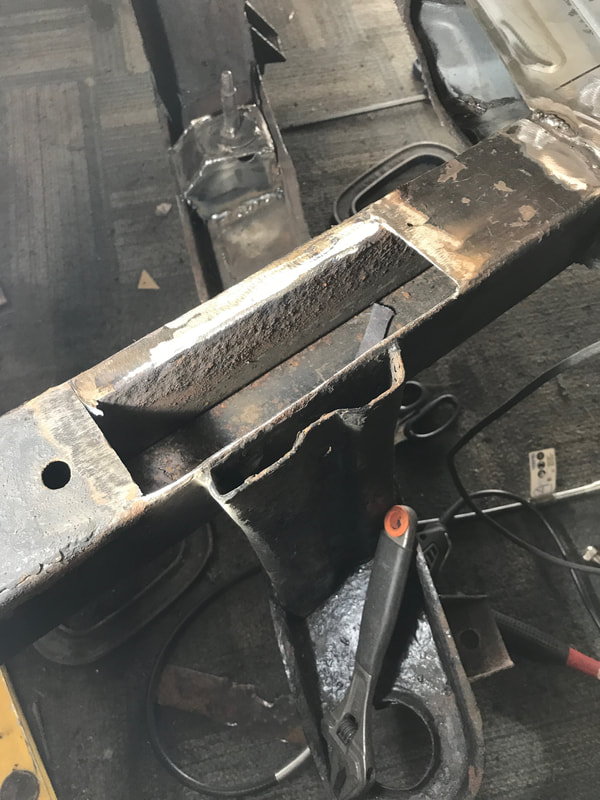
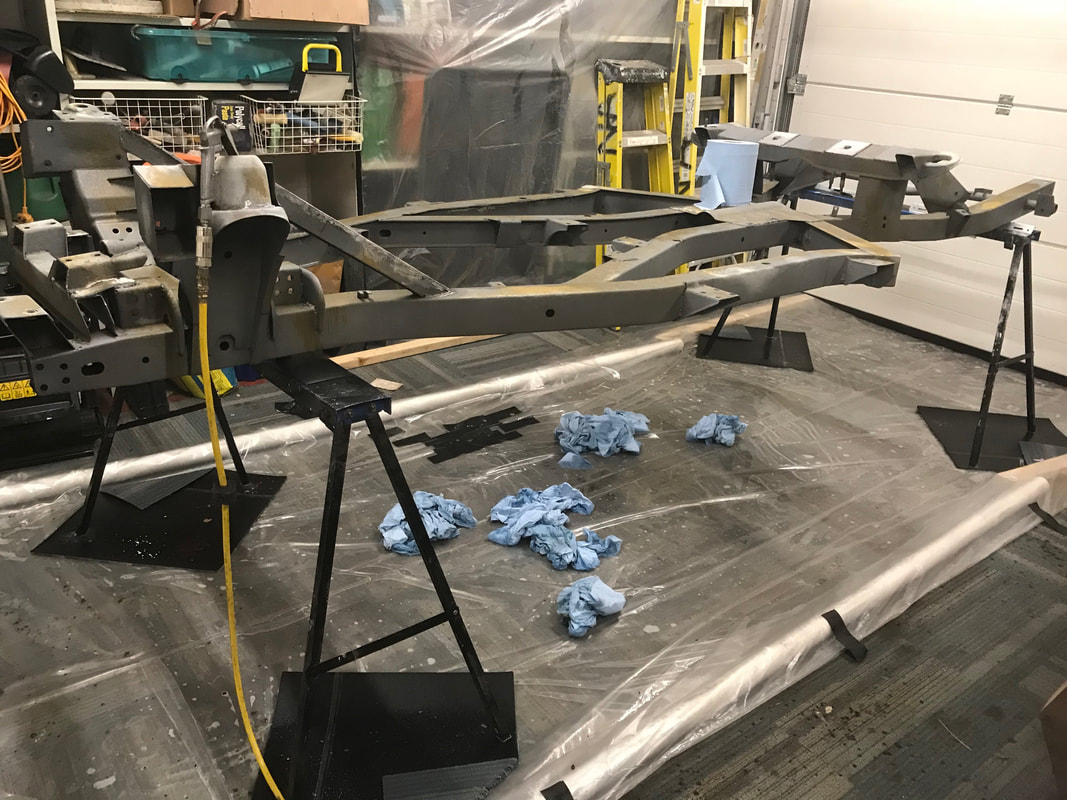
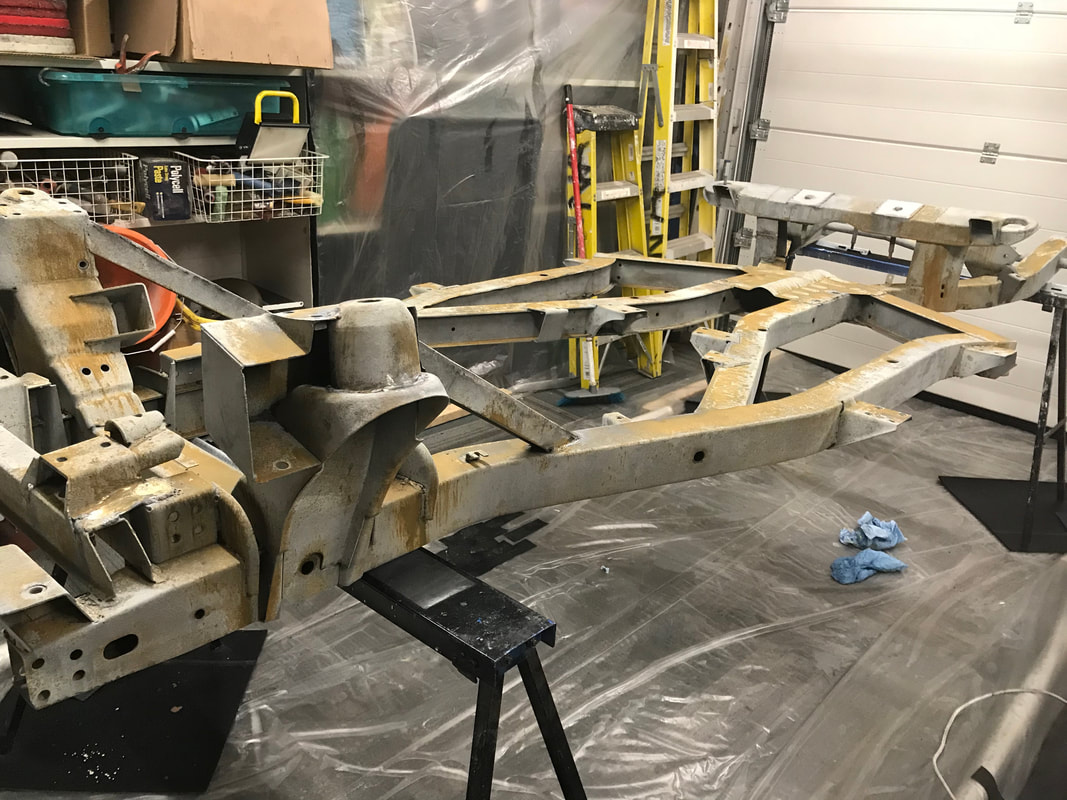
One the frame was stripped and after close inspection there were a few old repairs that i didnt like the look of, they were probably alright but i'm glad that i did decide the replace as there were some nasty holes underneath.
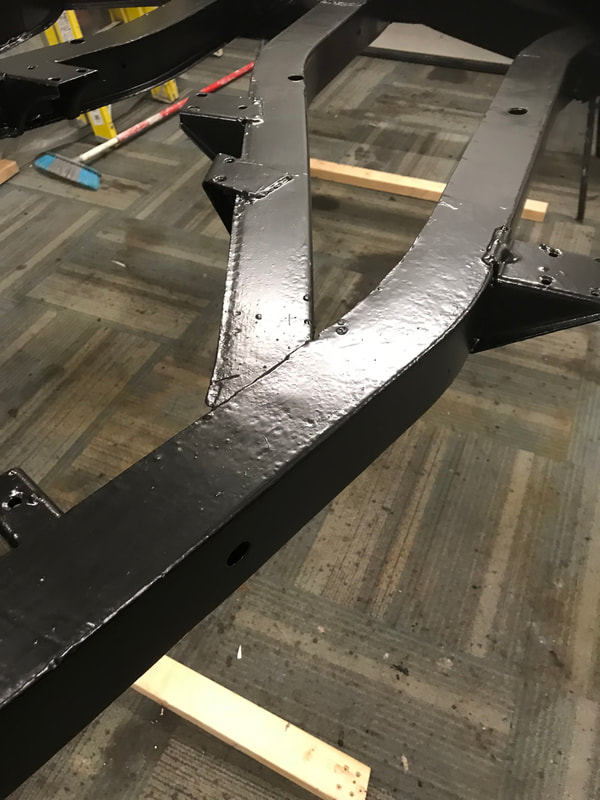
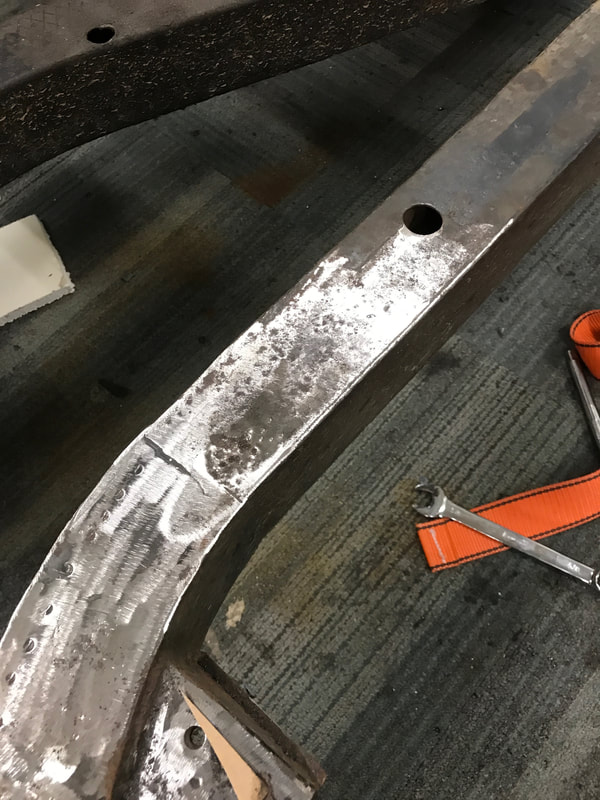
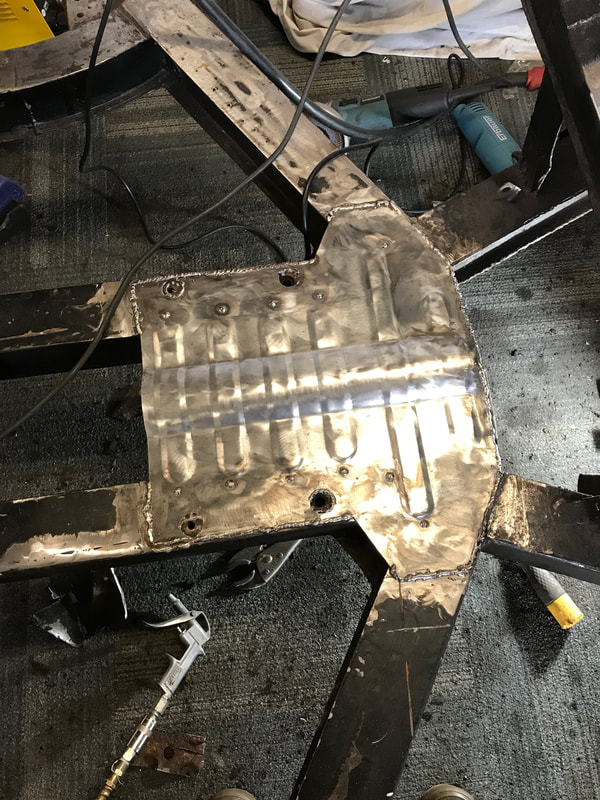
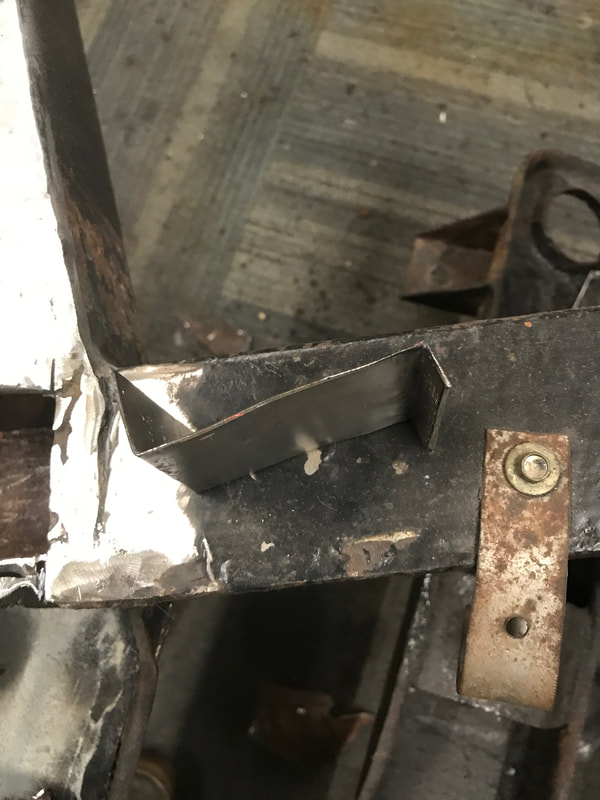
Now my welding skills are or not the best to look at but they are strong so out came the grinder to tidy things up.
Now my welding skills are or not the best to look at but they are strong so out came the grinder to tidy things up.
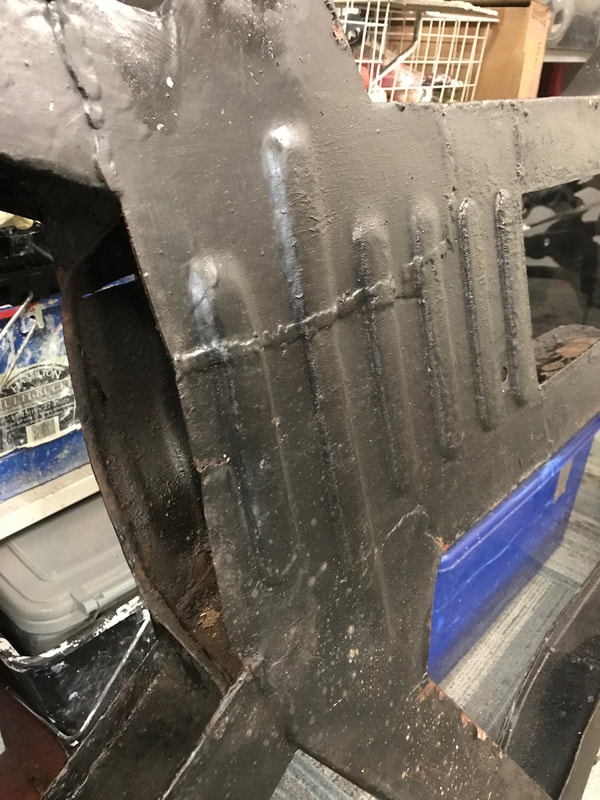
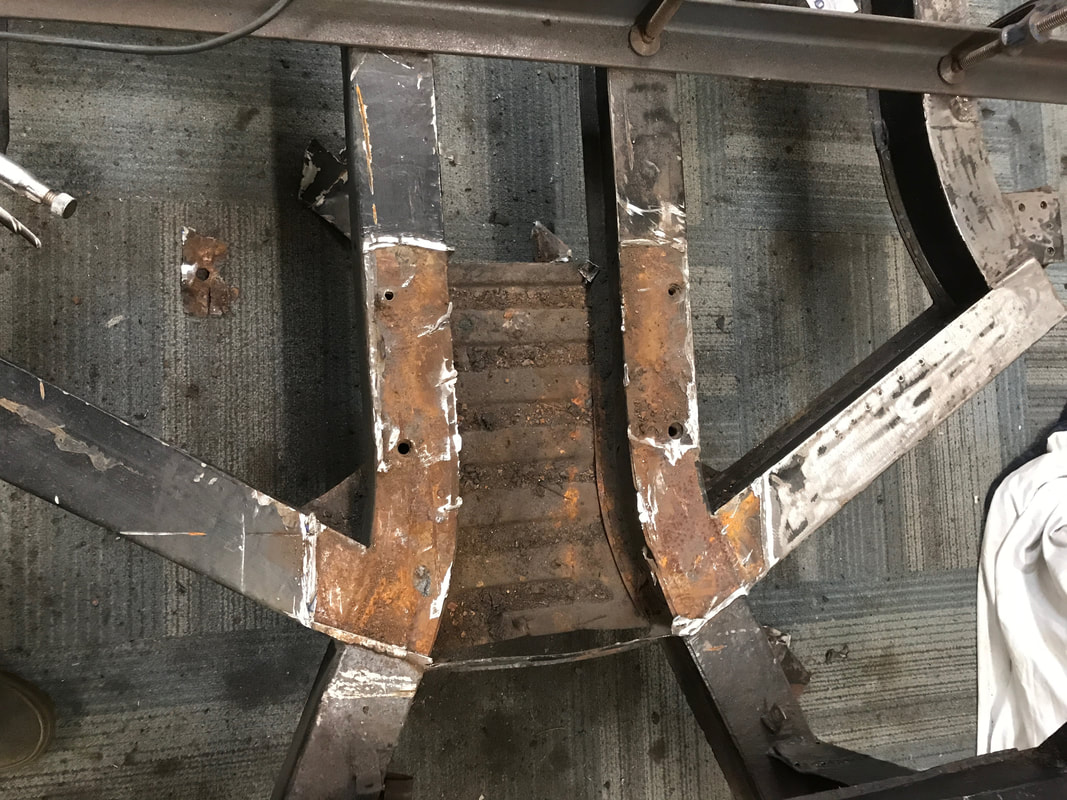
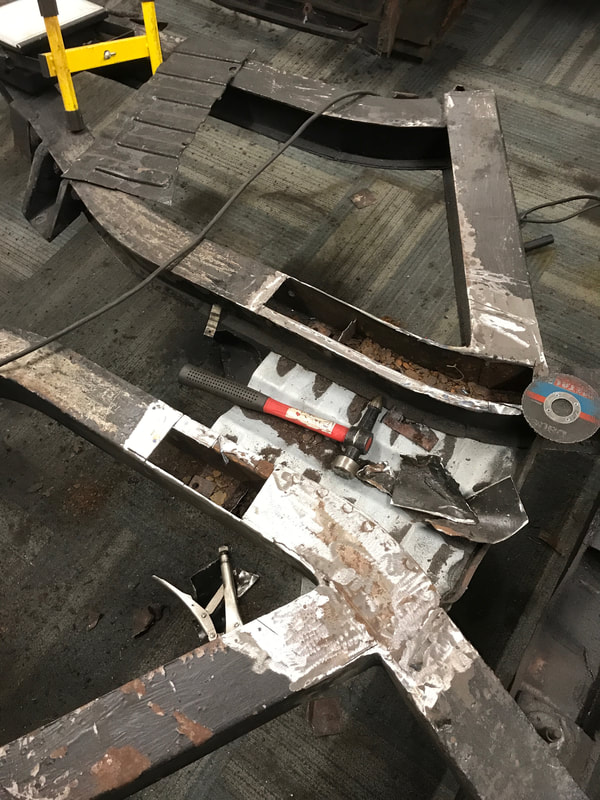
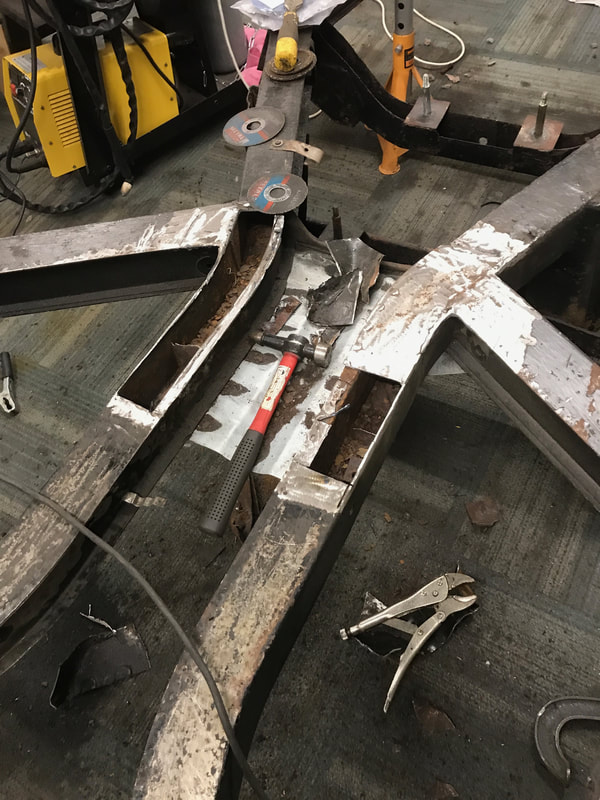

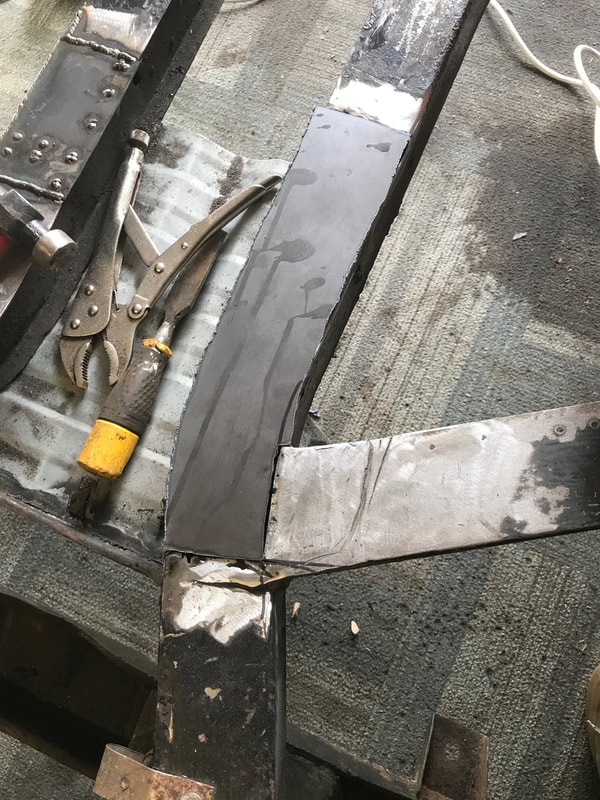
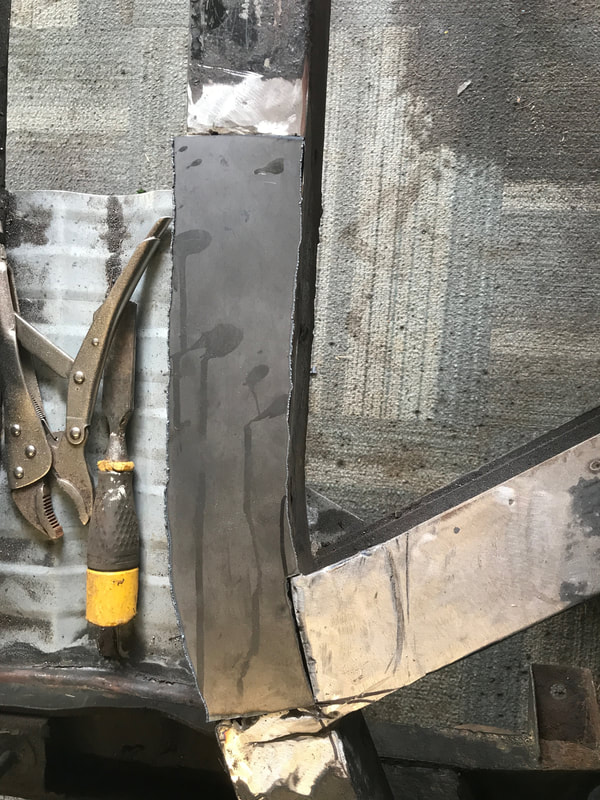
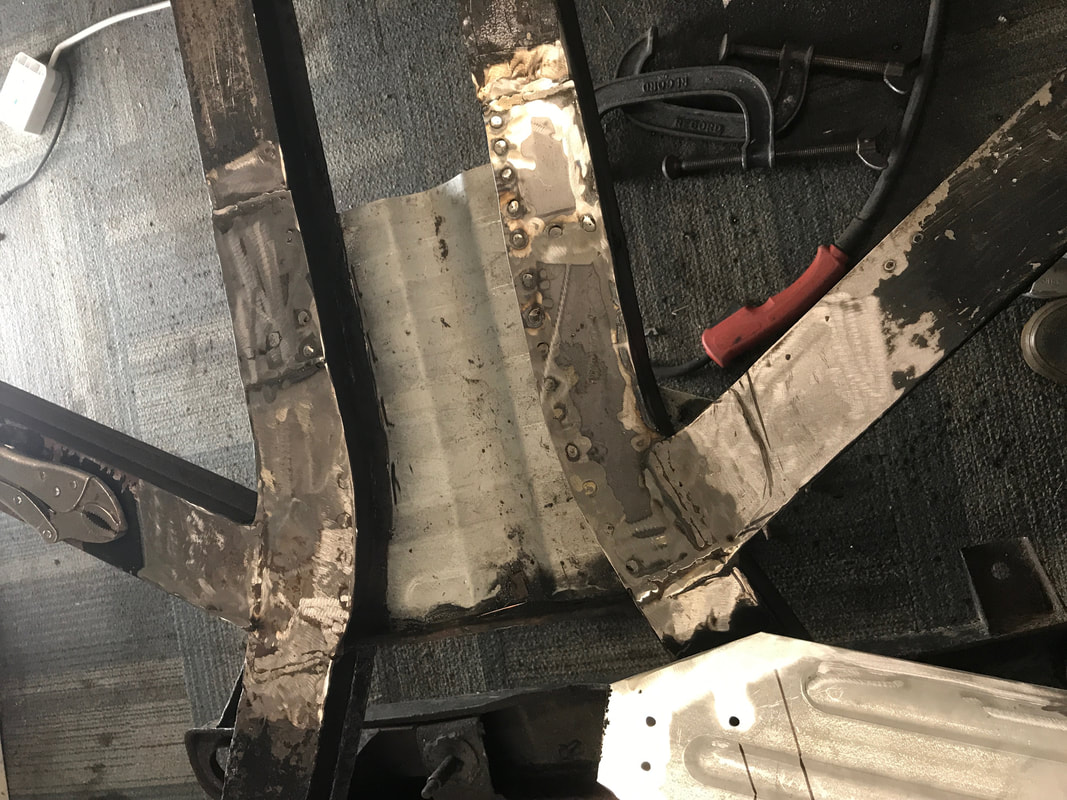
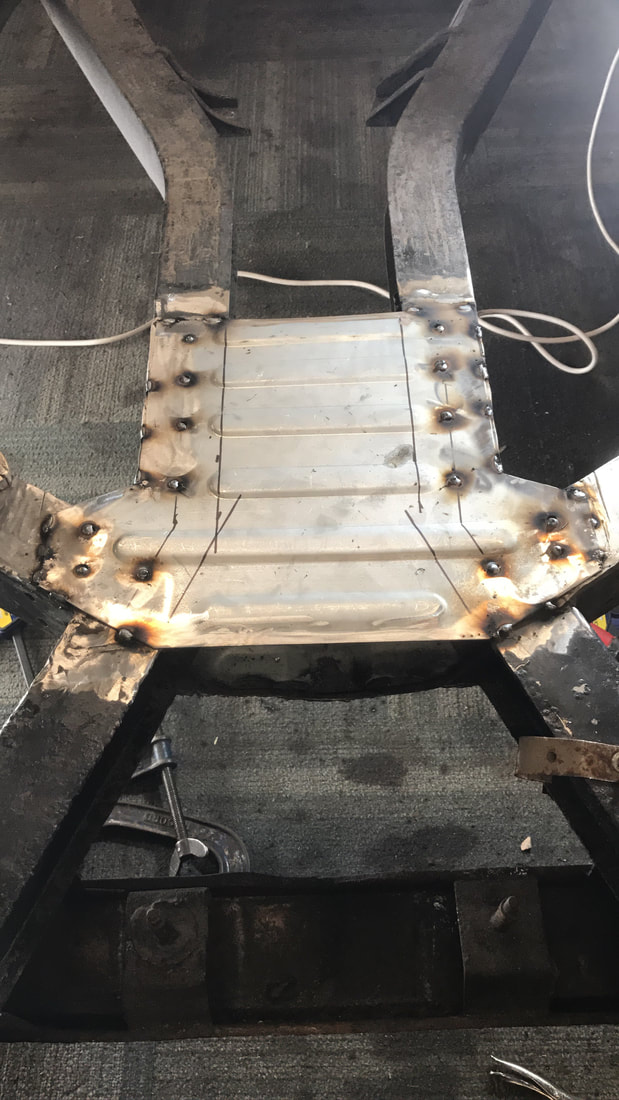
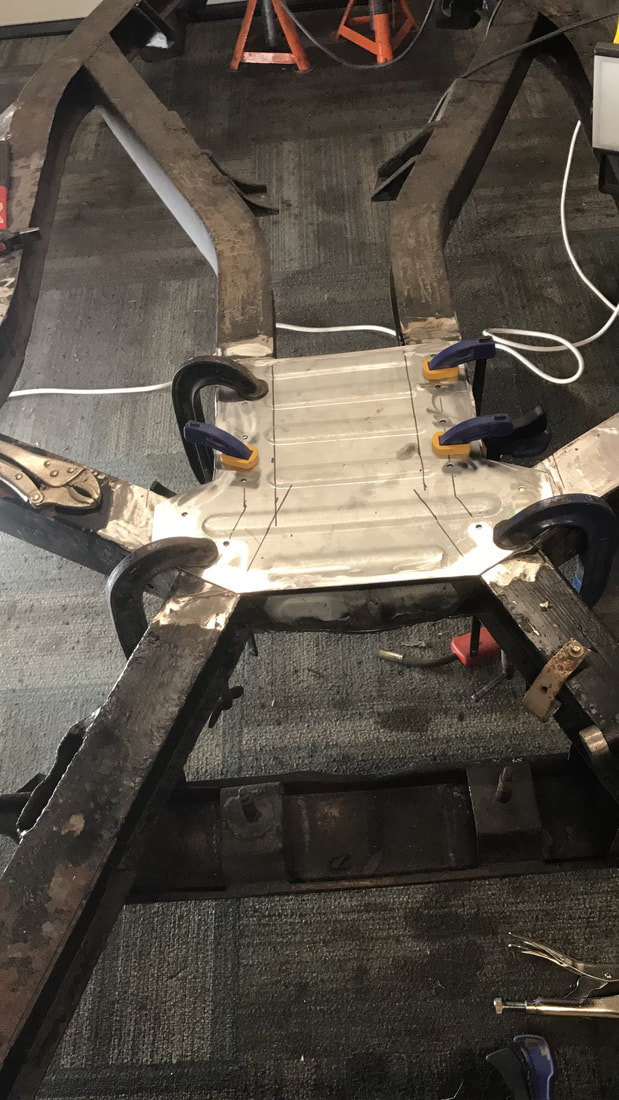
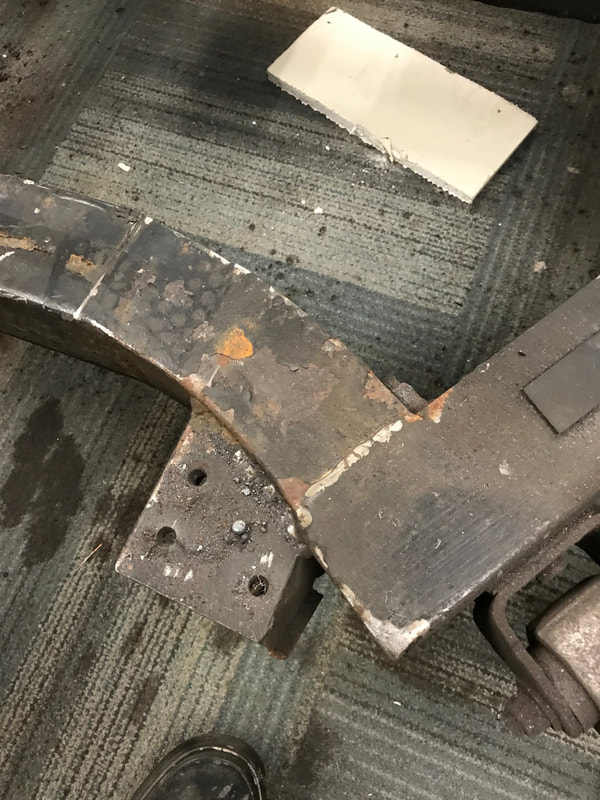
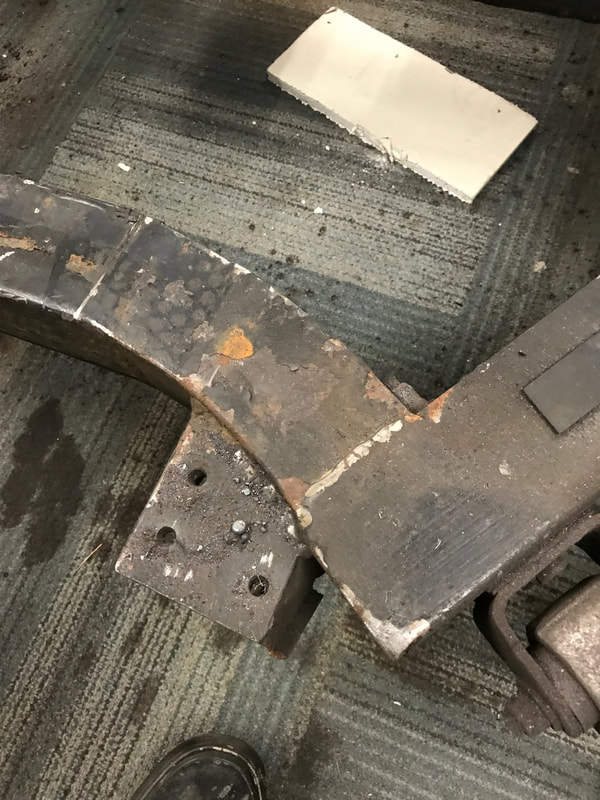
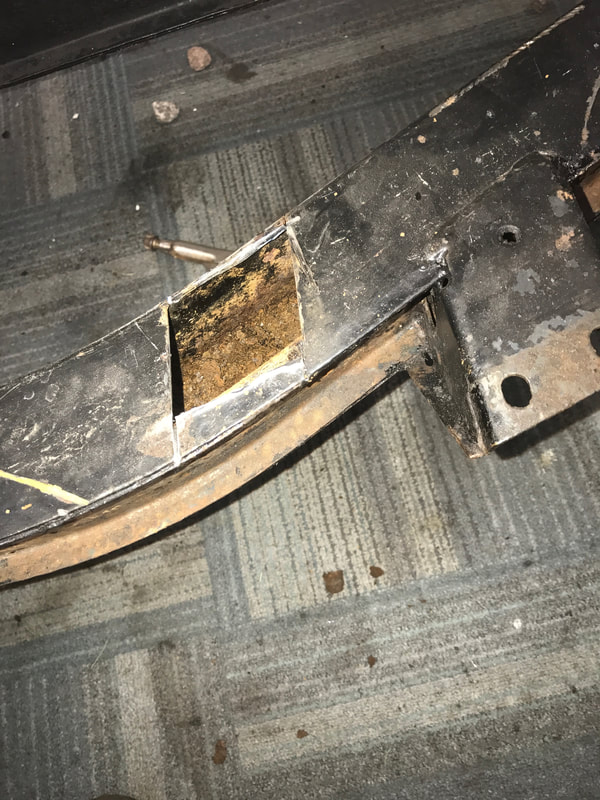
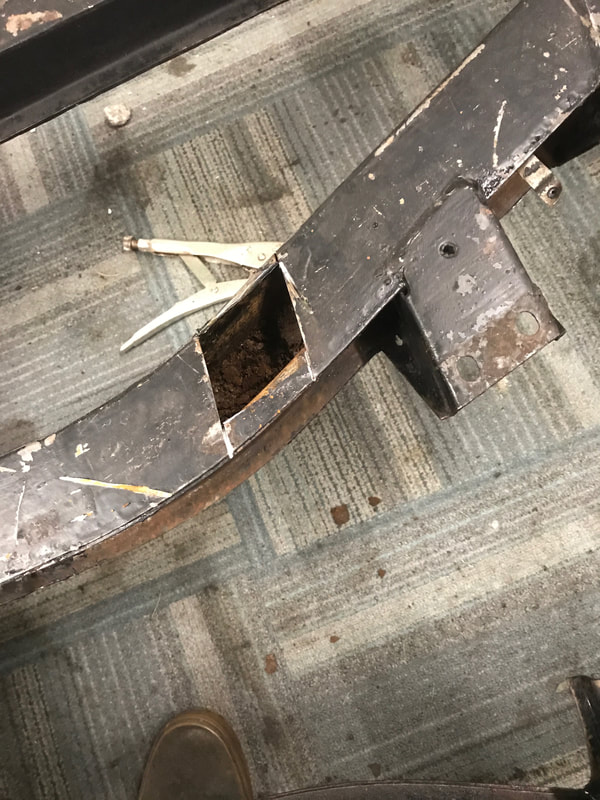
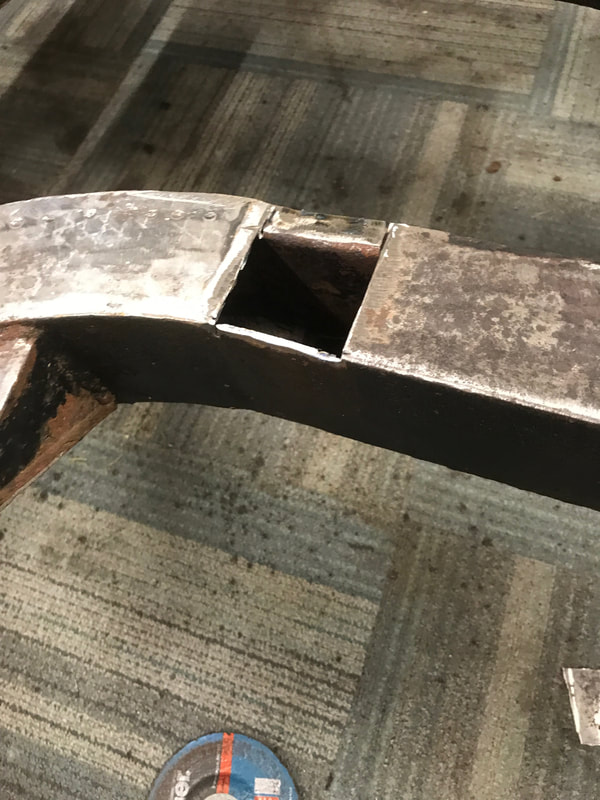
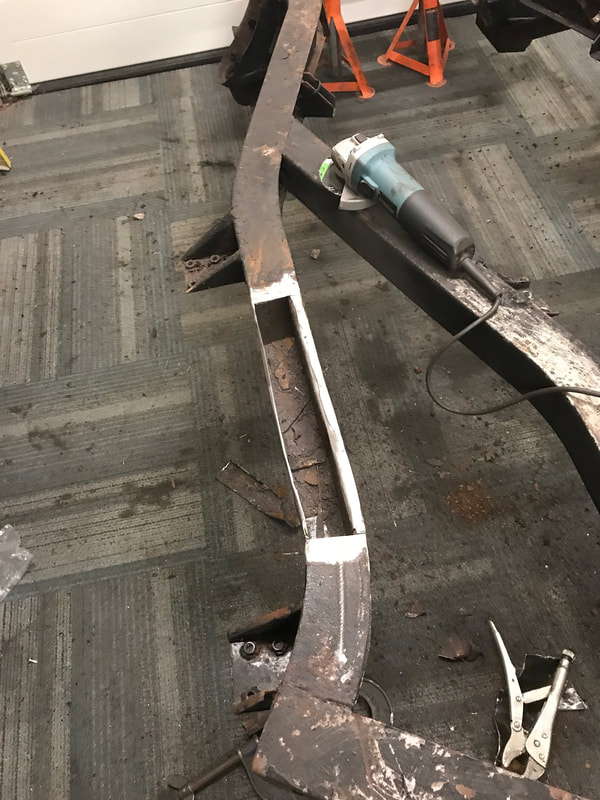
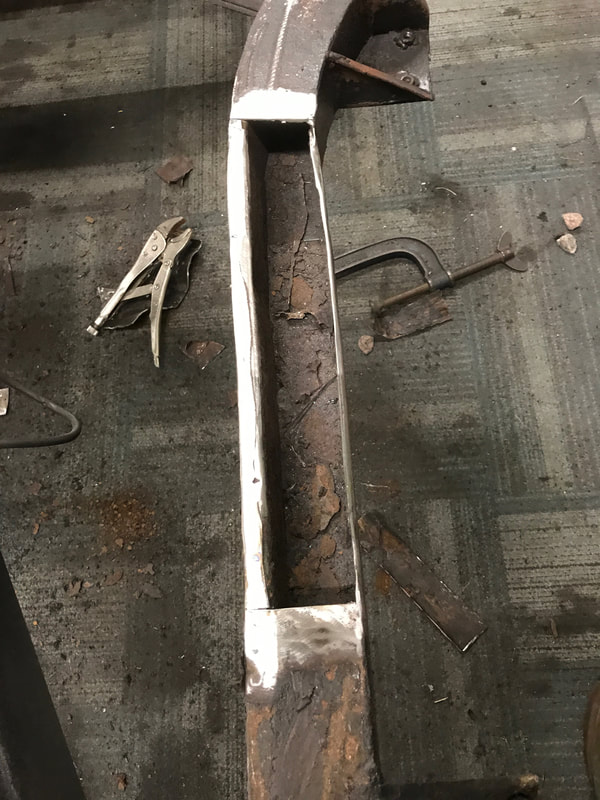
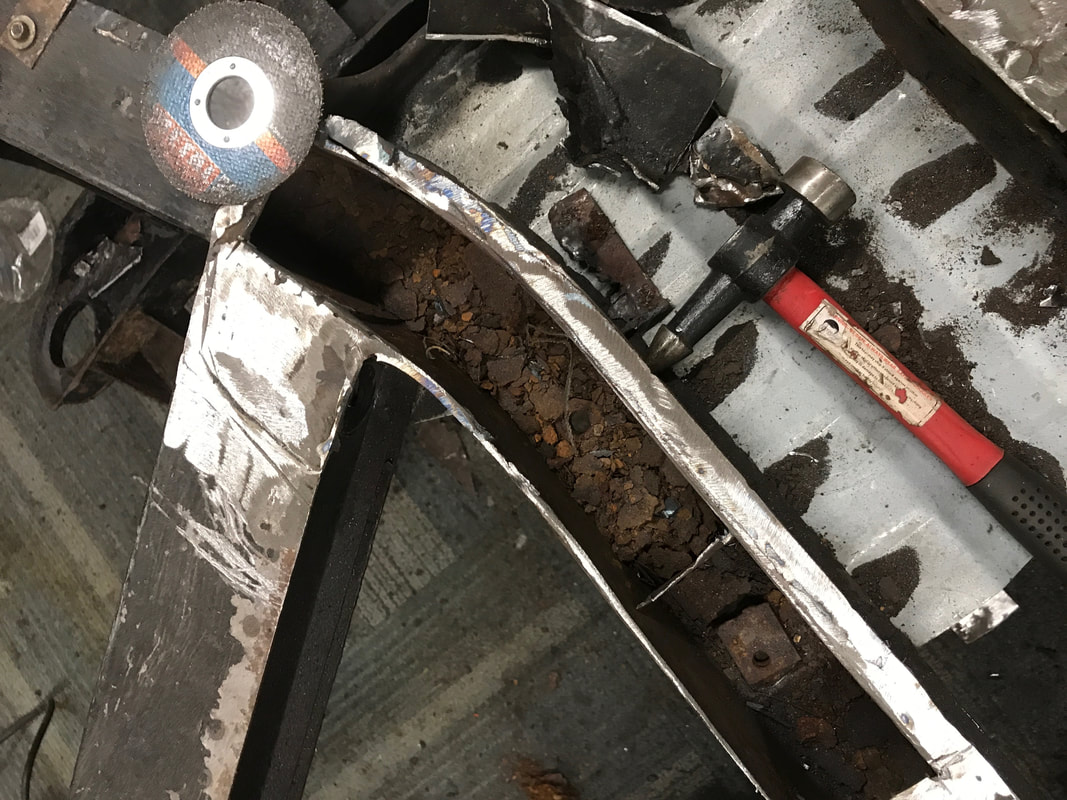
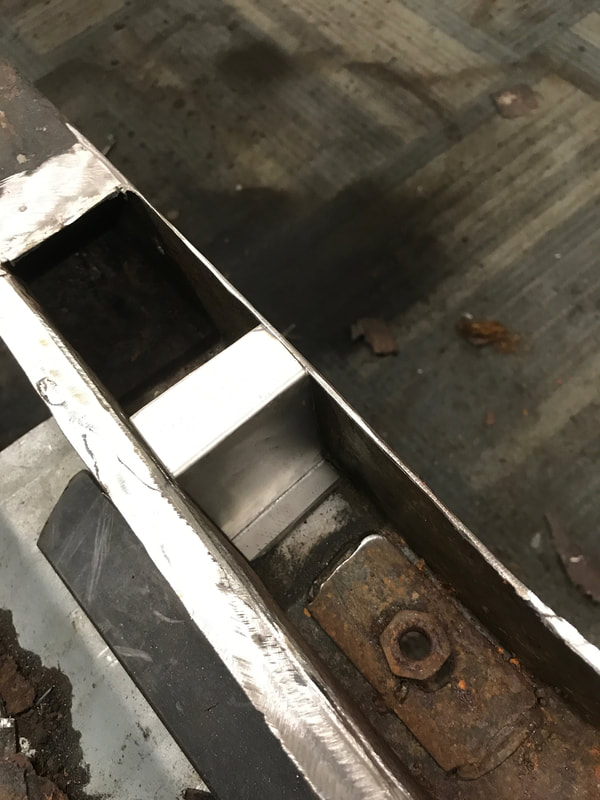
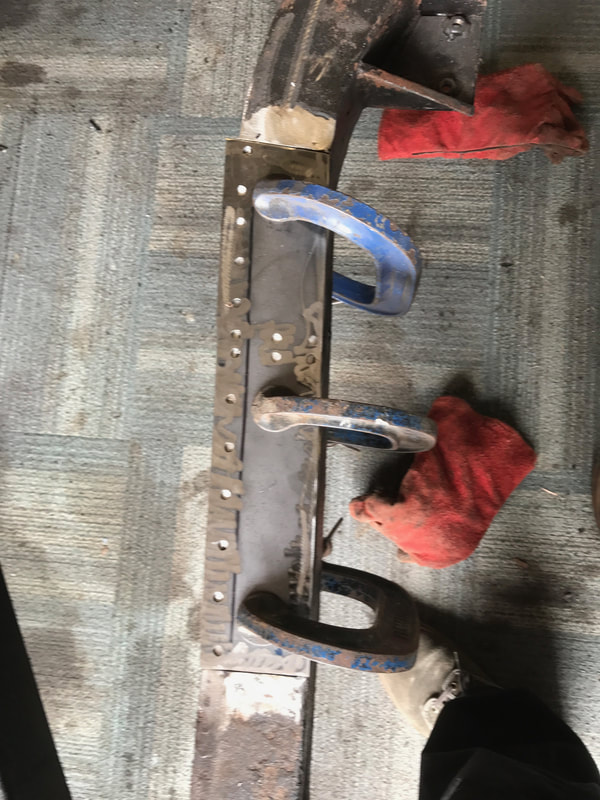
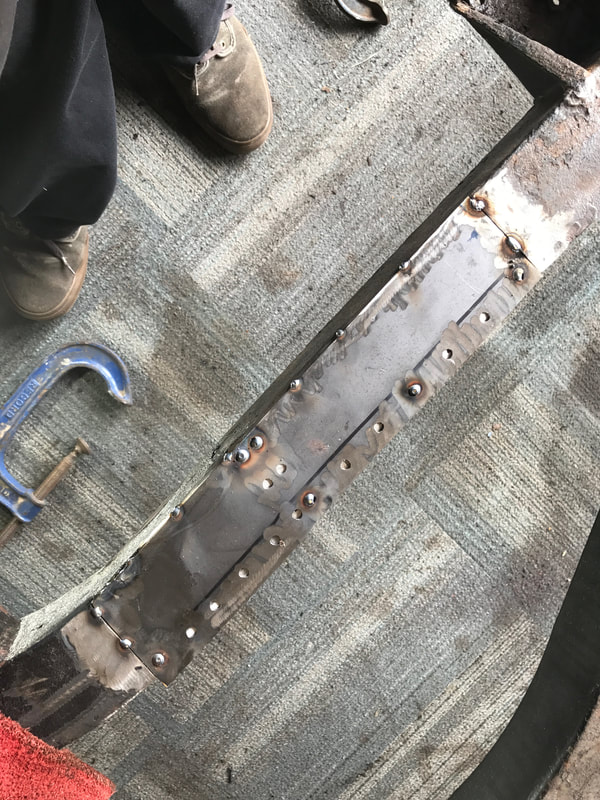
Some more holes in the frame......a fair amount of old rusted off bits which were hoovered out, some inner strengthing bit remade and welded in after the inners had been dremmeld out to clean up.

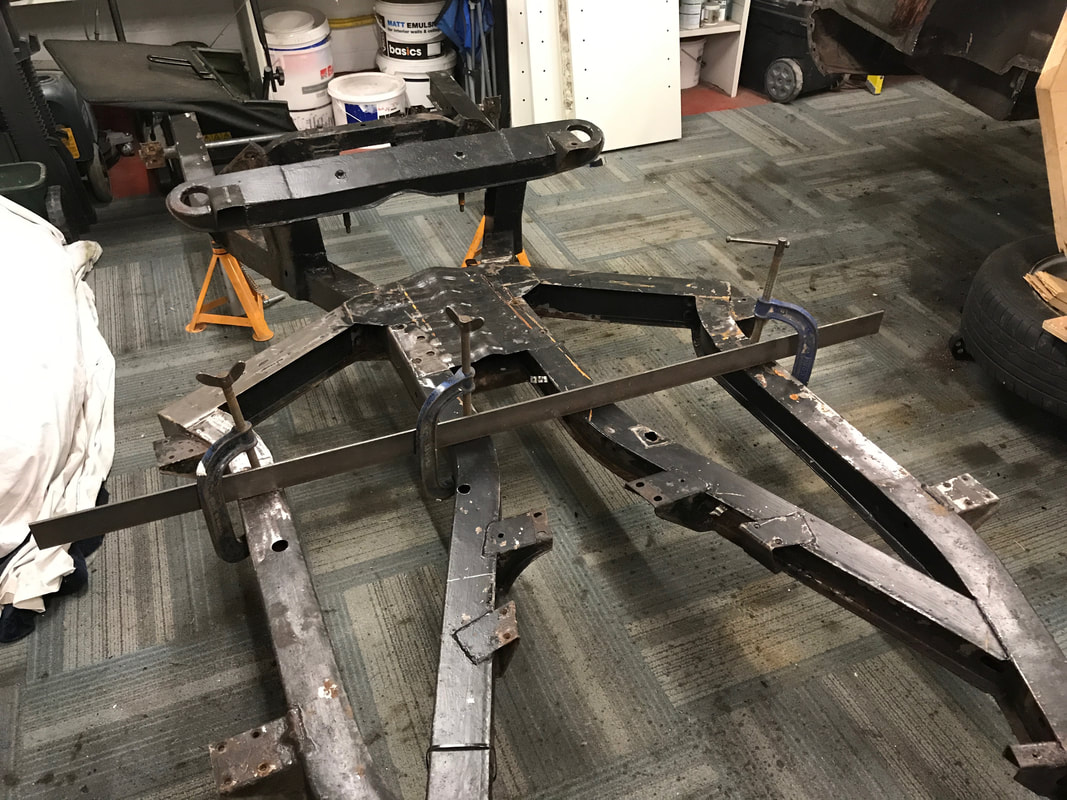
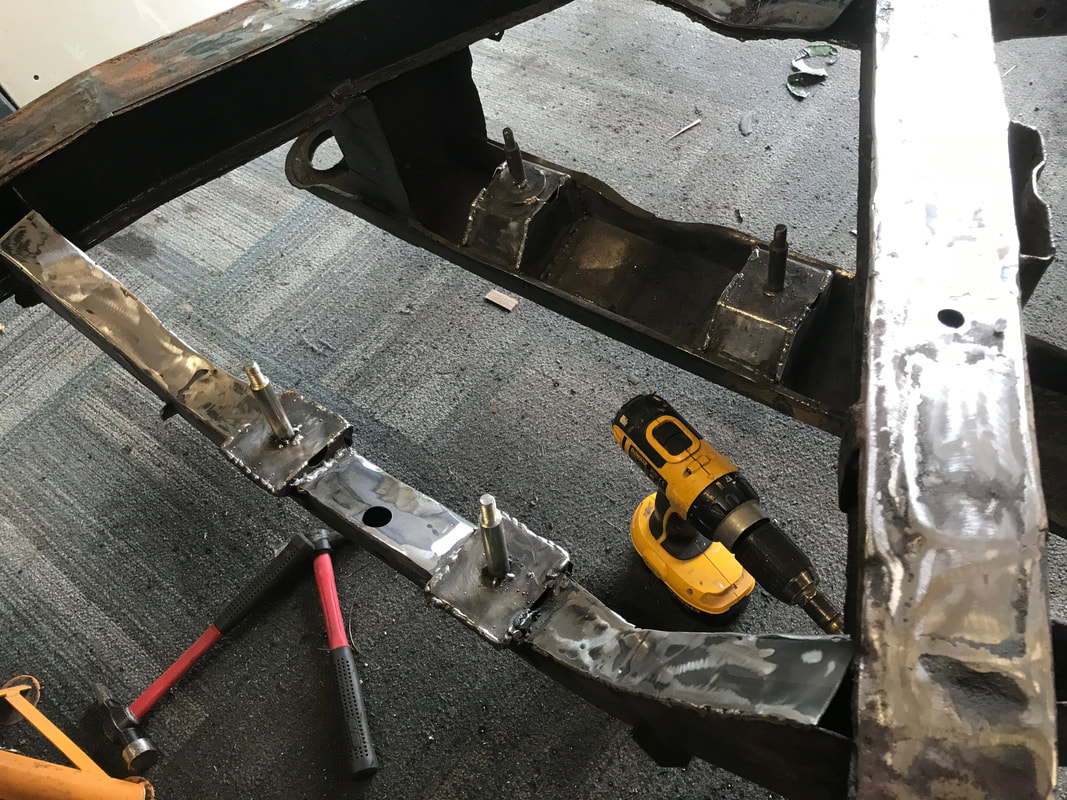
Additional frame strengthening mods
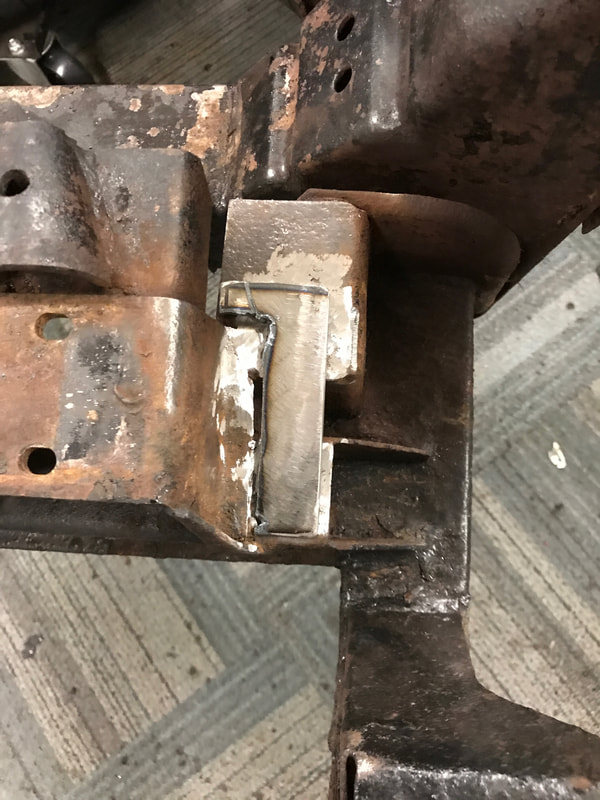
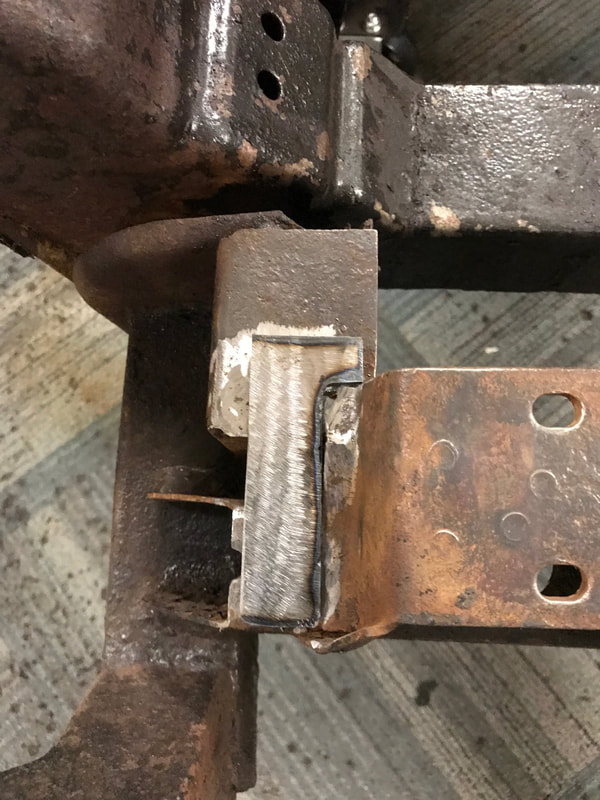
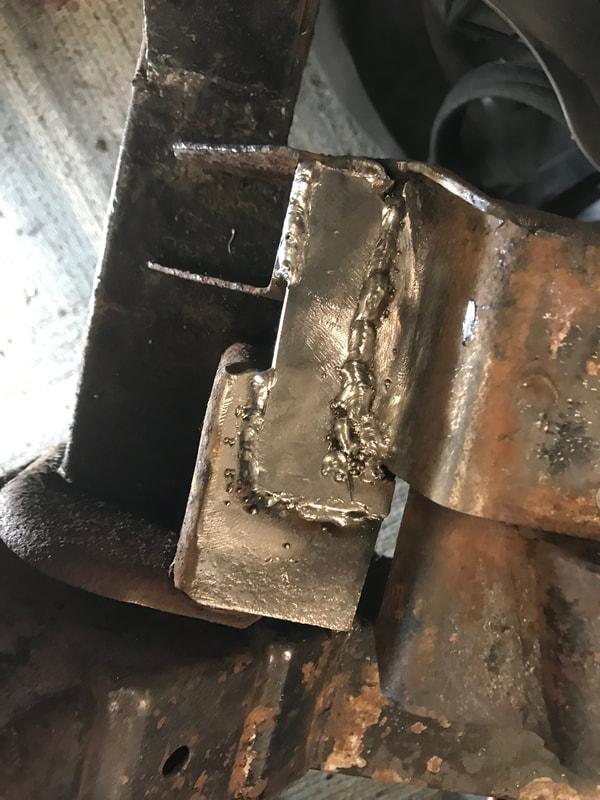
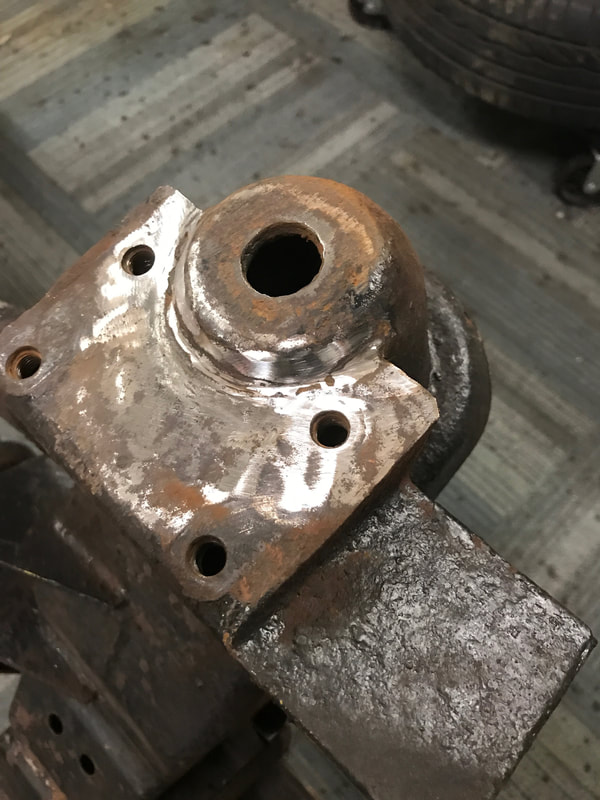
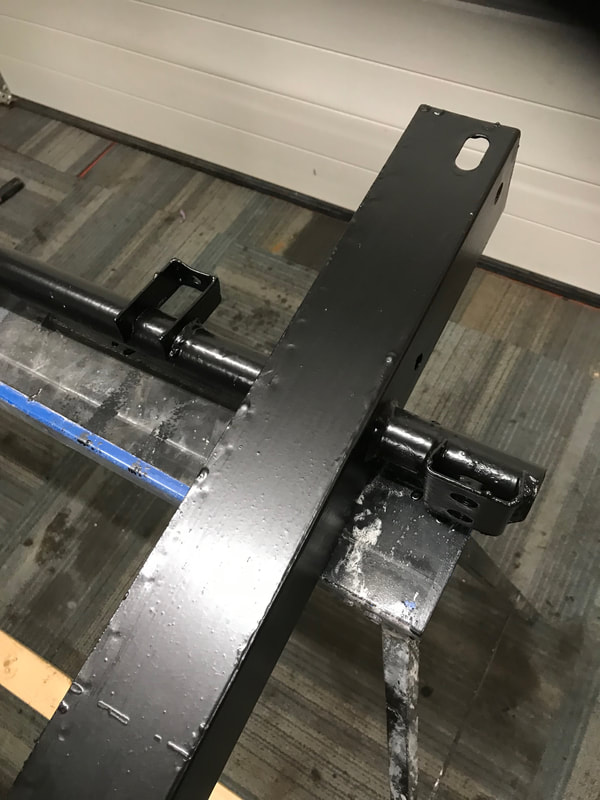
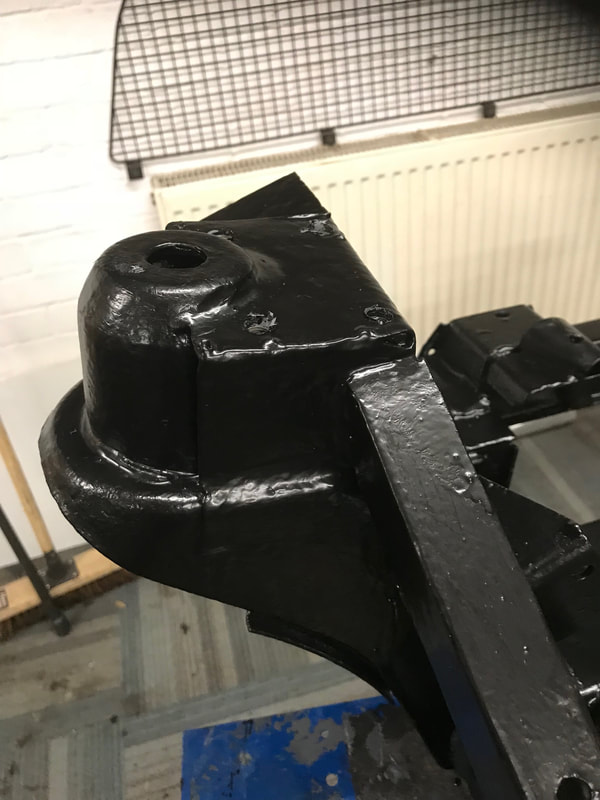
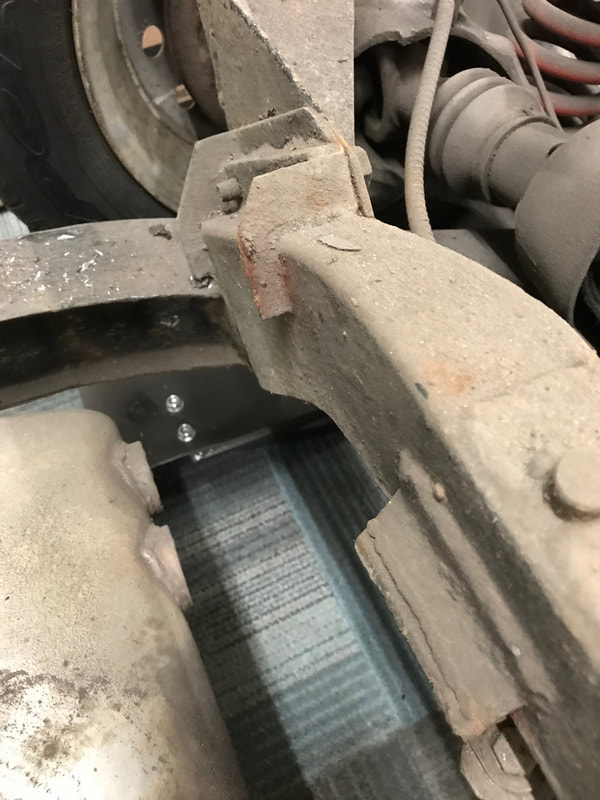
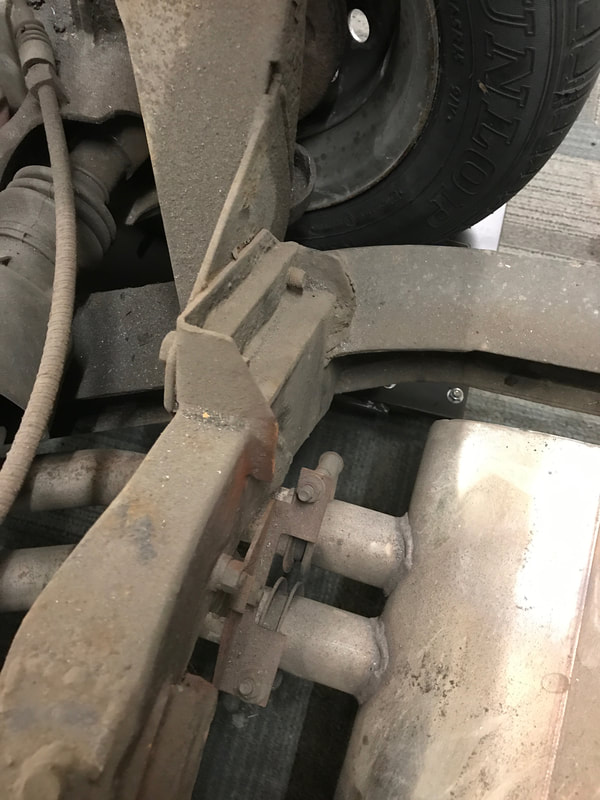
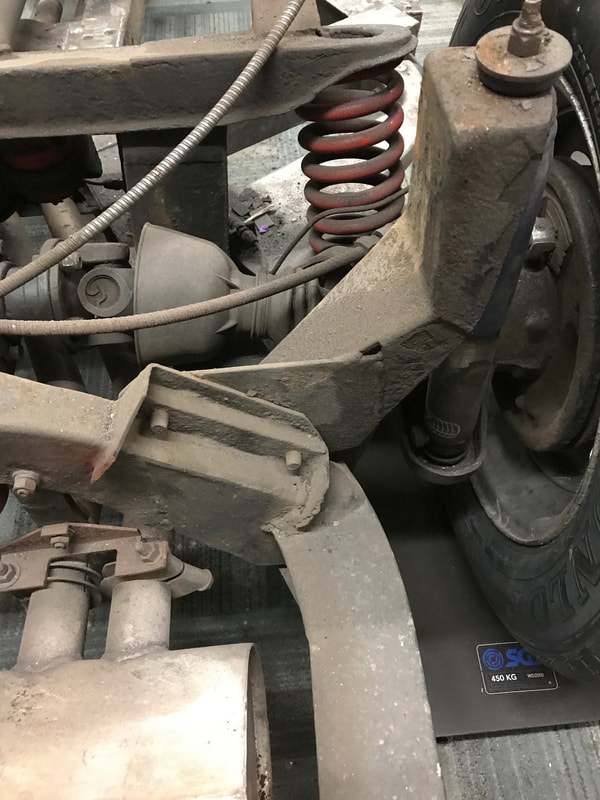
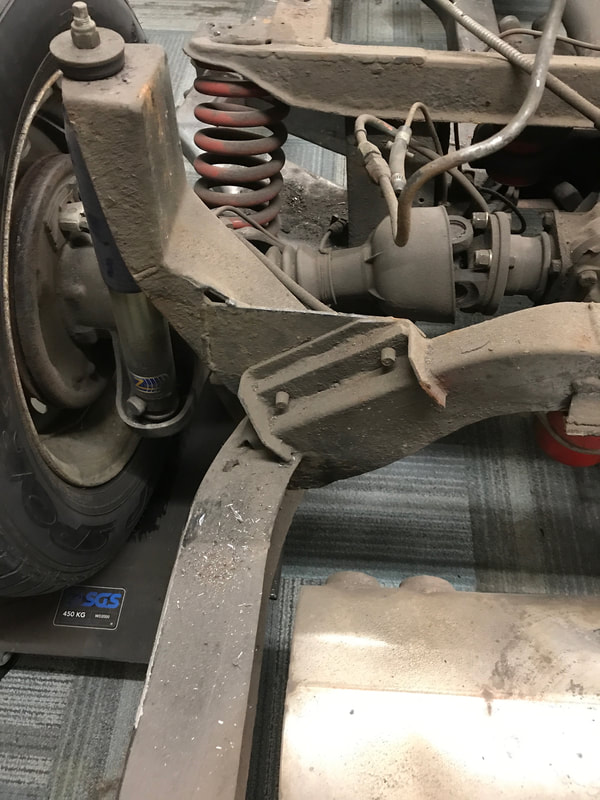
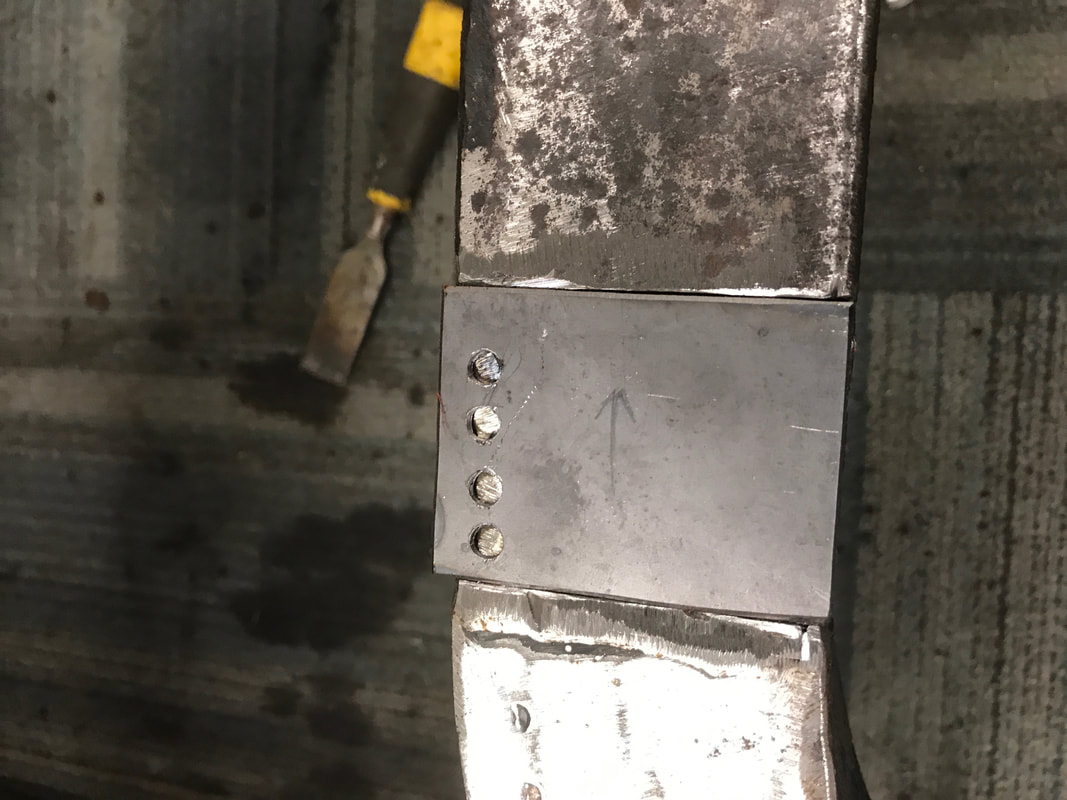
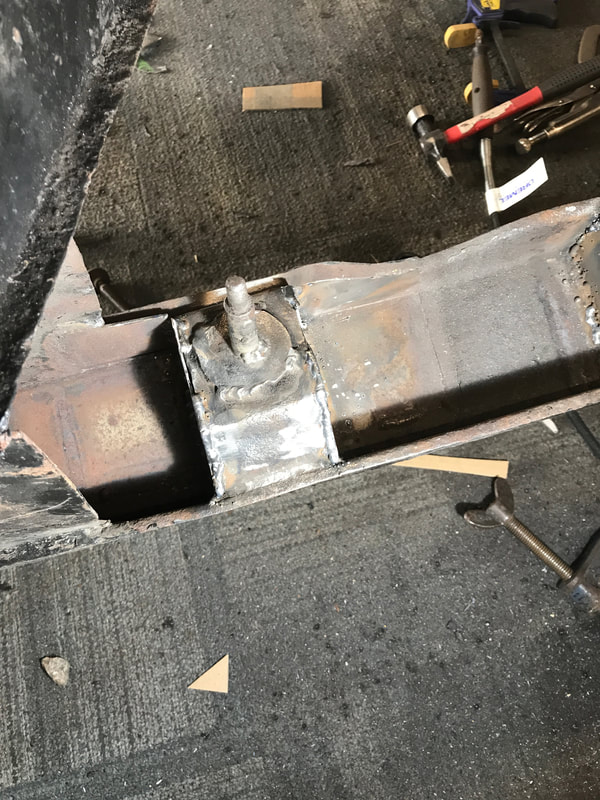
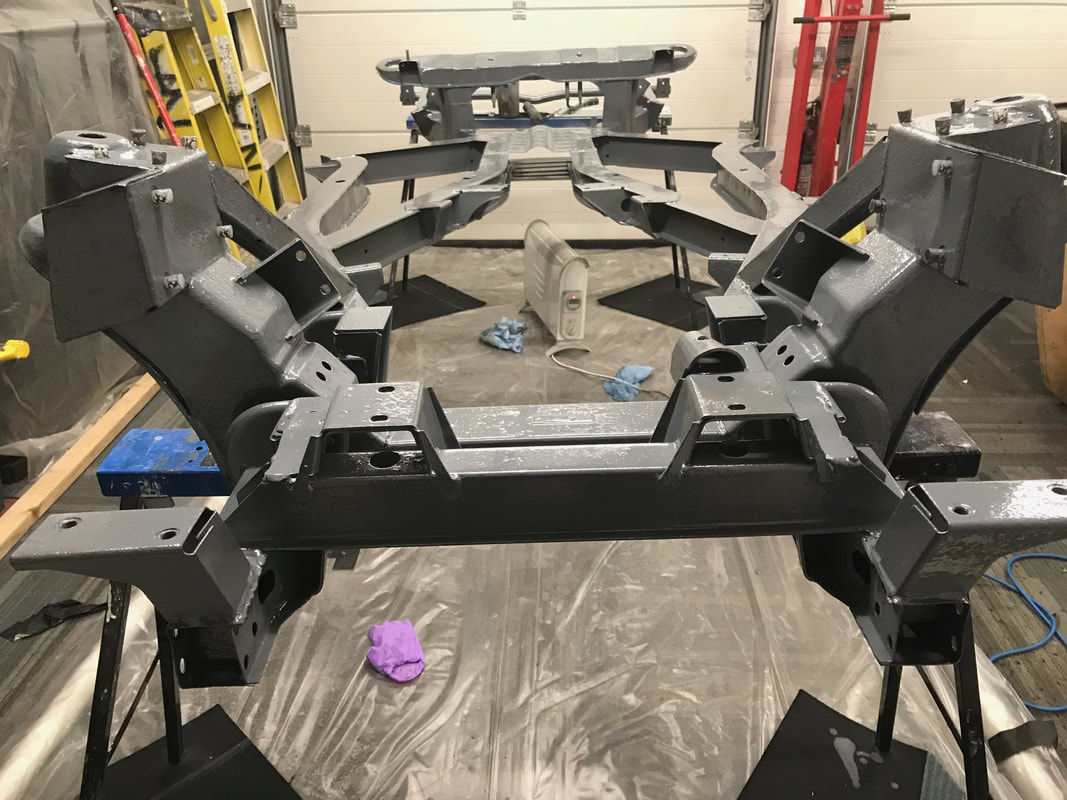
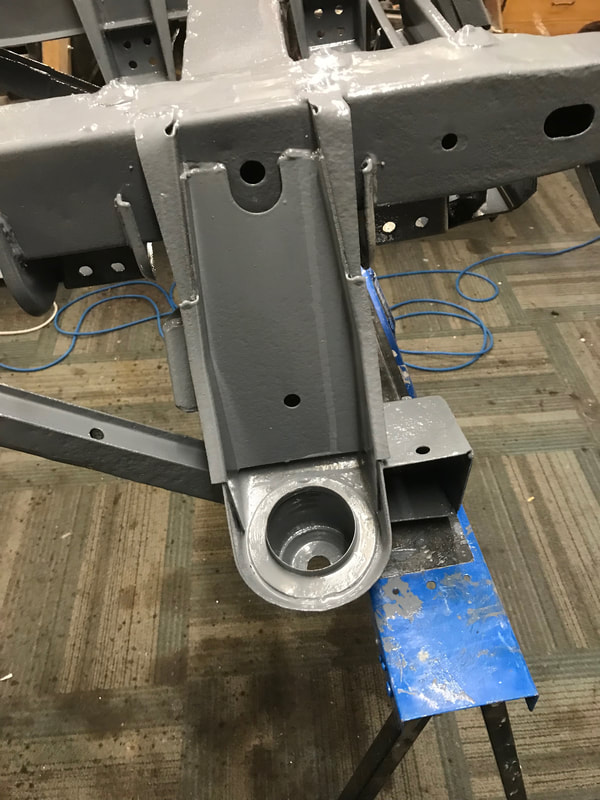
Apparently a well known couple of areas that could do with a little beef up. Front wishbone mounts and the front trurret things came out the factory with some meger looking welds...
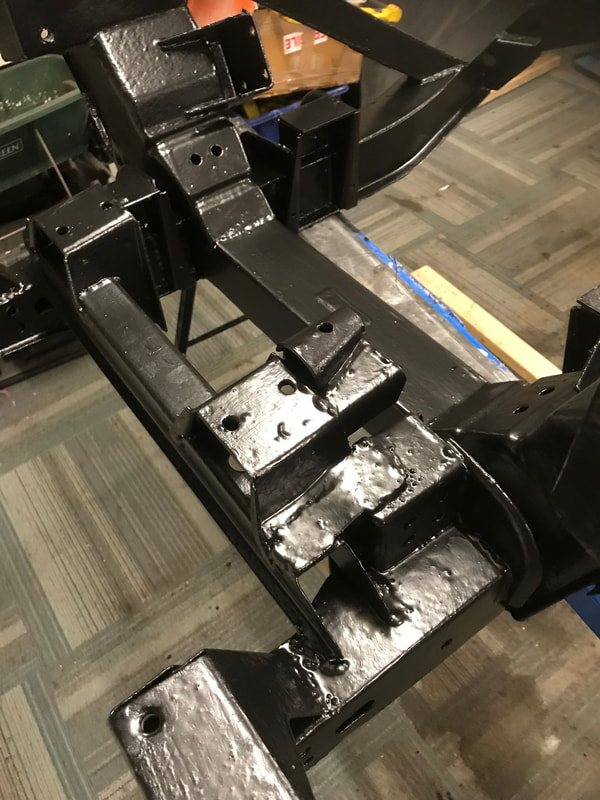
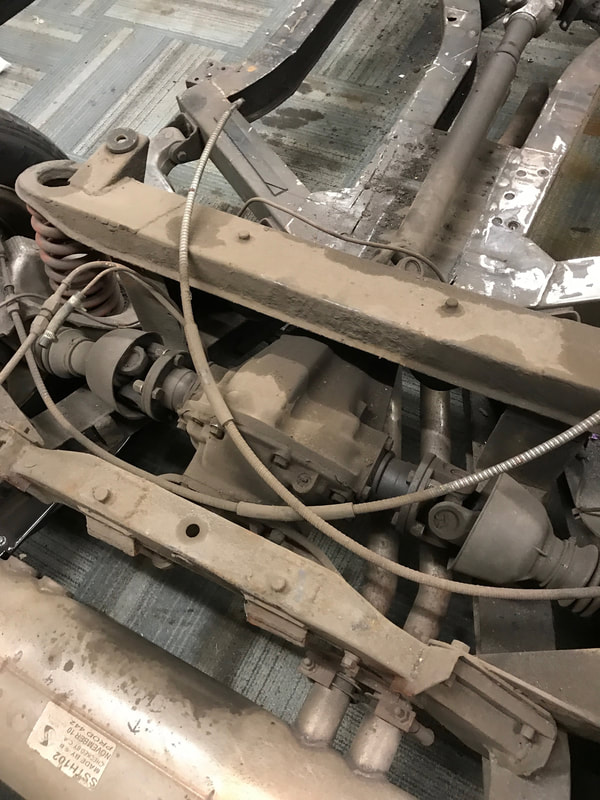
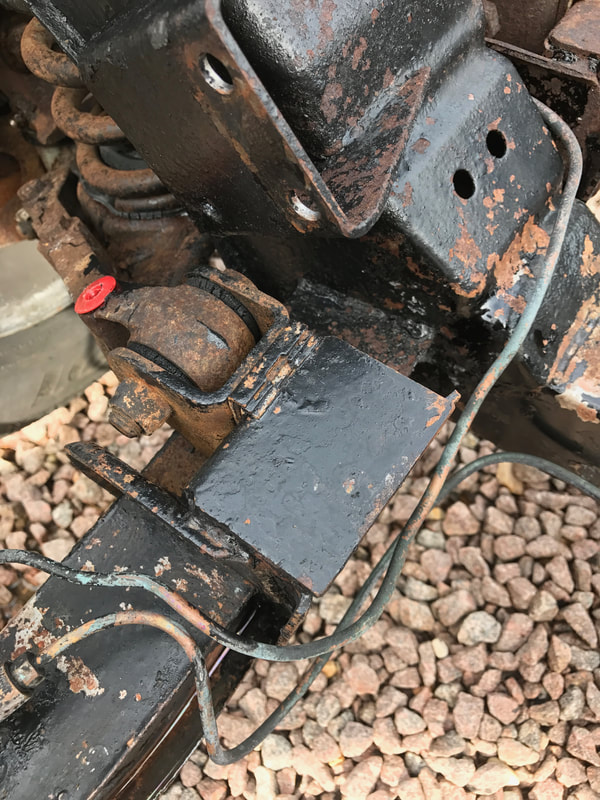
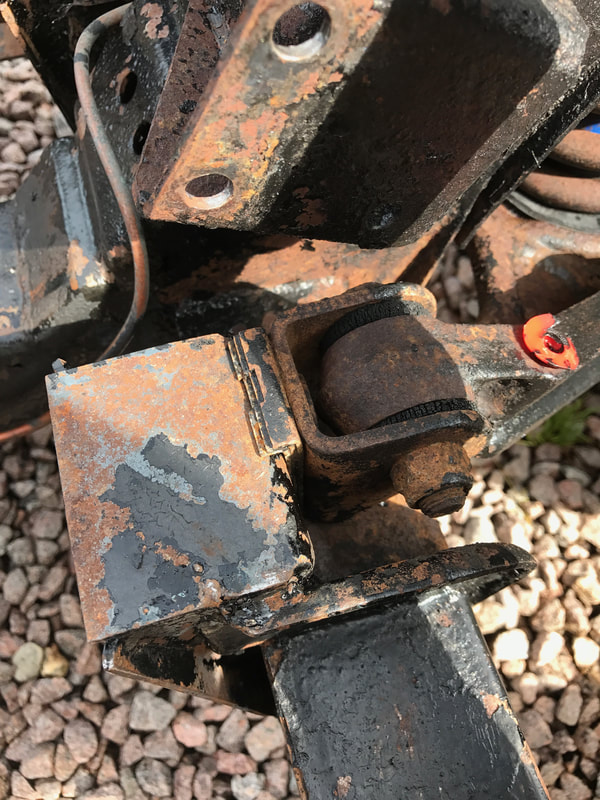
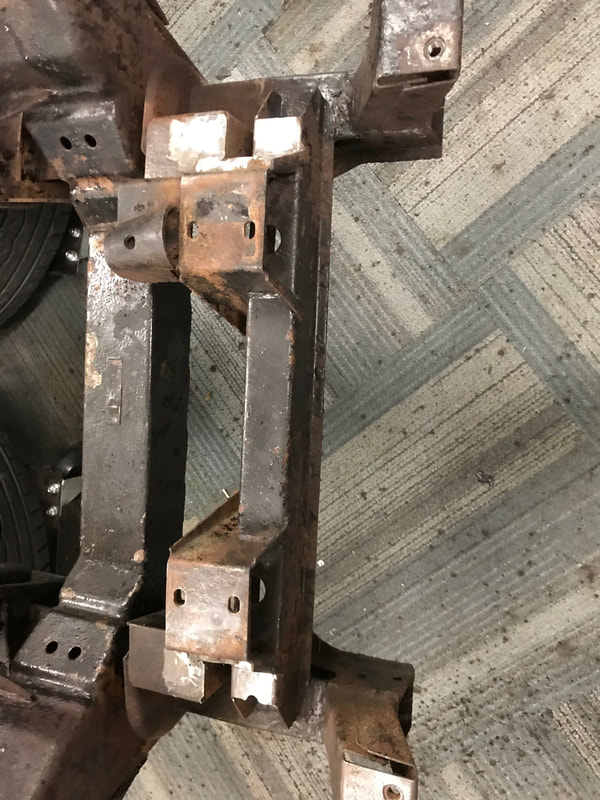
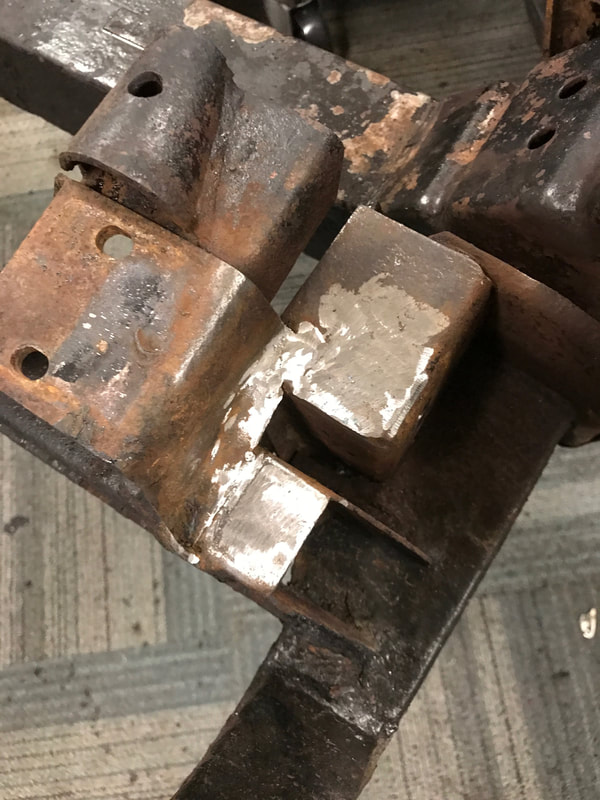
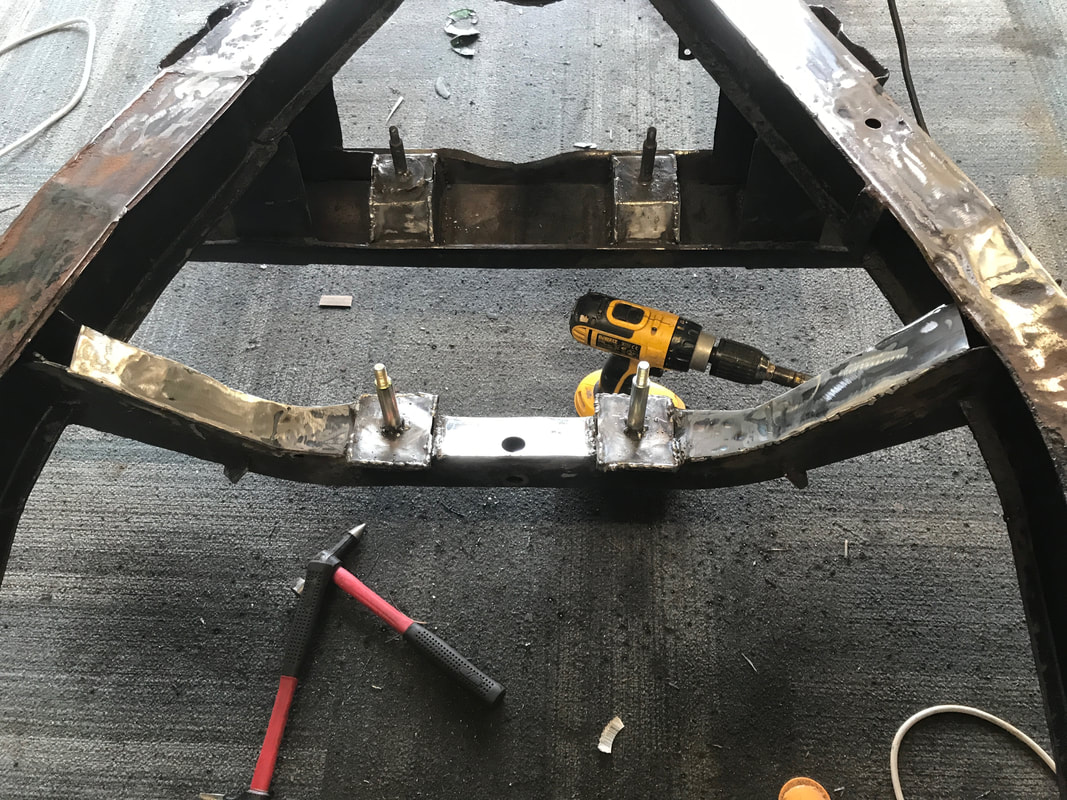
Diff mount bridges
Copied this from Ed the genuis from his website ' bullfire.net"
great idea i thought as they take quite a bit of punishment ...
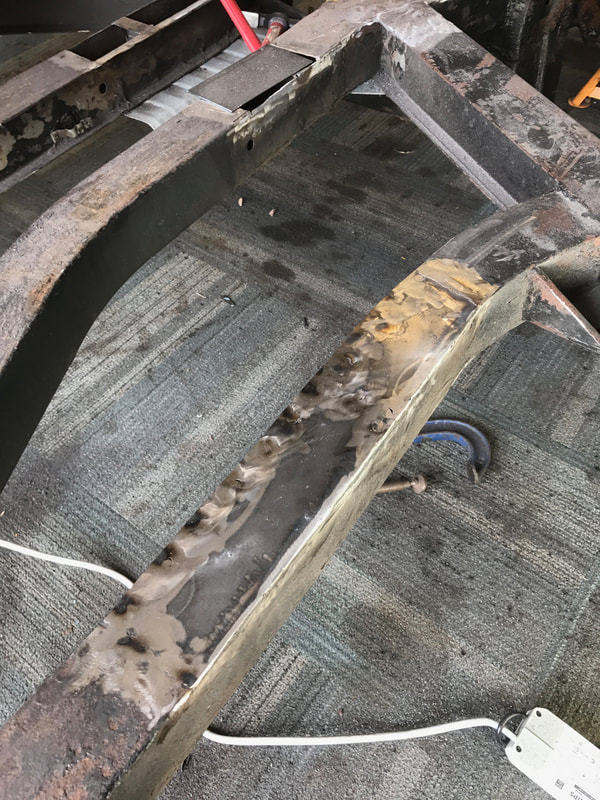
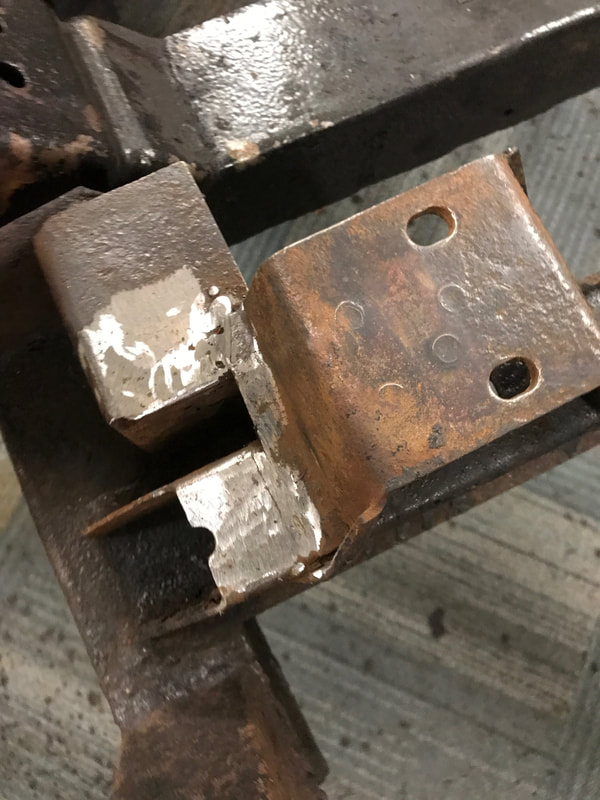
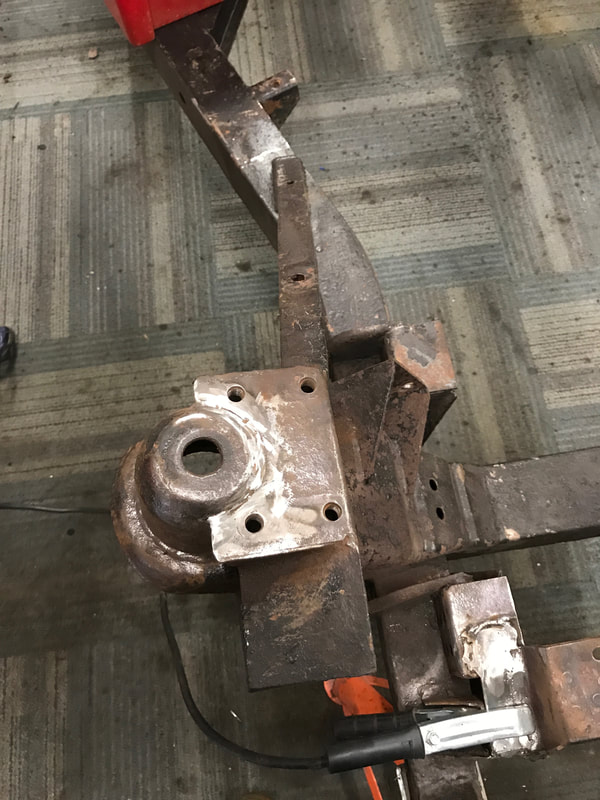
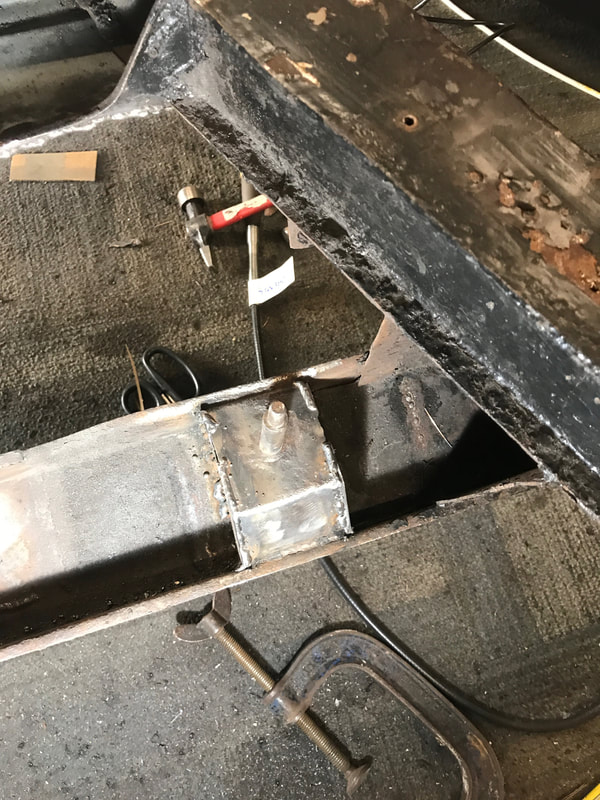
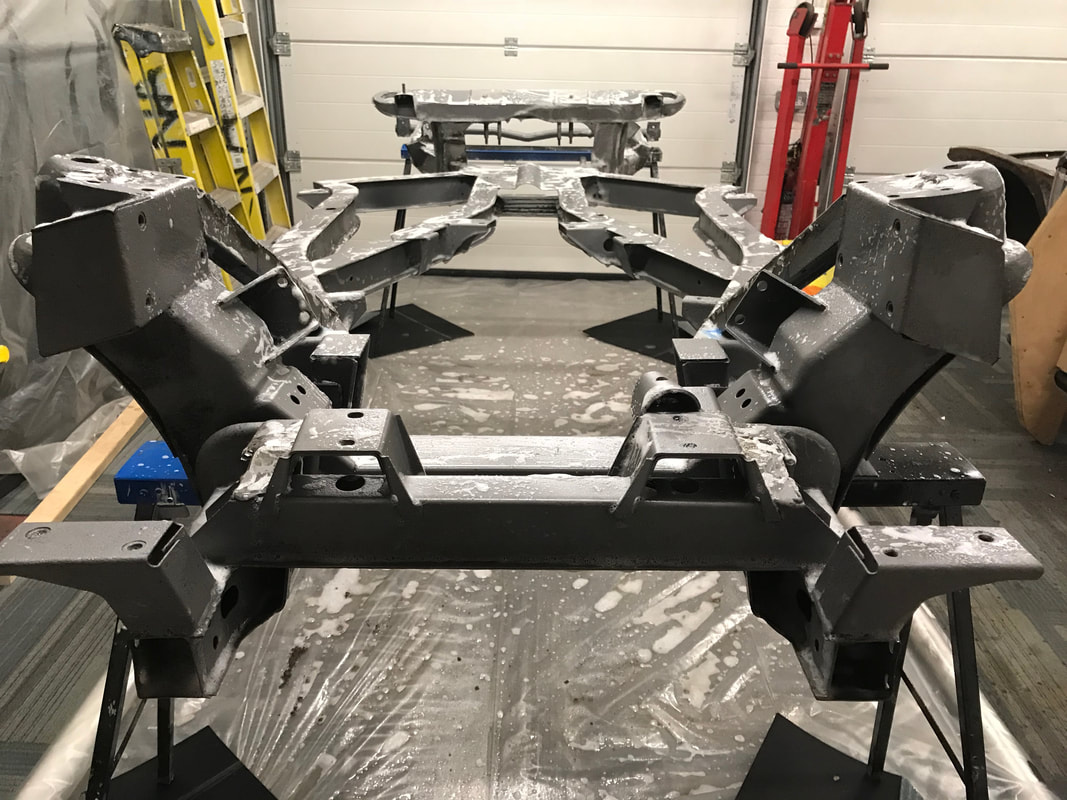
Added plates to all four mounts and then added stiffness to the rear bridge by enclosing it.. did drill out some drain holes to the low points to stop water be trapped.
Copied this from Ed the genuis from his website ' bullfire.net"
great idea i thought as they take quite a bit of punishment ...
Added plates to all four mounts and then added stiffness to the rear bridge by enclosing it.. did drill out some drain holes to the low points to stop water be trapped.


Finishing
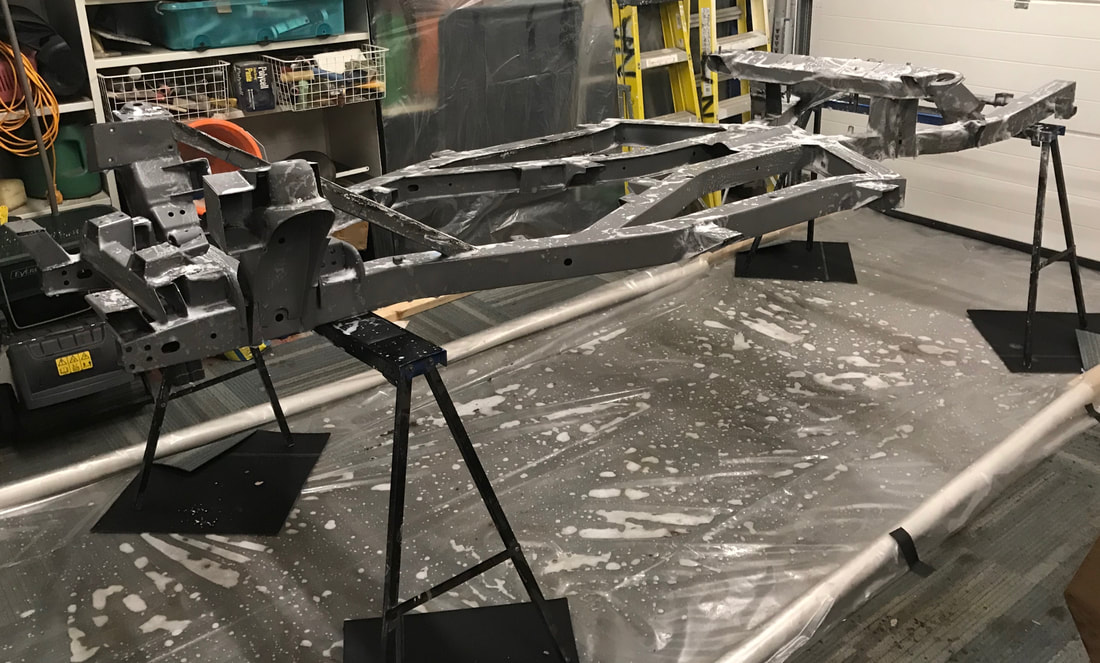
I had the frame shot blasted by a very expierainced chap at a local blasting company - http://www.rockcliffeblasting.co.uk/
Will at rockcliffe did a great job, so much so that i will be booking in the tub and panles with him.
I had the frame shot blasted by a very expierainced chap at a local blasting company - http://www.rockcliffeblasting.co.uk/
Will at rockcliffe did a great job, so much so that i will be booking in the tub and panles with him.
Painting
After lots of trawling the tinternet for what product to protect all the hard work and also asking the question on the TR forum i eventually decided on the POR15 system.
It's expensive but it would be stupid not to protect the investment so far.
alittle bit of a faf... but worth it in the end.
First all the nooks and crannys were blown out to get rid of much of the residue blasting media and then a clean and degrease ready for the etch.
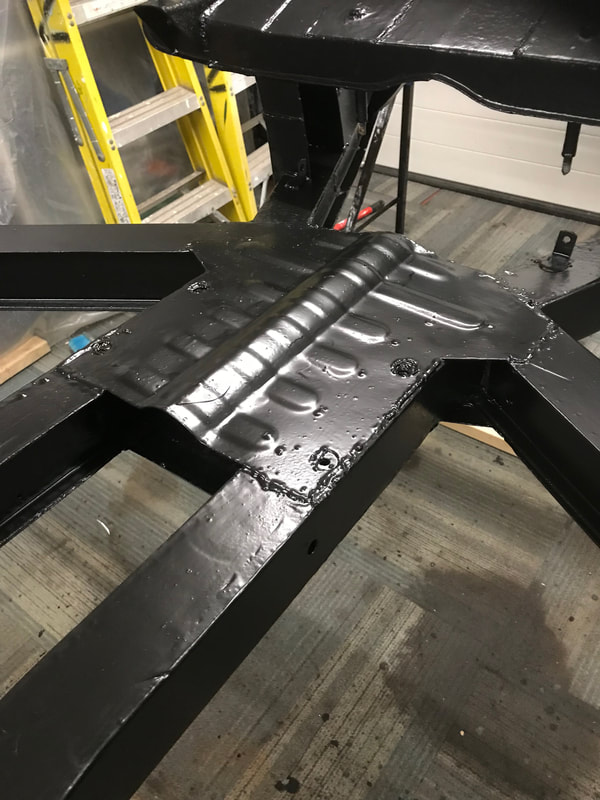
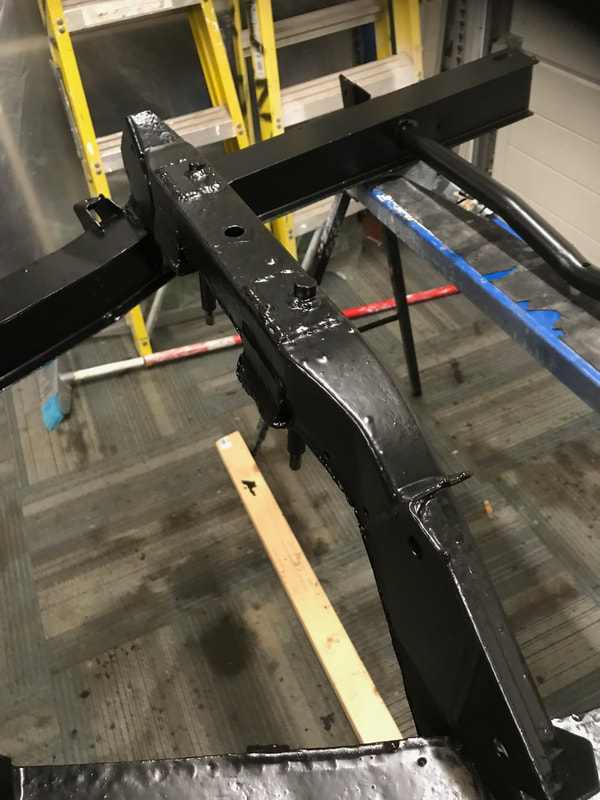
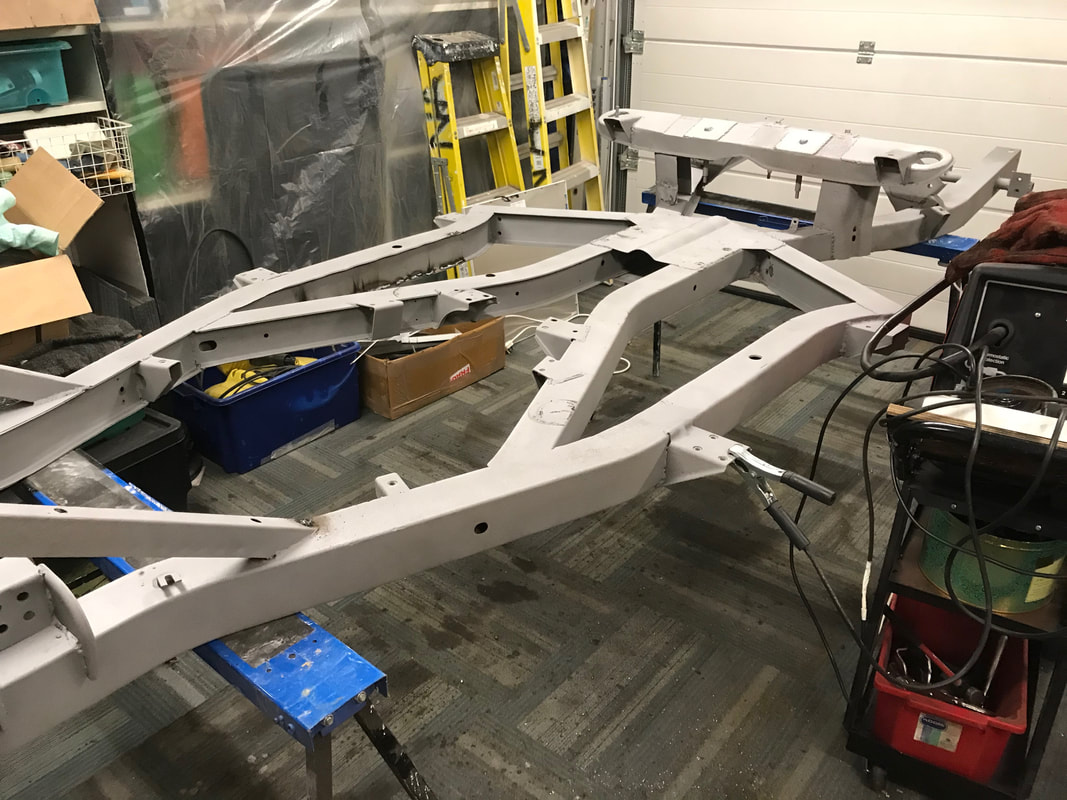
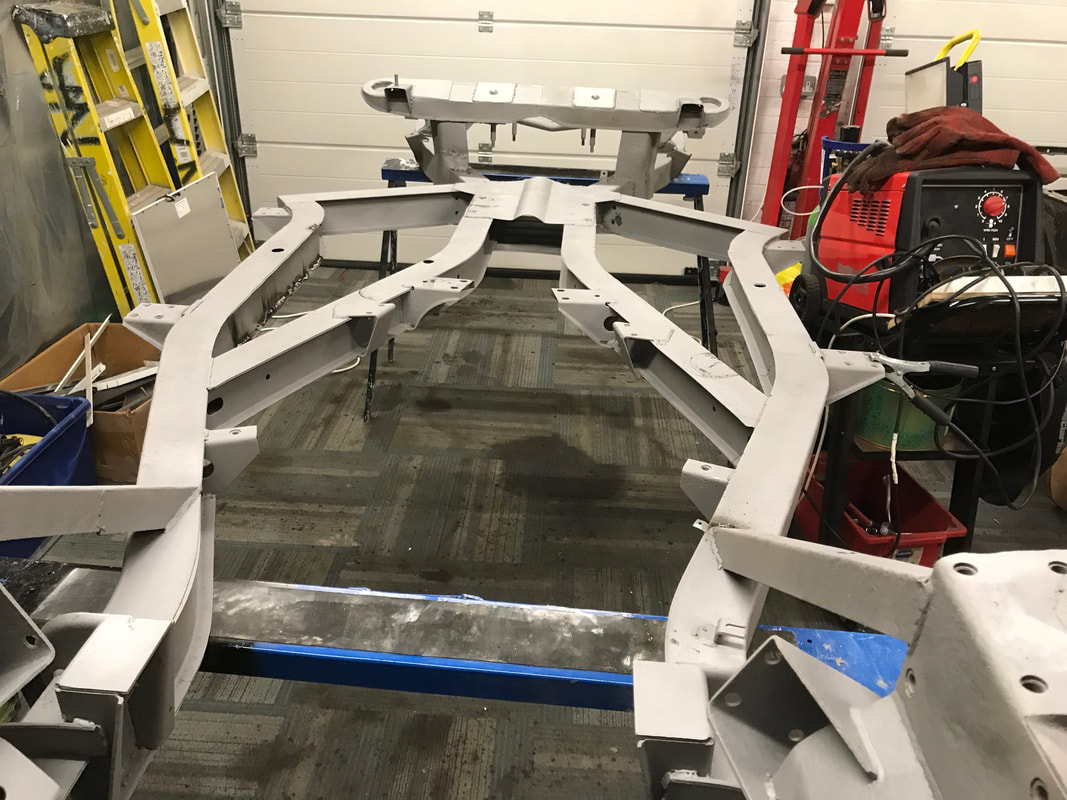
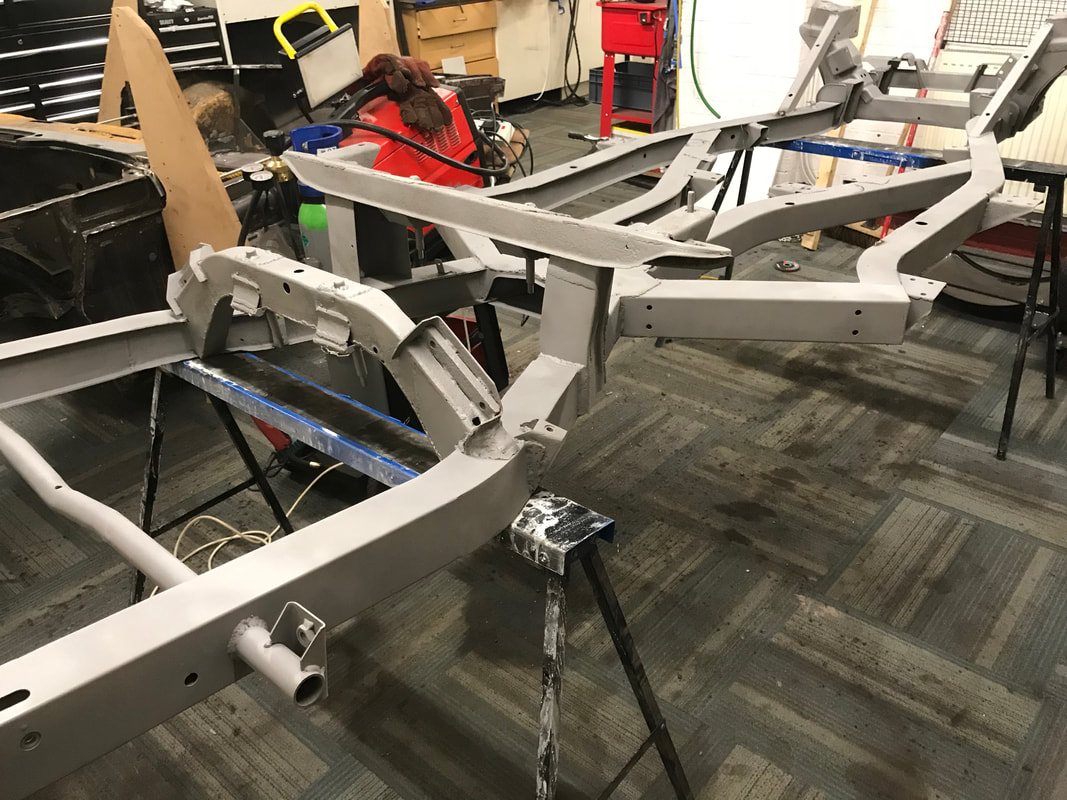
POR15 metal prep sprayed all over the frame and keeping it wet like this for 30min, then left to dry completely.
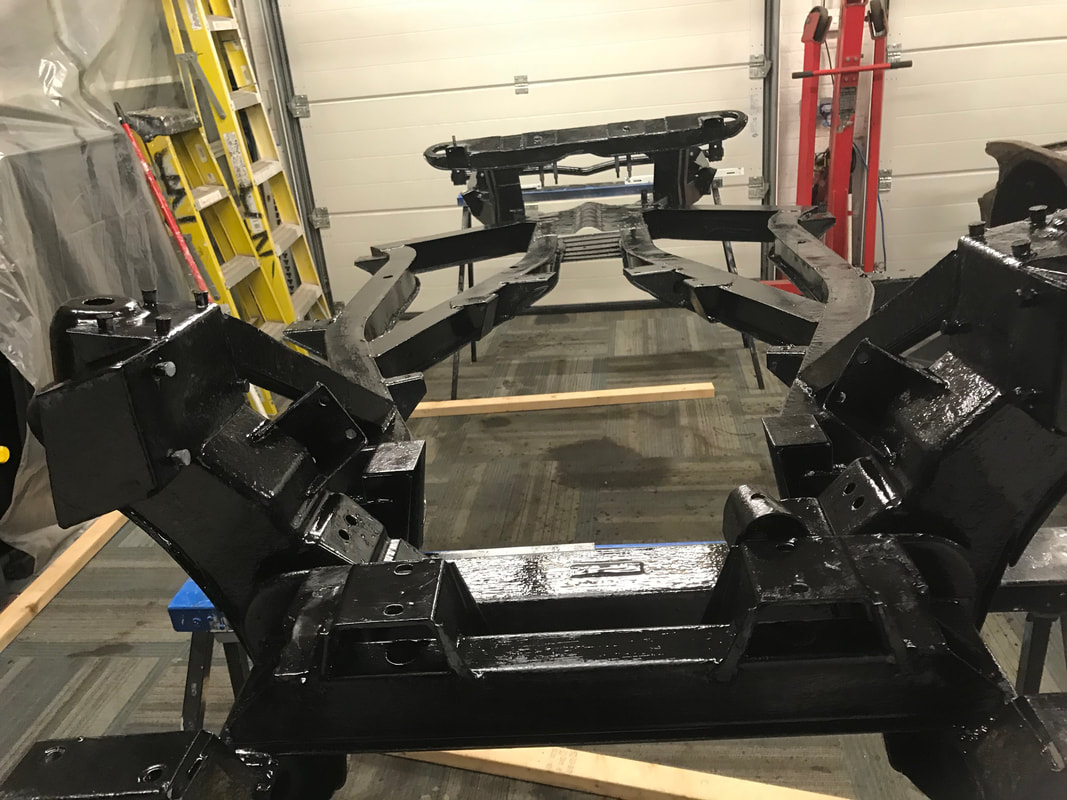
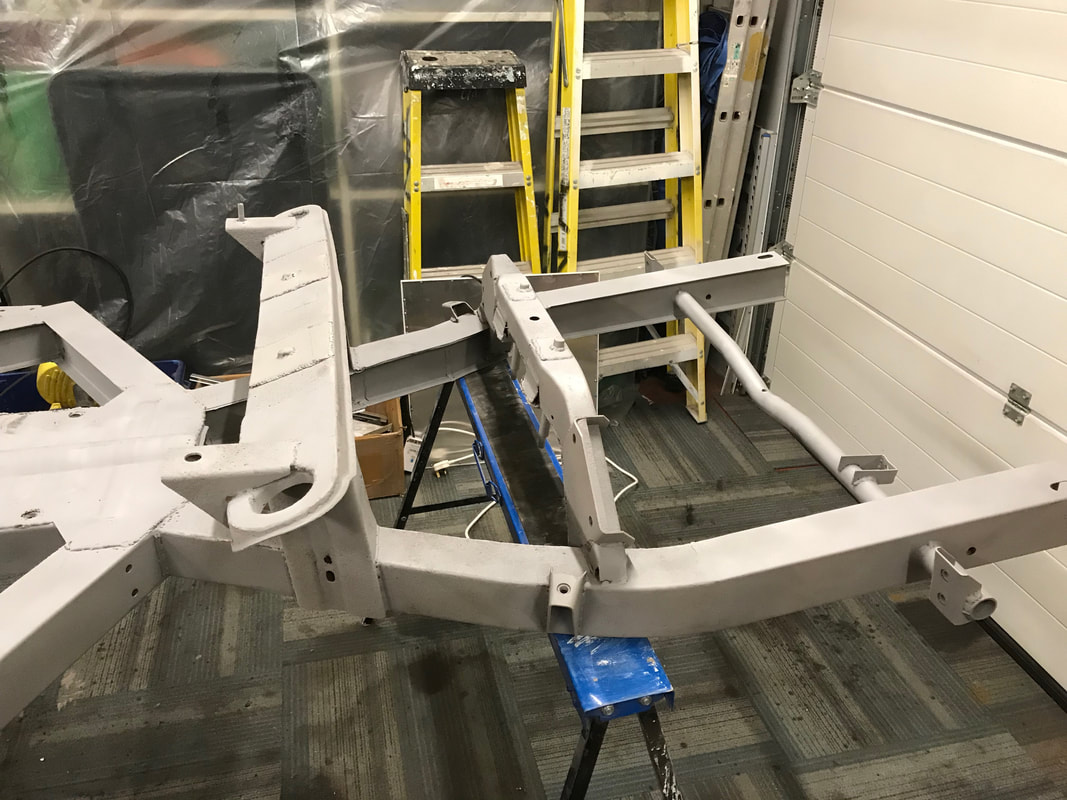
Then two coats of the rust preventive coating in grey so i had some contrast for the black top coat.
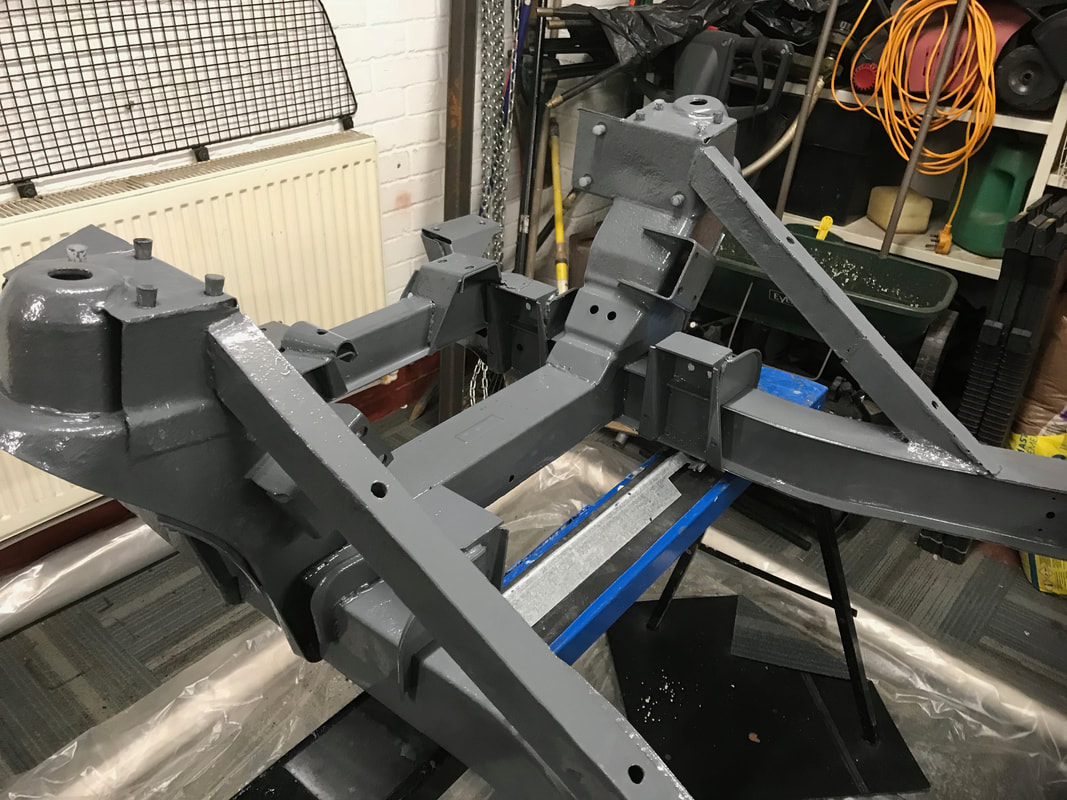
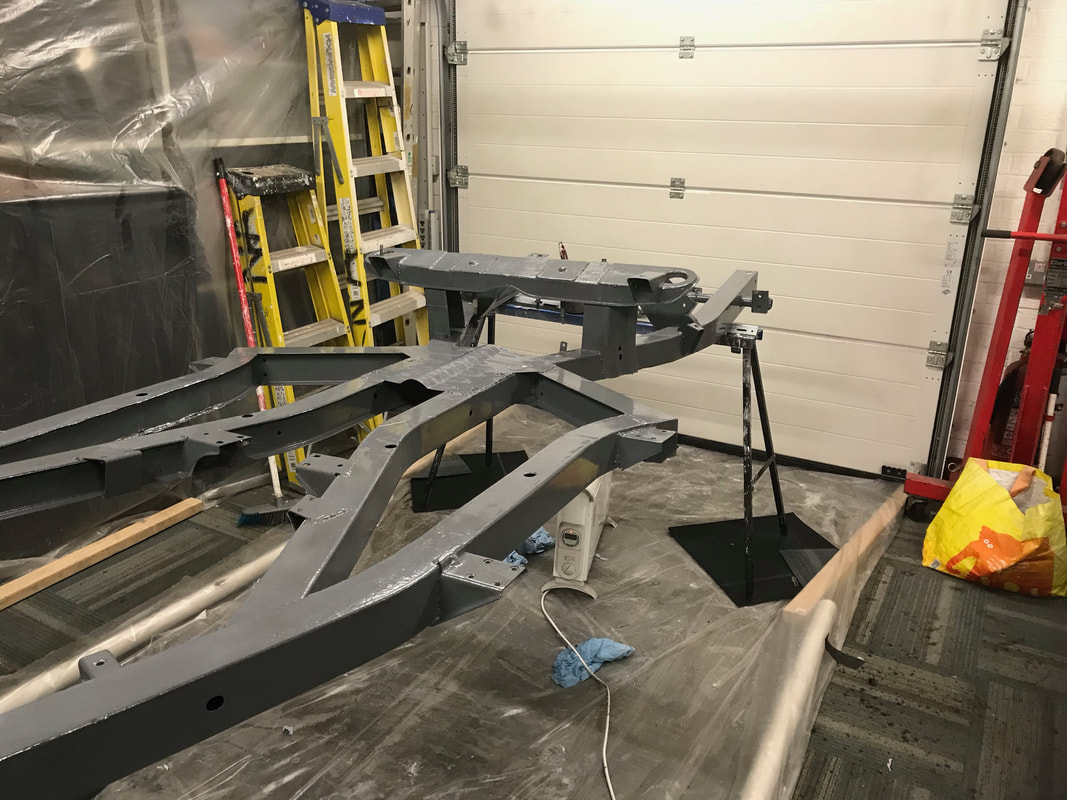
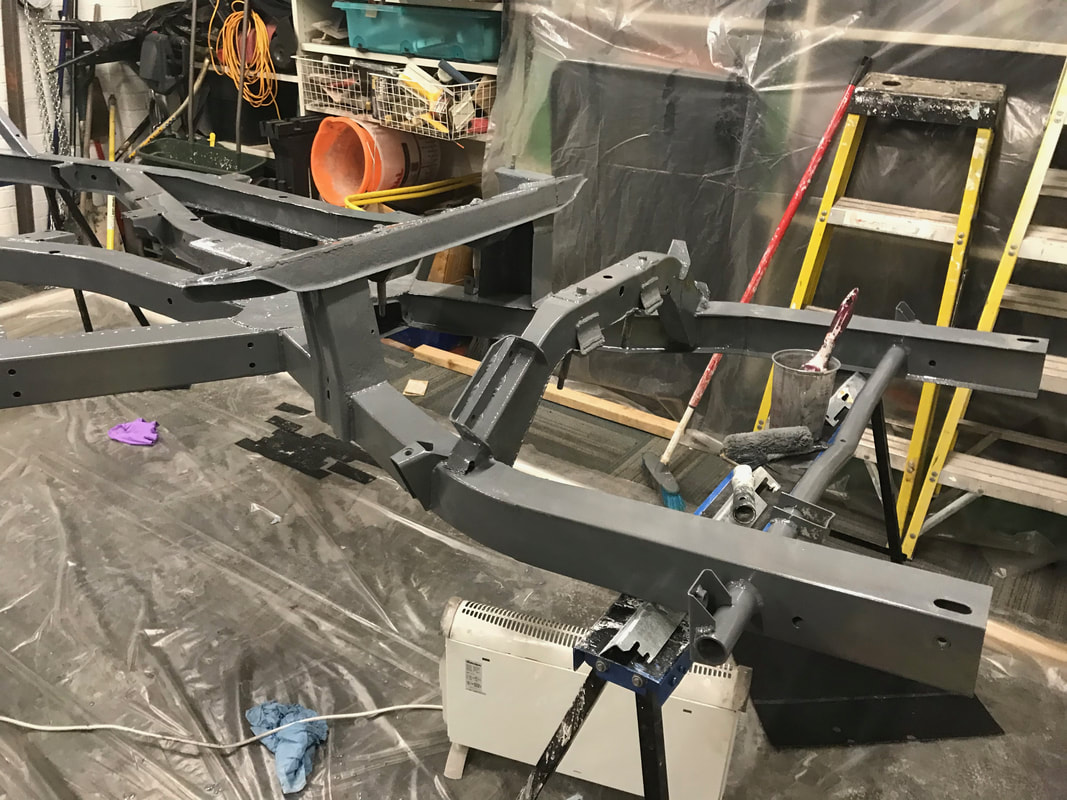
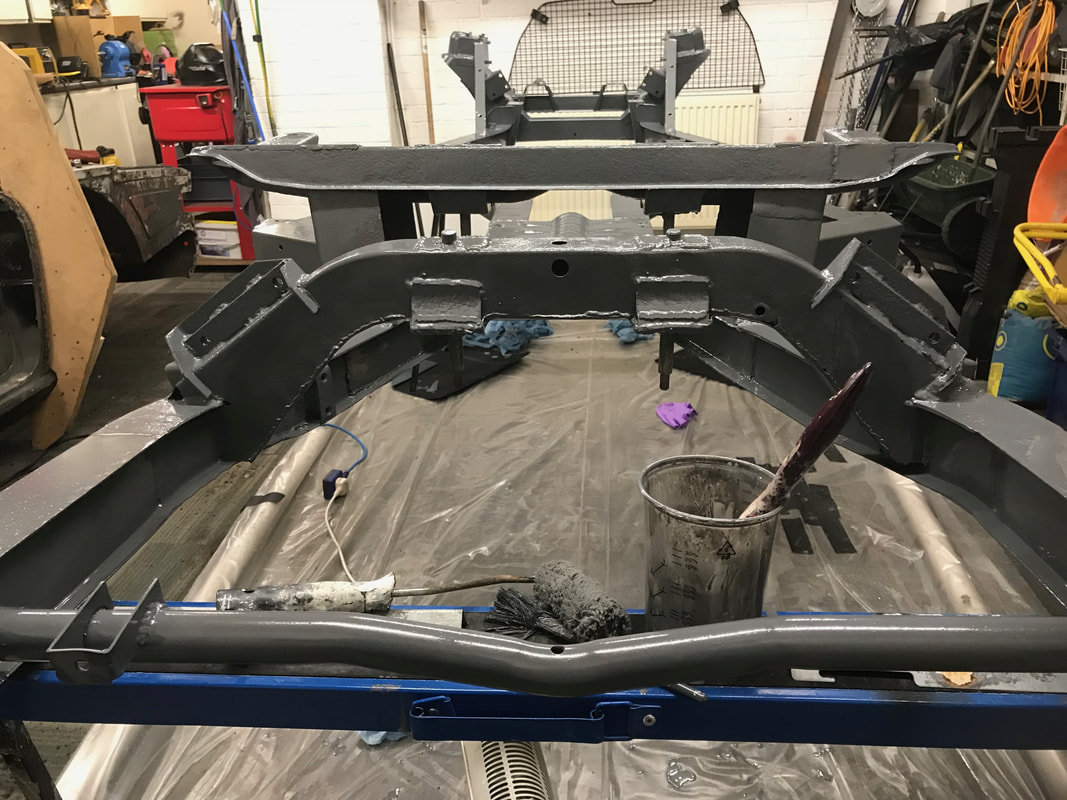
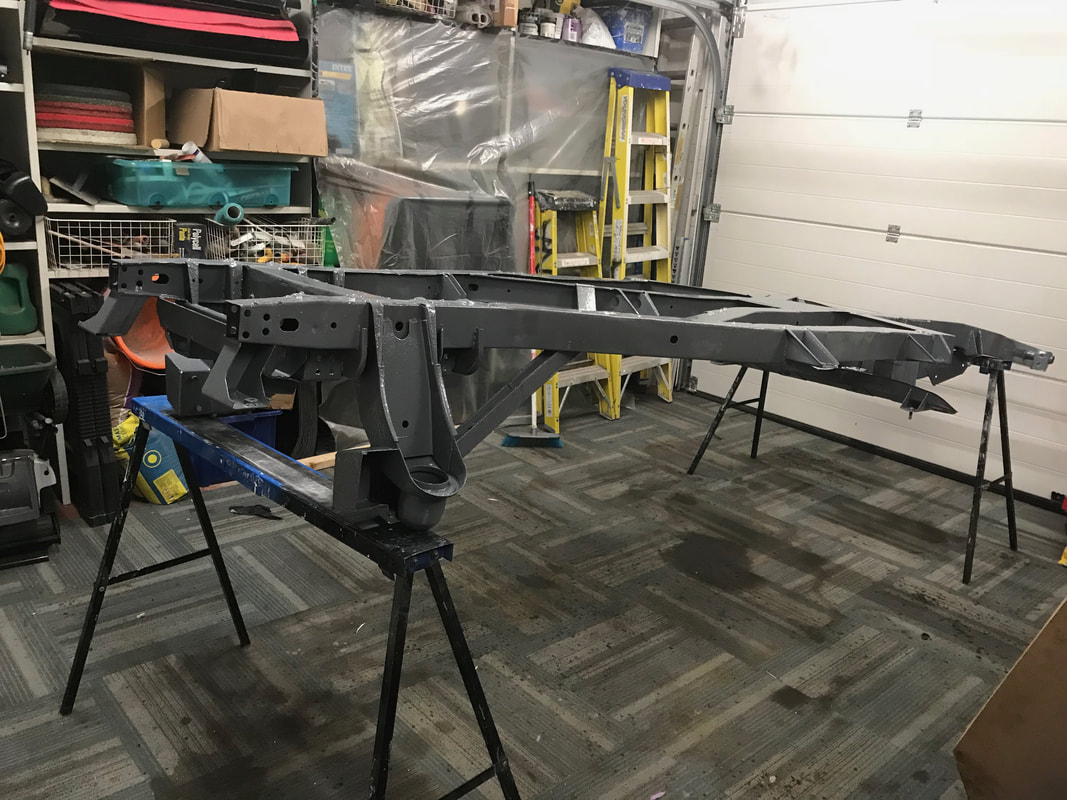
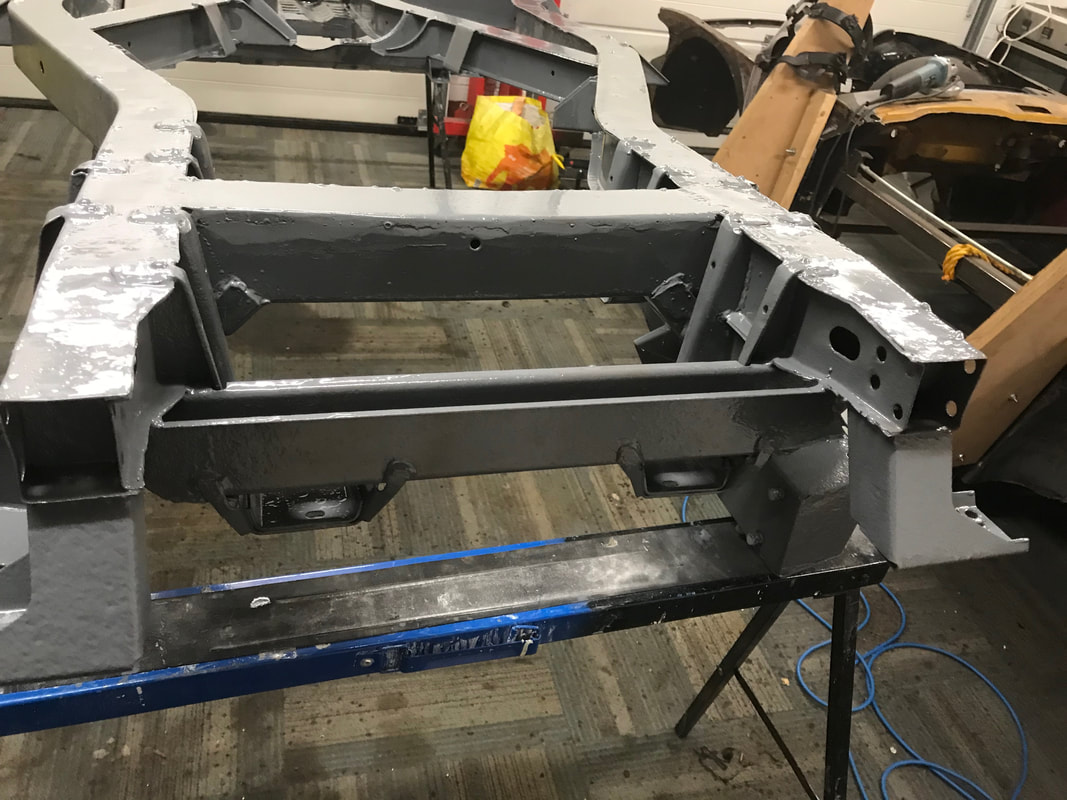
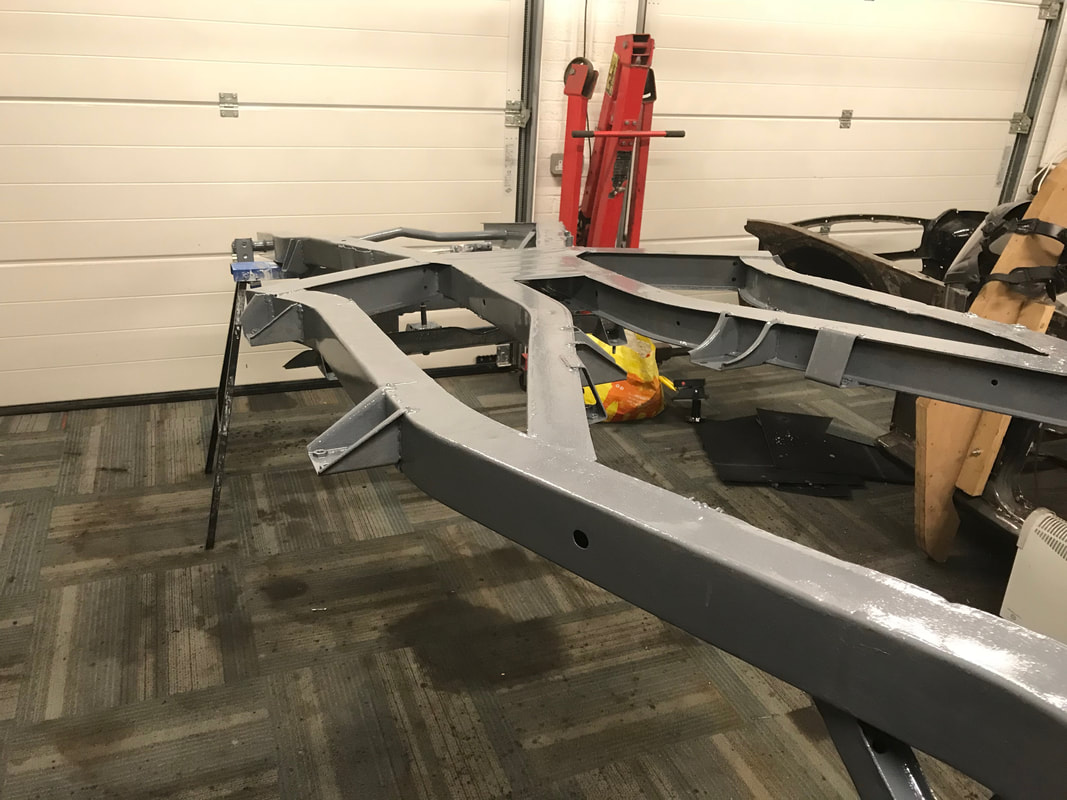
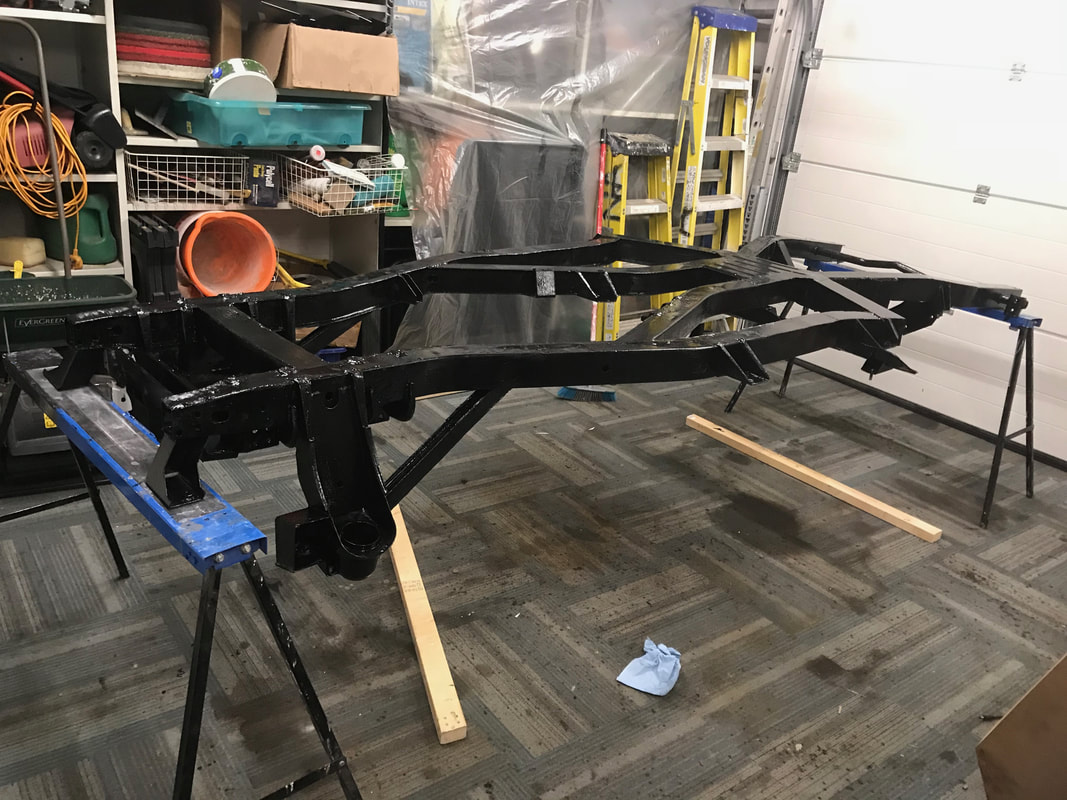
And now finally the black top coat. from what i have read, you only need one quart can which is just under a liter to do two coats... RUBBISH.... to do a proper job i needed to buy another quart can to get all the coverage required otherwise you will see the grey base coat grinning through. In the end the frame got two coats of the grey and three of the black.
brush application dries off almost like it was sprayed... very happy with the result.
brush application dries off almost like it was sprayed... very happy with the result.